Adobe MCP servers give any compatible AI client direct, governed access to Adobe data and workflows. Connect once and you can query campaign performance, activate audiences, review journeys, manage content, and more, all in plain language, without leaving your AI environment. Because MCP servers sit between your AI client and Adobe’s underlying systems, you get natural-language flexibility while your organization’s access controls and data governance stay in effect.
Adobe MCP servers follow the open Model Context Protocol standard. Any MCP-compatible AI client connects to any Adobe MCP server.
The fastest way to work across your CX Enterprise applications is CX Enterprise Coworker. It connects to your CX Enterprise applications with no server setup, no endpoint to register, and no AI client configuration. Try CX Enterprise Coworker
If you’d rather connect your own AI client directly to a specific Adobe application, several applications also have their own MCP server.
Review activities, offers, audiences, mboxes, performance reports, and preview URLs (public beta: tools are read-only, write tools are planned for general availability)
Manage B2B journeys, account programs, buying groups, and personalization
N/A
NOTE
Access to each MCP server depends on your organization’s entitlements for that application and your user’s permissions within it. The last five rows don’t yet have their own MCP server available for direct connection. Use CX Enterprise Coworker to reach them today.
Connect to your AI client
Most Adobe MCP servers use OAuth with Adobe Identity Management Service (IMS). Select the correct IMS organization when prompted. Choosing the wrong one is the most common source of authentication errors.
If you use CX Enterprise Coworker, these connections happen automatically. Nothing below applies to you. The steps below are for connecting your own AI client directly to an Adobe MCP server, and use the AEM MCP Server endpoint as an example. The same process applies to any Adobe MCP server: swap in the endpoint URL for the server you want to connect.
CX Enterprise Coworker
CX Enterprise Coworker already includes many of these MCP capabilities. There’s no server to add, no endpoint to register, and no AI client to configure. Sign in to CX Enterprise Coworker and it’s ready to use.
Go to the Adobe AI Registry and search for your Adobe application. If a Claude connector is listed (for example, the Adobe Experience Manager connector), follow its setup instructions instead of the steps below.
Connect using a custom connector
Claude.ai supports remote MCP servers through Custom Connectors in account settings.
Go to Settings > Integrations.
Click Add custom connector.
Enter the server endpoint as the URL (for example, https://mcp.adobeaemcloud.com/adobe/mcp/aem for the AEM MCP Server) and a display name of your choice.
Click Connect and sign in with your Adobe ID. Select the correct IMS organization.
Run claude mcp add to register an Adobe MCP server. Replace the server name and URL with the values for the server you want to connect. This example uses the AEM MCP Server:
code language-bash
claude mcp add --transport http adobe-aem https://mcp.adobeaemcloud.com/adobe/mcp/aem
Edit your settings file
Add the server to ~/.claude.json (global) or .mcp.json in your project root (project-level). Replace the key and URL with the values for the server you want to connect:
Adobe MCP servers use OAuth. Claude Code prompts you to authenticate with your Adobe ID the first time you call a tool. Select the correct IMS organization when prompted.
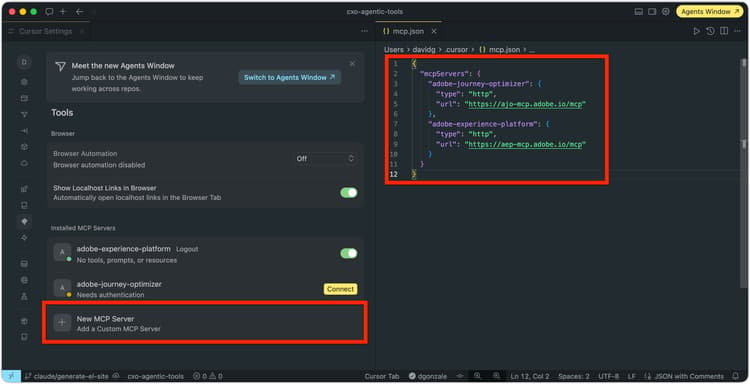
Add an Adobe MCP server to your Cursor mcp.json configuration file, then connect through Settings > MCP. Replace the key and URL with the values for the server you want to connect. This example uses the AEM MCP Server:
Global (all projects):~/.cursor/mcp.json
Project-level:.cursor/mcp.json in your project root
Once added, MCP servers appear under Installed MCP Servers in Cursor Settings. Select Connect next to any server that shows Needs authentication and sign in with your Adobe ID. Select the IMS organization that has access to the application.
Go to the Adobe AI Registry and search for your Adobe application. If a ChatGPT connector is listed, follow its setup instructions instead of the steps below.
Connect using a remote MCP server
Ask your ChatGPT administrator to add the MCP server for your organization. This lets every user connect without the setup below.
If an administrator can’t add it, or you want the connection only for your account, follow these steps.
One-time setup: turn on Developer mode before you can register a custom MCP URL.
Go to Settings > Security and login.
Turn on Developer mode.
Add a server:
Go to Settings > Plugins > Browse Plugins.
Select + to add a new plugin.
Enter a name, for example AEM Content AI or Adobe Journey Optimizer.
Enter a description.
Select Server URL.
Under Connection, enter the full Adobe MCP URL. For example, https://mcp.adobeaemcloud.com/adobe/mcp/aem for AEM, or https://ajo-mcp.adobe.io/mcp for Adobe Journey Optimizer.
Set Authentication to OAuth.
Read and accept the terms of service.
Select Create.
Sign in with the Adobe account that has access to the CX Enterprise application the MCP server connects to.
Microsoft Copilot Studio connects to remote MCP servers using the MCP Onboarding Wizard, which creates a Power Platform custom connector automatically.
Open your agent in Copilot Studio.
Go to the Tools page.
Select Add a tool > New tool > Model Context Protocol.
In the MCP Onboarding Wizard, enter the server details. For example, for the AEM MCP Server:
Server name:AEM
Server URL:https://mcp.adobeaemcloud.com/adobe/mcp/aem
Set authentication to OAuth 2.0 and configure with your Adobe IMS authorization and token URLs.
Select Create, then Add to agent.
note
NOTE
MCP server connections in Copilot Studio go through Power Platform. Your organization’s data loss prevention (DLP) policies apply.
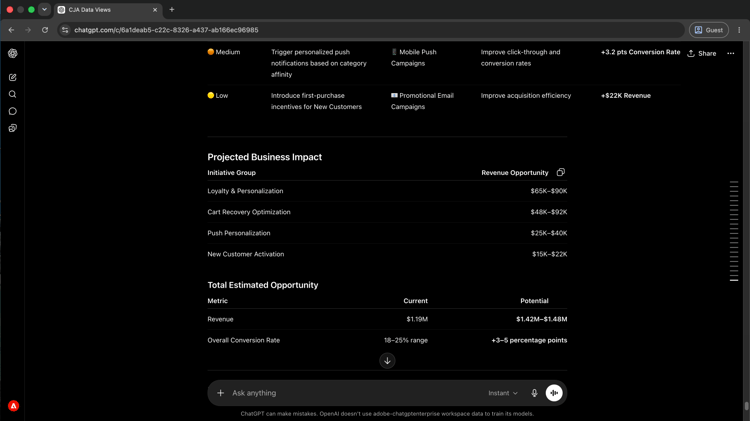
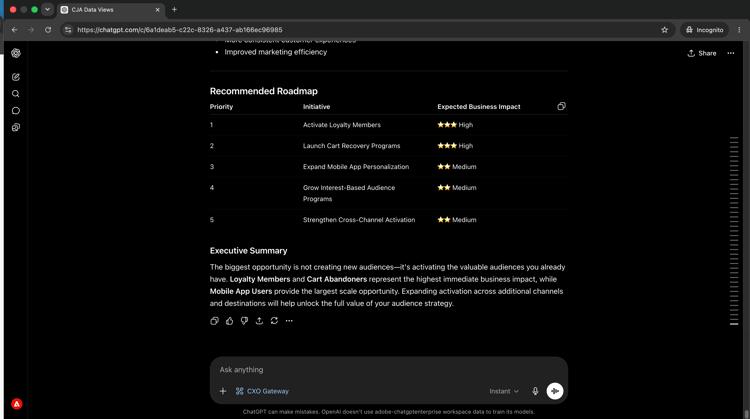
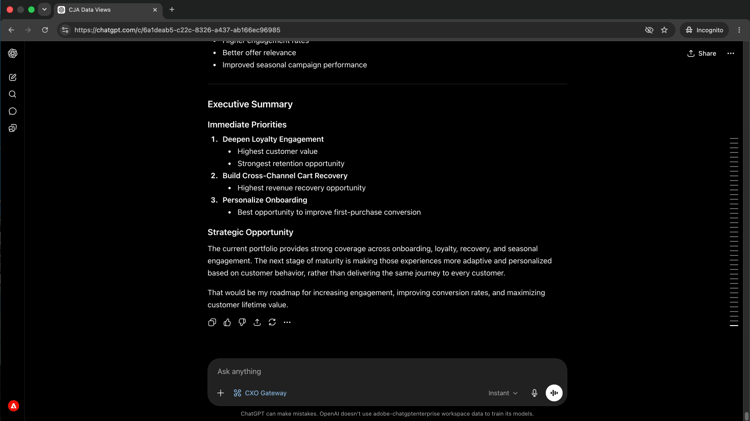
See Adobe MCP servers put to work on real business problems. Each walkthrough starts from a genuine operational challenge and shows how an AI client resolves it in plain language, without switching tools or writing code.
MCP connections involve authentication, organization selection, and application-level permissions. If something is not working as expected, these steps cover the most common causes.
Switching Adobe organizations
If your Adobe user belongs to multiple IMS organizations and you are seeing tools or data for the wrong one, disconnect the MCP server, sign out of your Adobe session in the browser, then reconnect. You will be prompted to choose an organization during sign-in.
An Adobe MCP server can only be authenticated to one IMS organization at a time, even if your user account has access to more than one.
Specifying a sandbox, report suite, environment, or other session resource
Some Adobe MCP servers require you to specify a resource before they can return results. Depending on the application, this may be a sandbox, a program, an environment, a report suite, or a data view.
If you are not sure which resources you have access to, ask the AI client. For example: “List the available sandboxes” or “What report suites do I have access to?” Adobe MCP servers can often return a full list of resources available to your user.
Once a session resource is set, you can switch it at any time by telling the AI client which one to use.
Permissions and access errors
AI clients act on behalf of your Adobe user account using OAuth. The same permissions and access controls that apply when you sign in to an Adobe application apply when you use an MCP server.
If an action fails or returns no results, check that your user has the required permissions in Adobe Admin Console and in the relevant CX Enterprise application. Contact your Adobe system administrator if you need access adjusted.
Re-authenticating after a lost session
Adobe MCP servers use OAuth to authenticate your Adobe user account. If the authentication state is lost, no further tool calls will succeed until you re-authenticate.
To re-authenticate: open your AI client’s MCP server configuration, select the Adobe MCP server entry, and reconnect. You will be prompted to sign in with your Adobe ID again.