On this page: Learn how to create an Experience Targeting (XT) activity in the Visual Experience Composer (VEC). You create the activity, add experiences targeted to different audiences, then configure goals and settings.
Use the Visual Experience Composer (VEC) to create an Experience Targeting (XT) activity on a Target-enabled page and to modify portions of the page within Adobe Target.
Experience Targeting (XT) delivers content to a specific audience based on a set of marketer-defined rules and criteria. It is valuable for defining rules that target a specific experience or content to a particular audience, including geo-targeting. Several rules can be defined in an activity to deliver different content variations to different audiences.
For more information about Experience Targeting, a use-case scenario, and training videos, see Experience Targeting.
-
From the Activities list, click Create Activity > Experience Targeting.
note NOTE The available activity types depend on your Target account. Some activity types might not appear in your list. For example, Automated Personalization is a Target Premium feature. For more information about the various activity types available in Target and their differences, see Activities. See Target Activity types to help you decide which activity type best suites your needs. 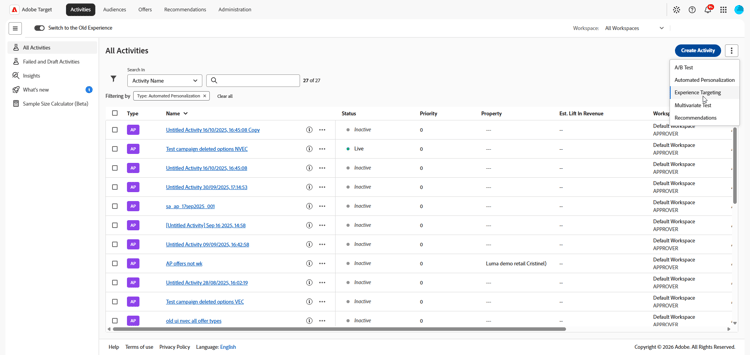
-
From the Create Experience Targeting Activity dialog, choose your Experience Composer:
- Visual.
- Form-Based Experience Composer, see Form-Based Experience Composer for more information.
note NOTE In addition to the VEC and Form-Based Experience Composer, Target offers the Single Page Application VEC. For more information about the various composers, see Experiences and Offers. For troubleshooting information about the VEC, see Troubleshooting the Visual Experience Composer. -
(Conditional) If you are a Target Premium customer, choose a workspace.
-
Specify your activity URL, then click Create. The VEC opens, showing the page specified in the URL.
If your account is configured with a default URL, that URL appears by default. You can change from the default to another URL, if necessary.
-
To name the activity, click the Edit icon (

The activity name cannot begin with
=,+,-, or@. The activity name also cannot contain any of the following character sequences:;=,;+,;-,;@,,=,,+,,-,,@,[", or"].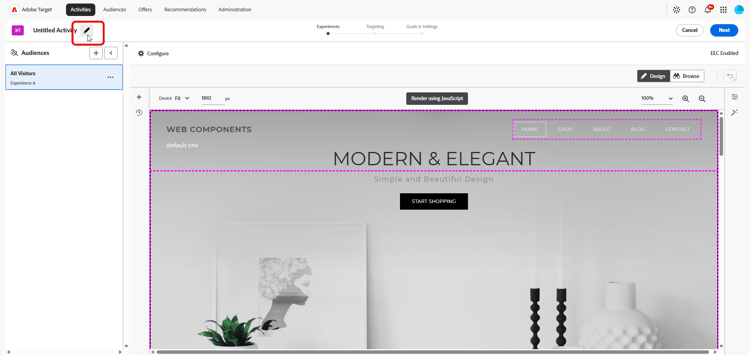
-
Create new experiences targeted to different audiences. For step-by-step instructions, see Add experience.
-
Specify the goals and settings for the activity.