On this page: Learn how to define several inbound actions inside a single journey action or action campaign, to deliver multiple experiences to different locations at the same time.
To simplify your orchestration, you can define several inbound actions inside a single journey action or a single campaign, each action containing a specific content.
This capability enables you to deliver various Code-based experiences, In-app messages, Content Cards, or Web actions to different locations at the same time, without the need to create multiple journey actions or campaigns. It makes the deployment easier and allows for smoother reporting, with all the data consolidated into one single journey or campaign.
For example, you can send a code-based experience to multiple endpoints with slightly different contents. To do this, create multiple code-based actions within the same journey action or campaign, each with a different endpoint configuration.
You can add up to 10 inbound actions in a journey action or in a campaign.
Open the actions configuration open-actions
The first steps depend on whether you work in a journey or in a campaign.
-
Start your journey with an Event or a Read Audience activity.
-
From the Actions section of the palette, drag and drop an Action activity into the canvas.
-
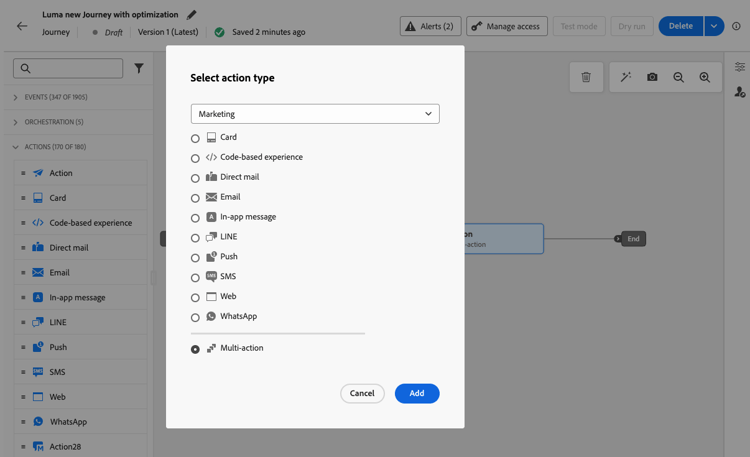
Select Multi action as the action type.
-
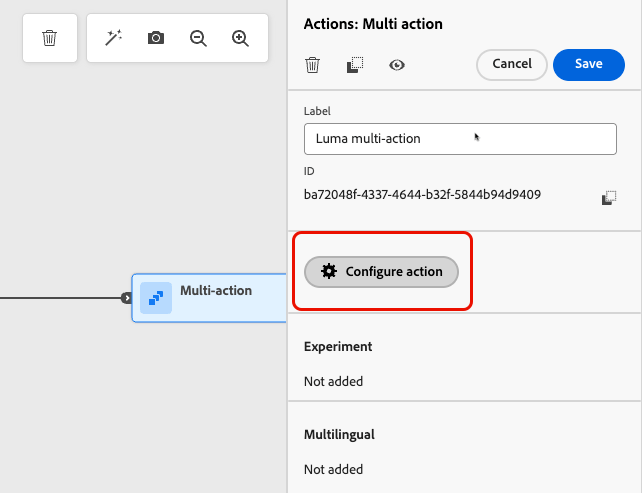
Add a label if needed and select Configure action.
-
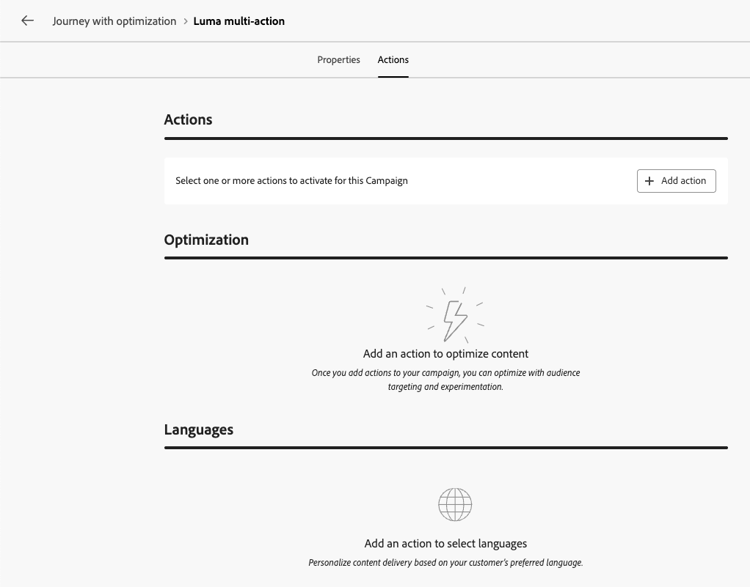
You are directed to the Actions tab of the journey action configuration screen.
-
Create an action campaign and define its properties.
-
Open the Actions tab of your campaign.
Add the inbound actions add-actions
The following steps are the same in journeys and in action campaigns.
-
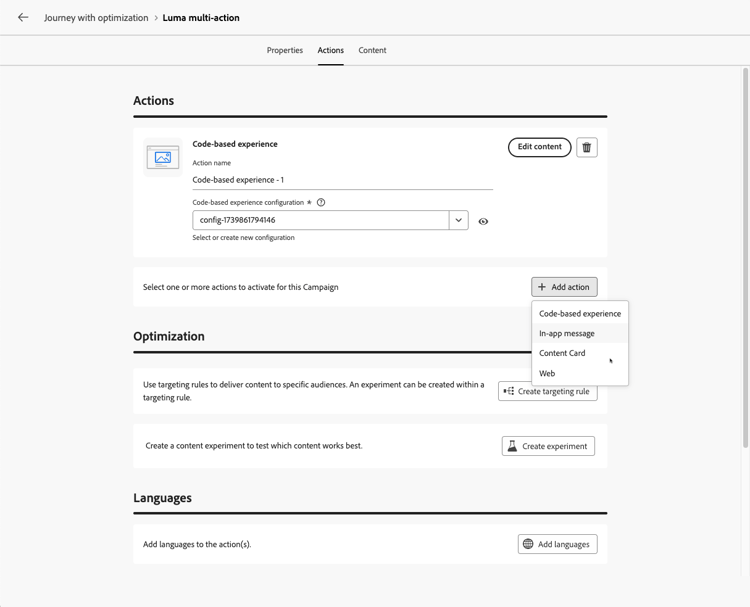
Select an inbound action (Code-based experience, In-app message, Content Card or Web) from the Actions section.
-
Select the channel configuration and define a specific content for that action.
-
Use the Add action button to select another inbound action from the drop-down list.
-
Proceed similarly to add more actions. You can add up to 10 inbound actions in a journey action group or in a campaign.
Once the journey is live or the campaign is live, all actions are activated simultaneously.
See also see-also
- Use the Action activity in a journey
- Configure the campaign action
This section contains structured knowledge intended to support interpretation, retrieval, and question answering related to this topic.
For complete understanding, this information should be combined with the documentation on this page. Neither source is intended to stand alone; the page describes the feature, while this section provides additional context that helps disambiguate terminology, intent, applicability, and constraints.
- TL;DR: This page explains how to define several inbound actions (Code-based experience, In-app message, Content Card, or Web) inside a single journey action or action campaign in Adobe Journey Optimizer, to deliver multiple experiences to different locations at the same time while keeping all reporting in one journey or campaign.
Intents:
- Deliver several inbound experiences from a single journey Action activity by using the Multi action type
- Deliver several inbound experiences from a single action campaign
- Send a code-based experience to multiple endpoints with slightly different contents
- Consolidate reporting for several inbound actions in one journey or campaign
Glossary:
- Inbound action: An action that delivers a Code-based experience, In-app message, Content Card, or Web experience (product-specific)
- Multi action: The action type of a journey Action activity that groups several inbound actions in a single node (product-specific)
- Multi-action group: The set of inbound actions defined inside one journey Action activity (product-specific)
Contexts where multiple inbound actions are available:
- Journeys, in an Action activity with the Multi action type, started with an Event or Read Audience activity
- Action campaigns, in the Actions tab of the campaign, after creating the campaign and defining its properties
Guardrails:
- Available for inbound channels only; outbound channels (Email, Push, Mobile message) are not supported
- Maximum 10 inbound actions in a journey action group or in a campaign
- Each action has its own channel configuration and its own content
- All actions are activated simultaneously once the journey or campaign is live
FAQ:
- Q: Can I add several Email or Push actions to the same journey action or campaign? — No; this capability is for inbound channels only. For outbound channels, use channel optimization to add multiple channels and automatically select the best channel per customer.
- Q: How many inbound actions can I add? — Up to 10 in a journey action group or in a campaign.
- Q: When are the actions activated? — All actions are activated simultaneously once the journey or campaign is live.
- Q: Which inbound actions can I combine? — Code-based experience, In-app message, Content Card, and Web.
- Q: Do I need to create one journey action or campaign per endpoint? — No; create multiple actions within the same journey action or campaign, each with a different configuration.
Personas:
- marketer: Can select Multi action as the action type of a journey Action activity, or open the Actions tab of an action campaign after creating it and defining its properties, then select an inbound action. Can use the Add action button to add up to 10 inbound actions, each with its own channel configuration and content. Where: “Open the actions configuration” and “Add the inbound actions”.
Onboarding:
- Level: Intermediate
- First minimal step: Select an inbound action in the Actions tab of your campaign, or add an Action activity with the Multi action type to your journey, then use the Add action button to add another inbound action.
- Success check: The configuration lists several inbound actions, each with its own content, and all of them are activated simultaneously when the journey or campaign goes live.
- Previous: Create a journey or an action campaign before adding inbound actions: Use the Action activity (building-journeys/journey-action.md); Create an action campaign (campaigns/create-campaign.md); Define the campaign properties (campaigns/campaign-properties.md); Configure the campaign action (campaigns/campaign-action.md)
- Next: Publish the journey or activate the campaign: Publish your journey (building-journeys/publish-journey.md); Review and activate an Action campaign (campaigns/review-activate-campaign.md)