Adobe Workfront Planning CX Enterprise Coworker overview
The information on this page refers to functionality not yet generally available. It is available only in the Preview environment for all customers. After the release to Preview, the same features are also available monthly in the Production environment for customers who enabled fast releases.
For information about fast releases, see Enable or disable fast releases for your organization.
CX Enterprise Coworker is a conversational interface where you describe a goal in plain language, and then it plans, executes, and validates the work across your Workfront Planning and other connected Adobe systems before bringing it back for your approval.
Coworker preserves everything AI Assistant does today while adding more powerful end-to-end capabilities in both a new full-screen experience and the Workfront right rail.
It operates within your organization’s existing product-level access controls, so users can only take actions they’re already permitted to in Workfront, with read-only access by default and write access controlled by Workfront administrators.
Access requirements
| table 0-row-2 1-row-2 2-row-2 3-row-2 4-row-2 5-row-2 layout-auto html-authored no-header | |
|---|---|
| Adobe Workfront packages |
Any Workfront or Workflow with a Planning package Or Any Planning package when purchased as a standalone product |
| Adobe Workfront license | Standard |
| Adobe Planning license | Standard |
| Access level configuration |
Your administrator must do the following to allow access to Coworker in Planning:
|
| Object permissions |
Manage permissions to a workspace System Administrators have permissions to all workspaces, including the ones they did not create |
| System settings | Your Workfront administrator must select the Read-only and Write-only MCP tools in the System Preferences area of Setup. The Read-only MCP tools is selected by default. |
For more information about Workfront access requirements, see Access requirements in Workfront documentation.
Considerations for Coworker
-
Coworker must be enabled for your organization before it is available for users in your company.
For information, see CX Enterprise Coworker overview.
-
After Workfront has enabled the agent for your Workfront instance, it is available for the main Workfront administrator and they can enable it for your organization. For information, see Configure system preferences.
-
The Workfront administrator must also enable Coworker for you, in your access level. For information, see Create and modify access levels.
-
Coworker works with information and objects that are in Workfront or Workfront Planning and that you have permission to access. In the Planning right rail, the Coworker panel operates in the context of the workspace, record type, or record page that you have open.
-
The actions performed by Coworker in the Planning area are in the context of your Workfront Planning permissions and your Workfront access level. For information, see the following articles:
-
Changes made by Coworker on the user’s behalf are tracked in the record’s history panel.
-
Actions done by Coworker are permanent and could be irreversible. For example, deleting a field cannot be reversed. Review all actions that are proposed by Coworker before accepting them.
-
When creating, updating, or deleting an object through Coworker, Coworker displays the intended actions and asks for confirmation. You can then confirm or cancel the actions.
Functionality currently available for Coworker
Currently, Coworker is available in the Planning area of Workfront and it uses a set of skills to access and manipulate information for Planning objects. For more information, see CX Enterprise Coworker skills.
You can use Coworker to perform the following actions:
-
Search for records. You can search by information contained in any record fields.
-
Create records. An ID with a link to the new record displays after the record is created. You can specify the fields you want to update during the creation process, like dates or description.
-
Create records based on a document that you upload. Workfront supports the following document formats for the Coworker:
PPTX, PDF, DOCX, XLSX, PPT, DOC, TXT, and most image formats
-
Update fields for the records you see on the screen
-
Delete, duplicate, or restore records
-
Link records to other records
-
View a record’s change history
Locate Coworker in Workfront Planning
You can locate Coworker in the following areas of Workfront Planning:
- The main navigation bar, in the upper-right corner of the screen.
- Inside the details area of a record when you open it in a new tab.
Access Coworker in the Planning area
-
Log in to Workfront, then click the Main Menu icon

The Planning area opens.
Locate the Coworker icon

-
Click a workspace card.
-
Click a record type card.
-
Click a record to open the record’s Details page, then click the Open in new tab icon

-
Click the Coworker icon
-
In the space provided, start typing commands for Coworker, then click Enter when you are done.
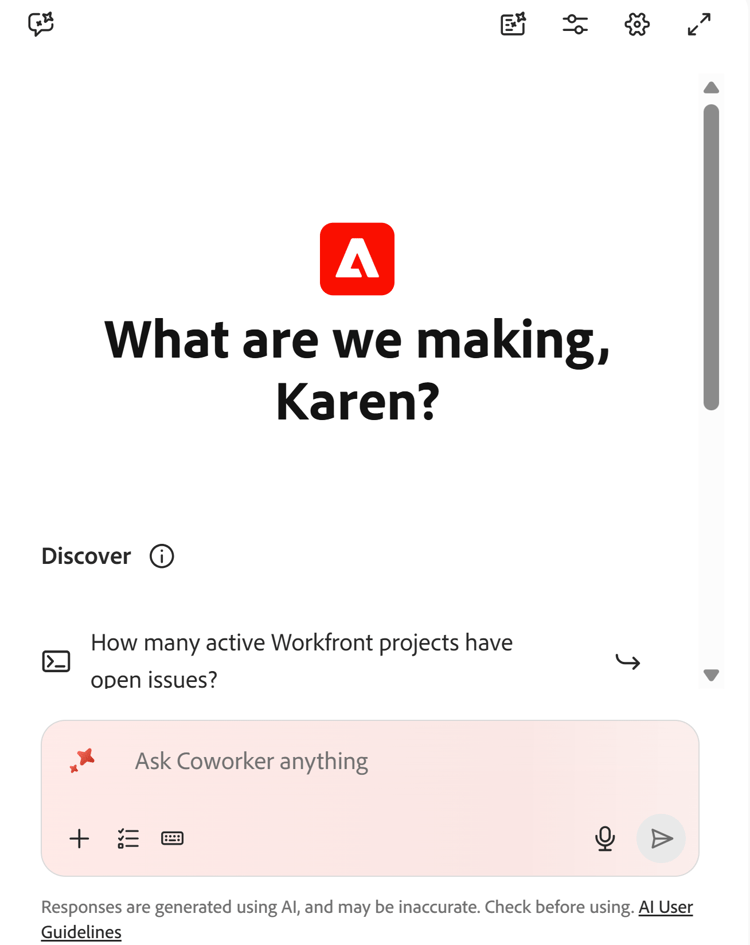
For example, you may type one of the following:
- Create a new campaign record called Summer Sale 2026
- Update the budget field in the Summer Campaign record to $75,000
- Delete the campaign record named Old Promo
- Restore the campaign I accidentally deleted
note tip TIP Ensure your Workfront administrator enabled Write-only MCP Tools in your System Preferences before asking Coworker to perform editing actions on objects. A visual indicator displays while Coworker processes commands, setting expectations for response time.
After receiving a successful response, follow the links provided or notice the changes on the left.
-
(Optional) Click the Expand full screen icon
