在此頁面上:瞭解電子郵件使用者端如何處理深色模式,以及如何在Email Designer中預覽和定義自訂深色模式設定,以及一致性轉譯的最佳實務。
設計電子郵件時,Journey Optimizer 電子郵件Designer可讓您切換至 深色模式 檢視。
在這個深色模式檢視中,您也可以定義特定的自訂設定,當支援的電子郵件使用者端開啟深色模式時,這些設定將會顯示。
什麼是深色模式? what-is-dark-mode
在各種電子郵件使用者端中呈現深色模式的方式很複雜。 讓我們先定義深色模式。
深色模式可讓支援的電子郵件使用者端和應用程式針對文字、按鈕和其他UI元素,顯示背景較暗且顏色較淺的電子郵件。 它可減輕眼睛疲勞、節省電池壽命,並改善低光環境的可讀性,提供更舒適的觀賞體驗。
隨著主要作業系統和應用程式的不斷發展,它已成為現代電子郵件設計的重要考量,以確保內容清晰易讀,且對所有使用者都具有吸引力。
護欄 guardrails
在深色模式演算方面,您必須謹慎考量您的期望,因為不同的電子郵件使用者端的套用方式可能大不相同。
在Journey Optimizer電子郵件Designer中使用深色模式之前,瞭解主要電子郵件使用者端如何處理該模式至關重要。 區分的案例有三種:
使用者端不支援深色模式 not-supporting
有些電子郵件使用者端完全不支援此功能,例如:
- Yahoo!Mail
- AOL
無論您是否在Email Designer中定義深色模式自訂設定,這些電子郵件使用者端都不會顯示任何深色模式轉譯。
使用者端套用自己的深色模式 default-support
有些電子郵件使用者端會系統地將其本身的預設深色模式套用至所收到的所有電子郵件。 顏色、背景、影像等會使用電子郵件使用者端特有的深色模式設定自動調整,這表示無法進行外部修改。
例如,這些使用者端為:
- Gmail (案頭網頁郵件、iOS、Android、行動網頁郵件)
- Outlook Windows
- Outlook Windows Mail
在此案例中,如果您在電子郵件Designer中定義自訂深色模式設定,則這些設定會被電子郵件使用者端設定覆寫。
請務必瞭解,這些電子郵件使用者端確實會處理深色模式,但您的特定深色模式設計將不會呈現。
支援自訂深色模式的使用者端 custom-support
其他電子郵件使用者端提供以@media (prefers-color-scheme: dark)查詢呈現自訂深色模式的選項,這是Journey Optimizer電子郵件Designer所使用的方法。
以下是處理此選項的主要使用者端清單:
- Apple Mail macOS
- Apple Mail iOS
- Outlook macOS
- Outlook.com
- Outlook iOS
- Outlook Android
在此情況下,應顯示您在電子郵件Designer中定義的特定設定。
不過,某些限制可能會根據每個電子郵件使用者端而適用。 例如,如果電子郵件內容中出現影像,Apple Mail 16 (macOs 13)等使用者端將不會產生深色模式。
為獲得最佳結果,請使用您定位的電子郵件使用者端測試您的內容。 若要檢視儘可能接近每個使用者端最終結果的模擬,請使用電子郵件Designer中的電子郵件呈現選項。
電子郵件設計工具中的深色模式 dark-mode-email-designer
在電子郵件Designer中,若要使用深色模式,必須考量兩個方面:
- 您可以預覽預設深色模式在大多數支援的電子郵件使用者端中的呈現方式。 了解更多
- 如果您想要覆寫支援電子郵件使用者端的預設設定,可以定義套用至正在編輯之電子郵件的自訂深色模式設定。 了解更多
預覽預設深色模式 preview-dark-mode
若要存取電子郵件Designer中的深色模式,並取得預設深色模式設定的預覽,請遵循下列步驟。
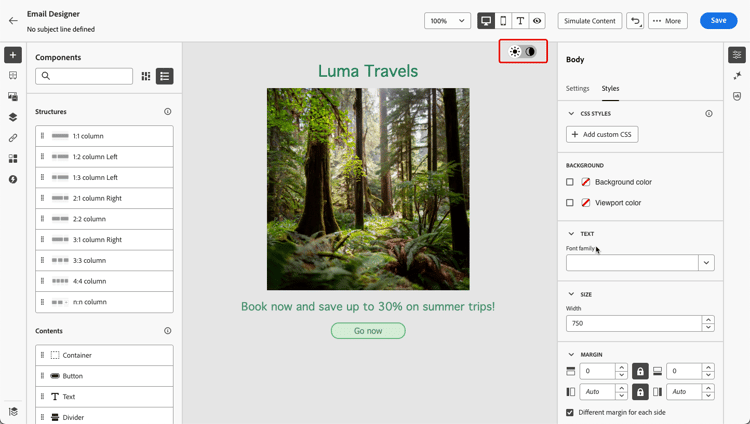
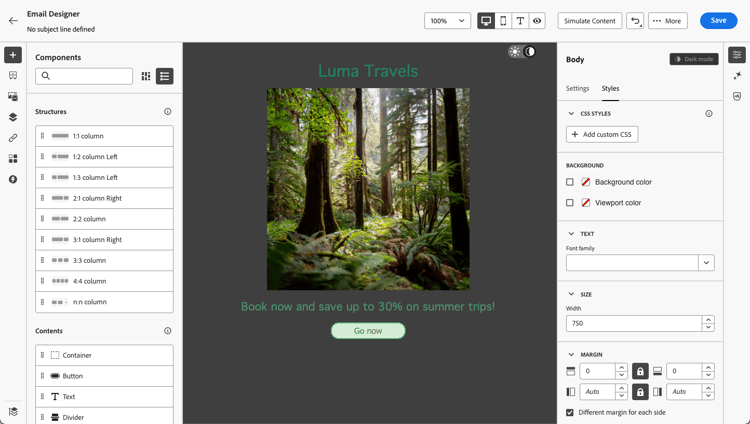
依預設,電子郵件Designer深色模式預覽會將「全色反轉」色彩配置套用至影像和圖示以外的所有元素。
這表示它會偵測含有明暗元素的區域,並加以反轉,讓淺色背景變成深色,深色文字變成淺色,而深色背景變成淺色,淺色文字變成深色。
定義自訂深色模式 define-custom-dark-mode
切換至 深色模式 後,您可以選擇編輯內容的特定樣式元素,這些樣式元素只有在收件者的電子郵件使用者端中啟用深色模式時才會顯示,前提是它支援該功能。
若要運用Email Designer自訂深色模式樣式,Journey Optimizer會使用 @media (prefers-color-scheme: dark) CSS查詢,會偵測使用者的電子郵件使用者端是否已設為深色模式,並套用您電子郵件中定義的深色主題設計。
若要定義自訂深色模式設定,請遵循下列步驟。
-
請務必在電子郵件Designer中切換至 深色模式 預覽。 了解作法
-
編輯任何樣式色彩屬性,例如文字、背景、按鈕等。
-
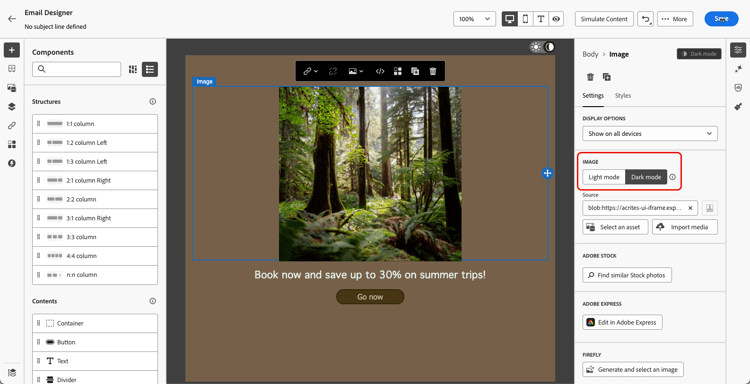
您無法變更影像和圖示的顏色,但只能為深色模式定義特定資產。 若要這麼做,請選取任何影像。 使用 設定 窗格中的專用切換開關切換至 深色模式 並選取其他資產。
-
您隨時可以切換到即時檢視,以檢查您的內容在各種裝置大小上可能會如何呈現。 從這個檢視中,選取畫面頂端的「深色模式」切換按鈕,即可預覽不同裝置上的深色模式內容版本。

note caution CAUTION 即時檢視是通用的預覽,用來比較各種裝置大小下的轉譯效果。 最終呈現內容可能會因收件者的電子郵件使用者端而異。 -
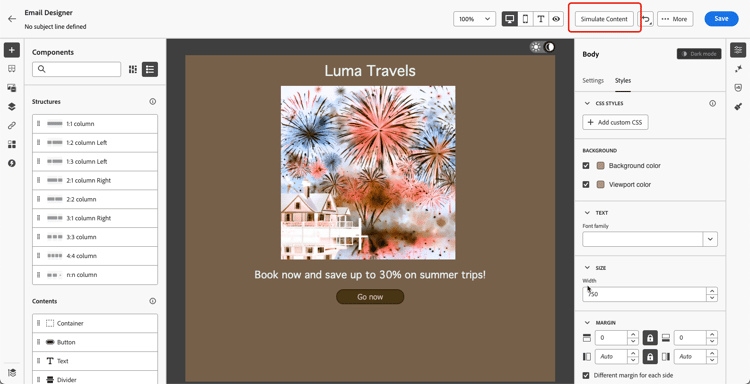
在您滿意深色模式的變更後,請按一下[模擬內容] ,然後從下拉式清單中選取[模擬內容(AEP設定檔)] ,以檢查電子郵件轉譯。
-
選取 轉譯電子郵件 並連線至您的Litmus帳戶。 您可以看到各種電子郵件使用者端的最終深色模式演算。 深入瞭解電子郵件呈現。 若要使用範例輸入資料或AI自動產生來測試內容變異,請直接按一下模擬內容。 瞭解如何模擬內容變化
note warning WARNING 雖然模擬非常接近電子郵件在深色模式下的顯示方式,但由於電子郵件服務提供者或裝置層級設定的差異,實際呈現可能會有所不同。
搭配主題使用深色模式 dark-mode-themes
如果您在電子郵件或範本內容中使用主題,也可以直接在主題層級定義每個顏色變體的獨立深色模式版本。 了解做法
最佳做法 best-practices
隨著主要電子郵件使用者端採用深色模式的人數增加,您必須考量您的電子郵件在明暗環境中呈現的方式,不論您是否使用自訂深色模式。
深色模式可以改變顏色、背景和影像 — 有時會覆寫設計選擇。 為確保視覺一致性、協助工具及品牌完整性,請遵循下列最佳實務。
最佳化您的影像和標誌
-
將圖志和圖示儲存為具有透明背景的PNG,以避免在深色模式中看到白色方塊。
-
避免使用硬式編碼白色或淺色背景的影像。
-
如果無法使用透明度,請在設計中將影像置於純色背景上,以防止發生尷尬的顏色倒轉。
觀看您的背景
-
確保文字和背景顏色之間有足夠的對比,以便在淺色和深色模式中都能閱讀。
-
避免僅依賴背景顏色處理重要內容。 有些使用者端會以深色模式覆寫背景顏色,因此請確定關鍵資訊仍然可見。
在深色模式中設計可存取的內容
-
使用顏色組合,可輕鬆區別色盲人士。
-
使用中間調調色盤,確保與淺色和深色背景的對比。
-
使用具有高對比度的無障礙色彩組合,以改善可讀性,並符合網頁內容可及性指引(WCAG)標準。 使用WebAIM的「對比檢查器」等工具,驗證色彩對比。
-
避免使用精簡字型,因為這會影響可讀性。 如果您的品牌需要細字型,請在深色模式中將其粗體。
-
略過純黑色的純白色,因為它可能會導致眼睛疲勞,並且可能會由某些電子郵件使用者端自動反轉。
-
如果深色模式不受支援,請提供可存取的遞補樣式。
在深色模式環境中測試您的電子郵件
This section contains structured knowledge intended to support interpretation, retrieval, and question answering related to this topic.
For complete understanding, this information should be combined with the documentation on this page. Neither source is intended to stand alone; the page describes the feature, while this section provides additional context that helps disambiguate terminology, intent, applicability, and constraints.
- TL;DR: This page explains how email clients handle dark mode and how to preview the default dark mode and define custom dark mode settings in the Email Designer, along with best practices for consistent rendering.
Intents:
- Understand how the main email clients handle dark mode
- Preview the default dark mode in the Email Designer
- Define custom dark mode settings, including specific images for dark mode
- Check rendering with Switch to live view and Simulate content
- Apply best practices for images, backgrounds, and accessible dark mode content
Glossary:
- Dark mode: A view letting supporting email clients display emails with darker backgrounds and lighter text, buttons, and UI elements (product-specific)
- Full color invert: The color scheme the default dark mode preview applies to all elements except images and icons, inverting light and dark areas (product-specific)
- Custom dark mode: Specific styling settings you define that display only when dark mode is enabled in a supporting recipient’s email client (product-specific)
- Switch to live view: A generic preview to compare how content renders across various device sizes, with a Dark mode toggle (product-specific)
- Simulate content: The option used (via Simulate content (AEP profiles), then Render email with Litmus) to check email rendering (product-specific)
Guardrails:
- The final dark mode rendering depends on the recipient’s email client and can vary a lot from one to another.
- Clients that do not support dark mode (for example Yahoo!Mail, AOL) never display any dark mode rendering, whether or not custom settings are defined.
- Clients that apply their own default dark mode (for example Gmail, Outlook Windows, Outlook Windows Mail) override any custom dark mode settings defined in the Email Designer.
- Custom dark mode renders only on clients supporting the
@media (prefers-color-scheme: dark)query (for example Apple Mail macOS, Apple Mail iOS, Outlook macOS, Outlook.com, Outlook iOS, Outlook Android). - The default dark mode preview applies the full color invert color scheme to all elements except images and icons.
- You cannot change the colors of images and icons, but you can define specific assets for dark mode only.
- Some clients such as Apple Mail 16 (macOS 13) will not generate dark mode if images are present in the email content.
Terminology:
- Canonical name: Dark mode — Acronym: n/a — variants: Dark mode view, custom dark mode
- Method: Journey Optimizer uses the
@media (prefers-color-scheme: dark)CSS query for custom dark mode - Do not confuse: “default dark mode preview” (full color invert applied by the Email Designer) ≠ “custom dark mode” (specific settings you define)
- Do not confuse: “Switch to live view” (generic multi-device preview) ≠ “Simulate content” / “Email rendering” (Litmus-based simulation across email clients)
FAQ:
- Q: Will my dark mode design look the same everywhere? — No; the final rendering depends on each recipient’s email client and can vary; it cannot be guaranteed identical across clients.
- Q: Why do my custom dark mode settings not appear in Gmail? — Clients such as Gmail apply their own default dark mode, which overrides the custom settings defined in the Email Designer.
- Q: Can I change image colors for dark mode? — No; you cannot change the colors of images and icons, but you can define specific assets to display in dark mode.
- Q: How do I check the closest rendering to the final result? — Use Simulate content, then Simulate content (AEP profiles) and Render email with a Litmus account, or the Email rendering option.
- Q: What color scheme does the default preview use? — Full color invert, applied to all elements except images and icons.