Get started with Adobe Marketo Qualifier
After Adobe provisions Marketo Qualifier for your organization, a Marketo system administrator must create the required user groups and connect Salesforce or Microsoft Dynamics 365.
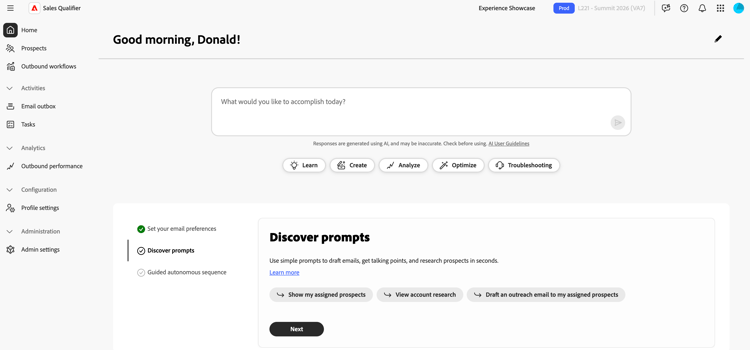
Set up user groups
User groups in Adobe Admin Console are used to control access to Marketo Qualifier. Both groups must be created before users can sign in.
See the Adobe Admin Console documentation for information about setting up groups.
- Be an organization administrator with access to Admin Console from the Adobe app switcher.
- Be assigned the Adobe Experience Platform product or be a System Administrator. Otherwise, Adobe Experience Platform does not appear in the product list.
Marketo Qualifier users
Users must belong to the Marketo Qualifier user group to access the application.
These steps are done in the Adobe Admin Console.
- From the app switcher, select Admin Console.
- Select Users > User groups > New user group.
- Enter
Marketo Qualifierfor the group name and select Save. - Open Assigned product profiles and select Assign profile.
- Select Adobe Experience Platform.
- Select the Default Production All Access product profile, select Apply, and then select Save.
- Open Users and select Add users to add everyone who needs access to Marketo Qualifier.
Marketo Qualifier administrators
Administrators who configure CRM connections, the Knowledge Center, and global email opt-out settings must also belong to the Marketo Qualifier Admins user group.
- In Adobe Admin Console, select Users > User groups > New user group.
- Enter
Marketo Qualifier Adminsfor the group name and select Save. - Open Users, select Add users, and add the administrators.
- Confirm that each administrator is also a member of the
Marketo Qualifiergroup.
Membership in both groups makes Admin Settings visible under Administration in the left navigation. Standard users work with the fields, filters, and playbook that administrators configure. The configured opt-out footer applies to their outbound emails automatically. Standard users cannot change these settings.
User group names must match exactly as shown in the preceding steps.
You can also create an optional Marketo Qualifier BDR managers group. Members of this group can access email performance reports.
Connect your CRM
Marketo Qualifier connects to Salesforce or Microsoft Dynamics 365 to give BDRs a unified view of users, leads, contacts, accounts, opportunities, owner mappings, and related activities. The initial connection requires read-only access to this CRM data. To prepare credentials before you connect Marketo Qualifier, work with your CRM administrator. See Integrations for integration details.
Marketo Qualifier Admins Adobe Admin Console group and the Marketo Qualifier group.A Salesforce system administrator creates an external client app (also called a connected app) and configures its run-as user.
| note prerequisites |
|---|
| PREREQUISITES |
| Confirm that the Salesforce administrator has these permissions: |
|
| The administrator requires Manage Connected Apps to view the client ID and client secret. |
-
In Salesforce, go to Setup > App Manager and select New Connected App or New External Client App.
-
Enter an application name and administrative contact email.
-
Enable OAuth and enter a callback URL.
If the connection does not use a redirect, enter any valid URL.
-
Add the following OAuth scopes:
- Access the identity URL service (
id,profile,email,address,phone) - Manage user data through APIs (
api) - Access unique user identifiers (
openid)
- Access the identity URL service (
-
Enable the client credentials flow and select a Run As user.
-
Confirm that the run-as user has Read access to
Leads,Accounts,Contacts,Tasks,Events,Opportunity,OpportunityContactRoles, andOpportunityLineItems. Also confirm that Access Activities is enabled. -
Save the application.
-
From App Manager, open the application and select View > Consumer Details.
-
Copy the following values for the Marketo Qualifier connection:
- Consumer Key (Client ID)
- Consumer Secret (Client Secret)
- Callback URL
- Salesforce instance URL
Steps are slightly different than described here. Refer to Salesforce documentation for more information.
Find your Salesforce instance URL
- Sign in and note your org My Domain subdomain from the browser address bar (the
{{mydomain}}value). - Use the canonical form for Marketo Qualifier:
https://{{mydomain}}.my.salesforce.com.
Do not use a lightning.force.com URL as the instance URL.
| note tip |
|---|
| TIP |
| If the CRM connections interface reports missing scopes, check the run-as user’s profile under Standard Object Permissions for Read access to Leads, Contacts, Accounts, and Opportunities. Also check Object Settings in every assigned permission set. |
A Microsoft Dynamics 365 or Azure administrator registers an application and adds it to the Dynamics environment.
-
In Microsoft Entra ID, select App registrations and register an application.
-
Copy the client ID and tenant ID, and create a client secret.
-
In the Power Platform admin center, select Environments and open the Dynamics environment.
-
Go to Settings > Users + permissions > Application users and select New app user.
-
Select the registered Microsoft Entra application.
-
Assign a security role that grants read access to leads, contacts, accounts, opportunities, and activities.
A security role is required. A security role is required for the application to access Dynamics data.
-
Collect the client ID, client secret, tenant ID, and Dynamics instance URL. Use the canonical URL form
https://{{mydomain}}.crm.dynamics.com.
Enter your connection
-
As a member of both required Marketo Qualifier groups, sign in to Marketo Qualifier and confirm that the correct sandbox or environment is selected.
-
In the left navigation, expand Administration and select Admin Settings.
-
Select CRM connections under Integrations.
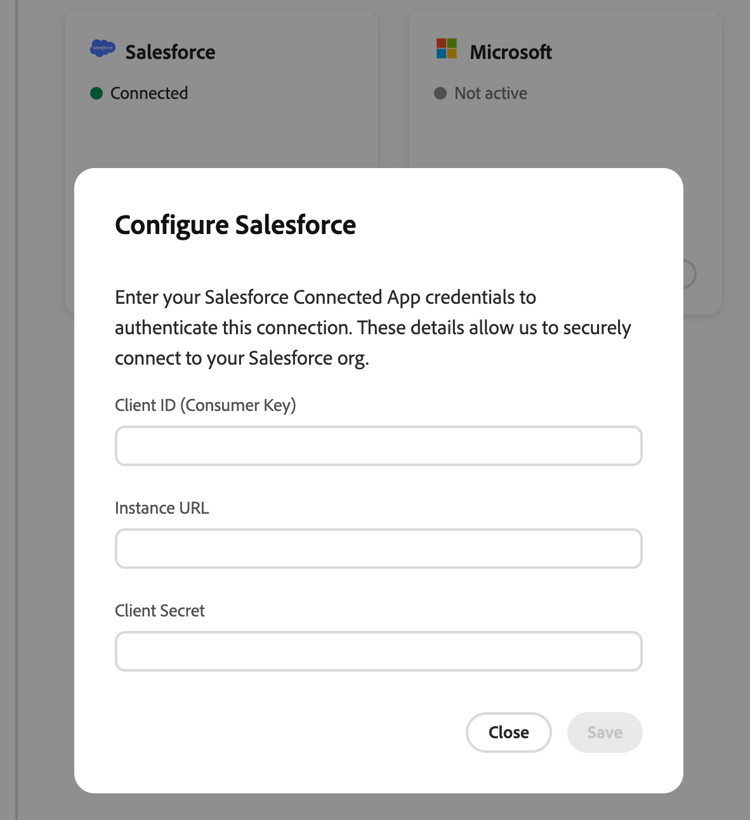
The page displays cards for Salesforce and Microsoft Dynamics. An inactive connection shows Connect. A configured connection shows Connected and Manage.
-
Select Connect for the CRM that you use.
-
Enter the credentials and instance URL from your CRM administrator.
-
After a successful connection, confirm that the card shows Connected.
Import CRM fields
After connecting the CRM, configure inbound mapping to determine which CRM fields appear within Marketo Qualifier. On the connected CRM card, select Manage to open Inbound mapping, then add a section for each entity type whose fields you want to import.
See Map CRM fields (inbound mapping) for complete steps, including how to make imported fields available as filters.