[Disponibilidad limitada]{class="badge informative"}
Activar públicos
La activación de audiencias permite activar audiencias para utilizarlas en campañas. La activación puede realizarla el colaborador en función de la configuración de activación de audiencia configurada en la conexión. Después de descubrir las mejores audiencias para tu campaña, actívalas para que estén disponibles para su uso. Al activar una audiencia, se envía al destino preconfigurado del colaborador, como Adobe Experience Platform, donde está disponible para su uso en campañas. Para obtener más información sobre la configuración de destinos, consulte la guía descripción general de destinos.
Activar nuevas audiencias activate-new-audiences
Para empezar a activar audiencias, ve a la pestaña Activar del área de trabajo del proyecto.
Seleccione el icono de agregar (

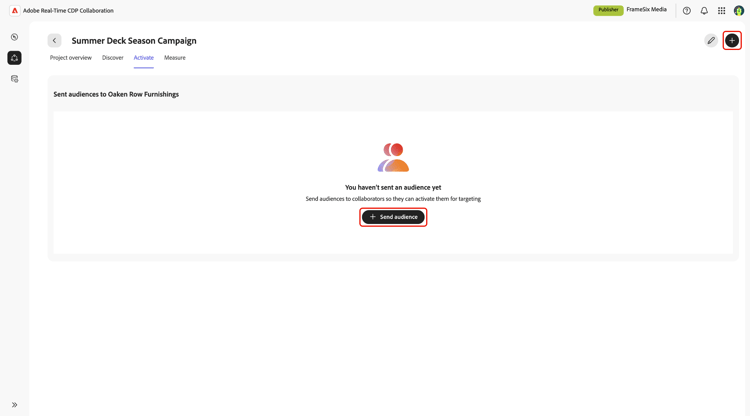
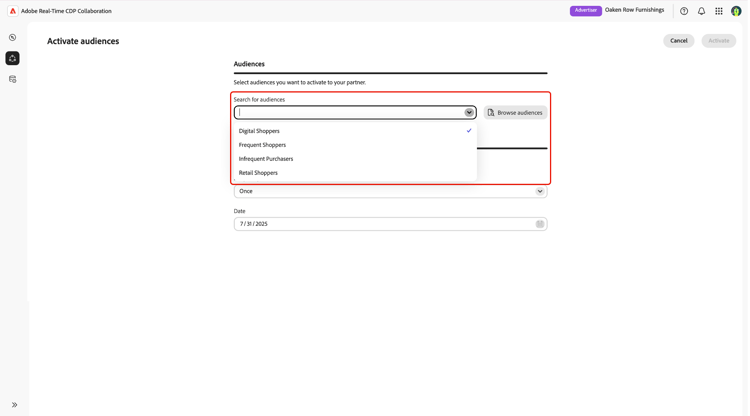
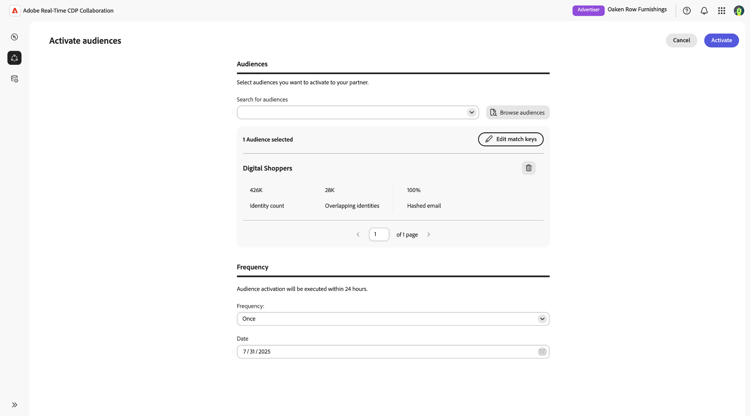
Se abre el flujo de trabajo activar audiencias, donde puede seleccionar la audiencia que desea enviar a su colaborador. Utilice el menú desplegable para seleccionar una audiencia o buscar una audiencia específica. Para ver más información sobre las audiencias antes de realizar la selección, selecciona Examinar audiencias
En Examinar audiencias, puede ver Recuento de identidades, Identidades superpuestas y Superposición % para cada audiencia.
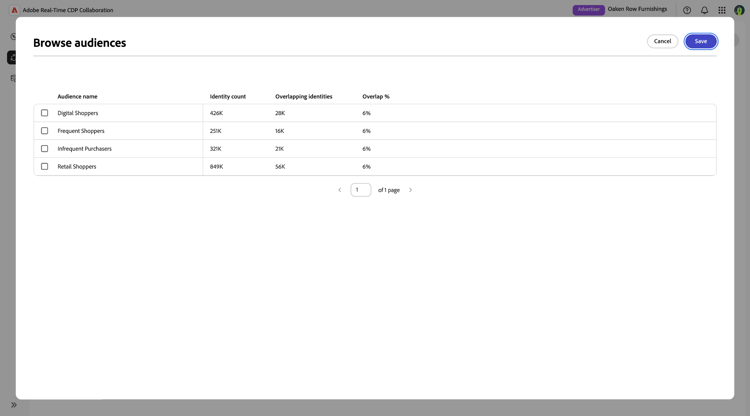
Seleccione la audiencia que desea activar en las campañas y luego seleccione Guardar. La audiencia ahora se muestra y puede ver Recuento de identidades, identidades superpuestas y Superposición % para la audiencia seleccionada.
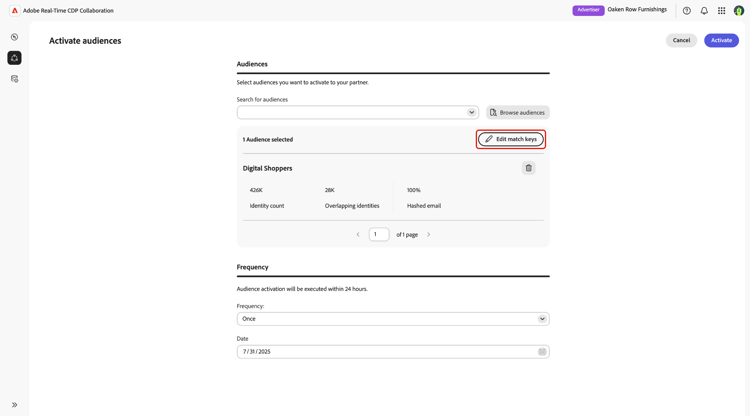
Editar claves de coincidencia edit-match-keys
A continuación, puede editar las claves de coincidencia de la audiencia seleccionando Editar claves de coincidencia dentro de la audiencia seleccionada. Estas opciones se heredan de las selecciones de claves de coincidencia cuando se configuró inicialmente la conexión entre colaboradores. Puede eliminar las claves de coincidencia seleccionadas si no se aplican a una campaña específica, pero no puede añadir nuevas claves de coincidencia.
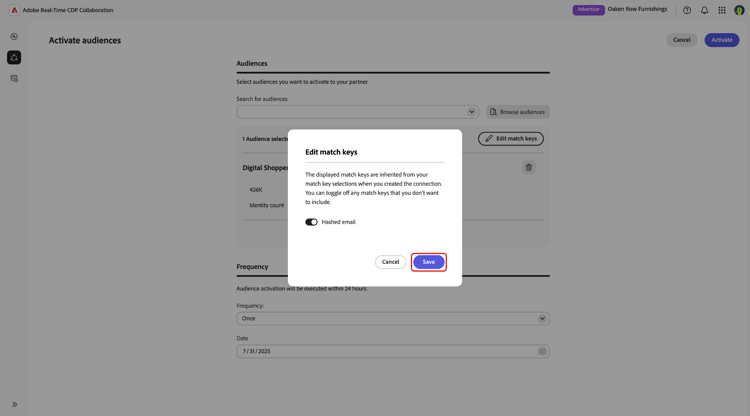
Se abre el cuadro de diálogo Editar claves de coincidencia, donde puede desactivar las claves de coincidencia que no desee usar. Seleccione Guardar para guardar los cambios.
Establecer frecuencia de actualización de audiencia set-audience-refresh-frequency
Finalmente, establezca la frecuencia y el intervalo de fechas deseados para que la audiencia se actualice. En la versión actual, la única opción de frecuencia admitida es Una vez. La frecuencia Una vez significa que las audiencias se activan una sola vez y no se actualizan. La opción Date se rellena automáticamente con la fecha actual.
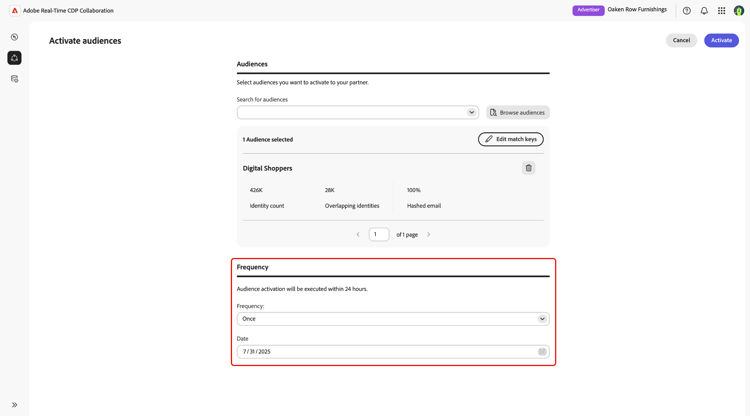
Cuando esté satisfecho con las selecciones, seleccione Activar para completar el flujo de trabajo.
Activar tablero activate-dashboard
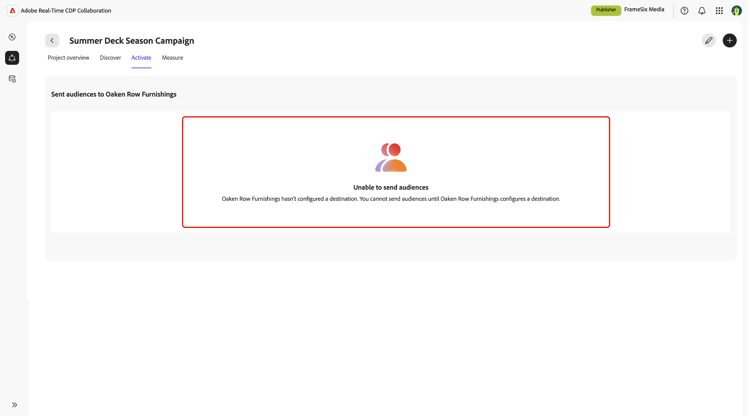
En la pestaña Activar, puedes ver todas las audiencias que se enviaron a tu colaborador, así como todas las audiencias que tu colaborador activó en tu destino.
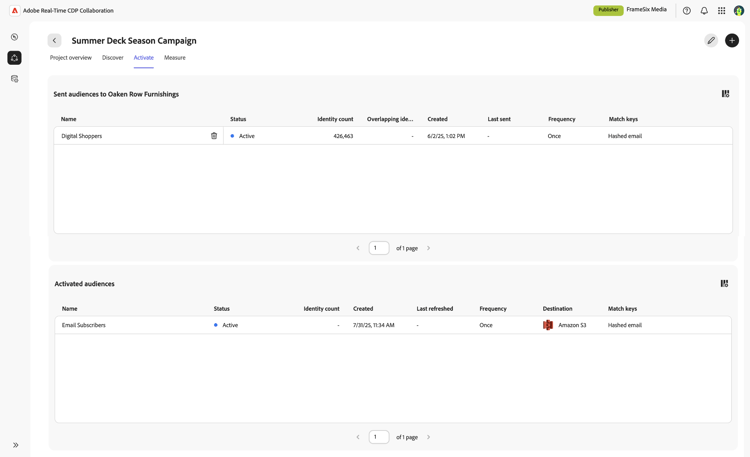
Ver audiencias enviadas view-sent-audiences
En la sección Audiencias enviadas al colaborador, se enumerarán todas las audiencias que haya enviado. Actualmente, las audiencias se envían automáticamente al destino configurado del colaborador después de enviarlas. En la vista de su colaborador, estas audiencias se muestran en la sección Audiencias activadas.
Dentro de cada audiencia enviada, puede ver las siguientes métricas:
Ver audiencias activadas view-activated-audiences
En la sección Audiencias activadas puede ver todas las audiencias que se han activado en su destino.
Dentro de cada audiencia activada, puede ver las siguientes métricas:
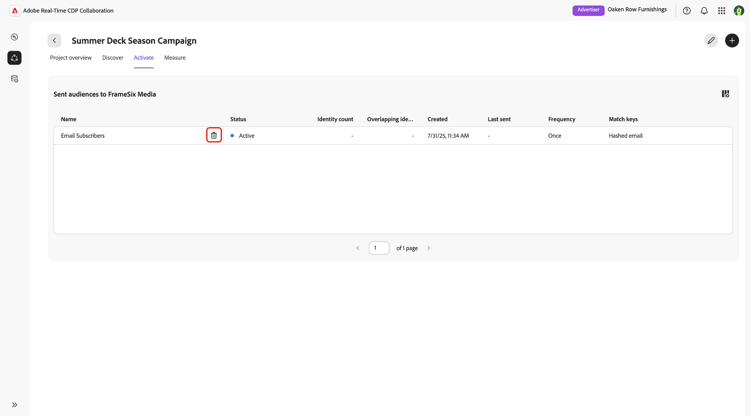
Eliminar audiencias enviadas delete-sent-audiences
Puede eliminar las audiencias enviadas que ya no desee activar. Cuando elimina una audiencia enviada, se elimina de la sección Audiencias enviadas a y ya no se activa en el destino de su colaborador.
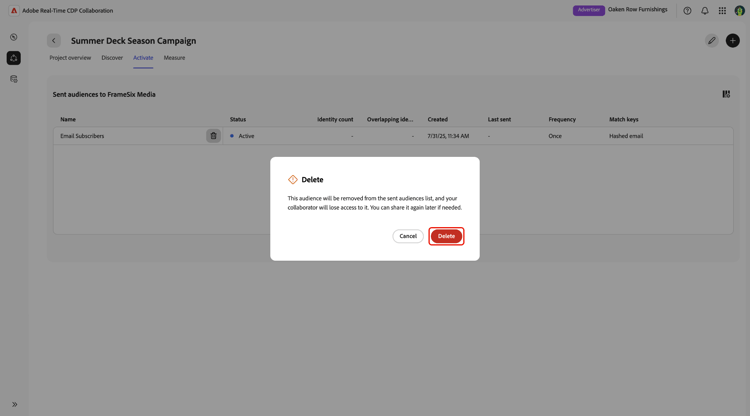
Para eliminar una audiencia enviada, seleccione el icono Eliminar (

Se abrirá un cuadro de diálogo de confirmación en el que se le pedirá que confirme la eliminación. Seleccione Eliminar para confirmar.
Próximos pasos next-steps
Después de activar audiencias y ejecutar campañas, trabaje con el equipo de ingeniería y habilitación de Adobe para cargar datos de medición y ver los informes de medición correspondientes.