(Beta) Create expansion audiences in Expand
Use the Expand tab within a project to create an expansion audience from one of your audiences. Collaboration uses your collaborator’s audience population to find profiles that resemble your seed audience, helping you reach new prospects without exposing your collaborator’s underlying audience data. The resulting expansion audience is sent to your collaborator for activation.
Prerequisites prerequisites
Before you can use the Expand tab, you should have:
- Sourced at least one audience to use as a seed audience
- Connected with a collaborator
- Created a project with that collaborator
- If you are receiving an expansion audience, a destination configured to receive activated audiences
Expand overview expand-overview
Navigate to Collaborate > My projects, open a project, and select the Expand tab.
The Expand page shows the expansion audiences created for this collaborator and the option to create a new one.
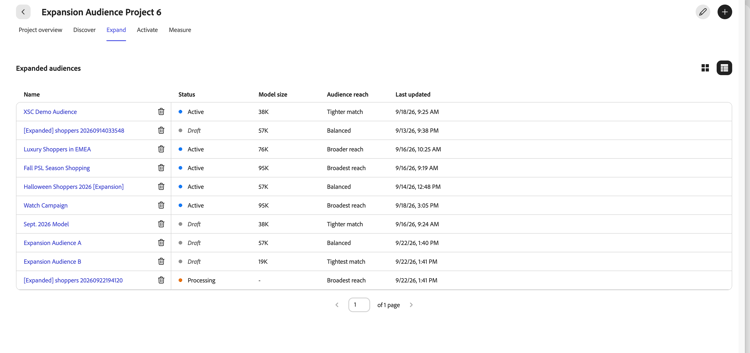
The Expansion audiences table lists every expansion audience created in the project:
Expansion audience status expansion-audience-status
An expansion audience moves through the following statuses:
Create an expansion audience create-expansion-audience
To create a new expansion audience, select the add icon (

The Generate an expansion audience dialog appears. Complete every field to generate the expansion audience.

Select your seed audience select-seed-audience
Select one of your own audiences from the Select your seed audience dropdown. Collaboration uses this audience as the basis for finding similar profiles in your collaborator’s population.

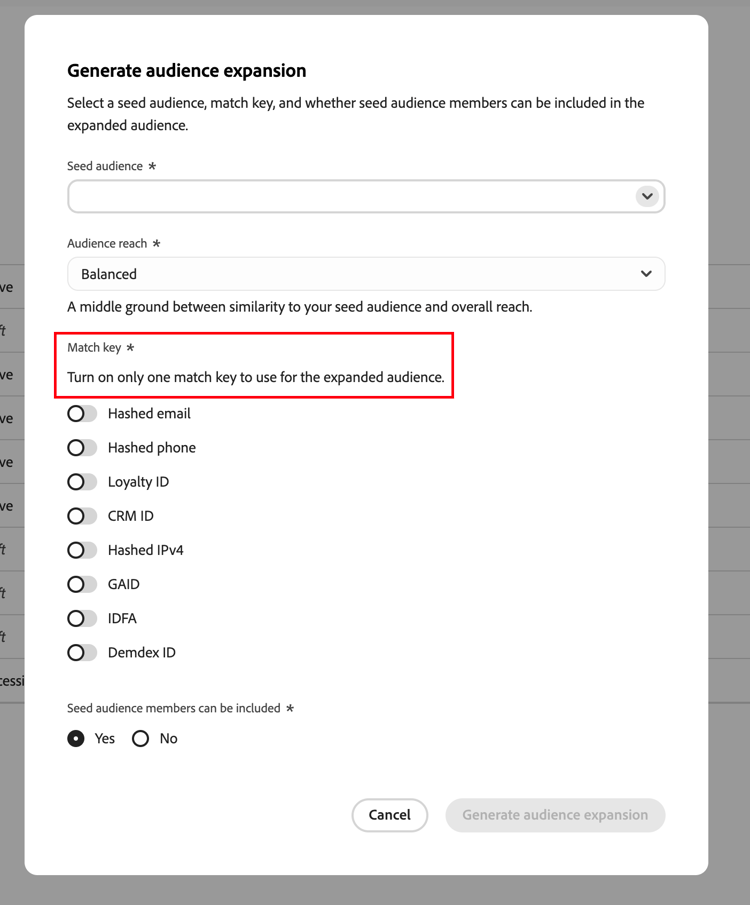
Select a match key select-match-key
Enable one match key for the expansion audience. You can’t enable more than one.
Select your audience reach select-audience-reach
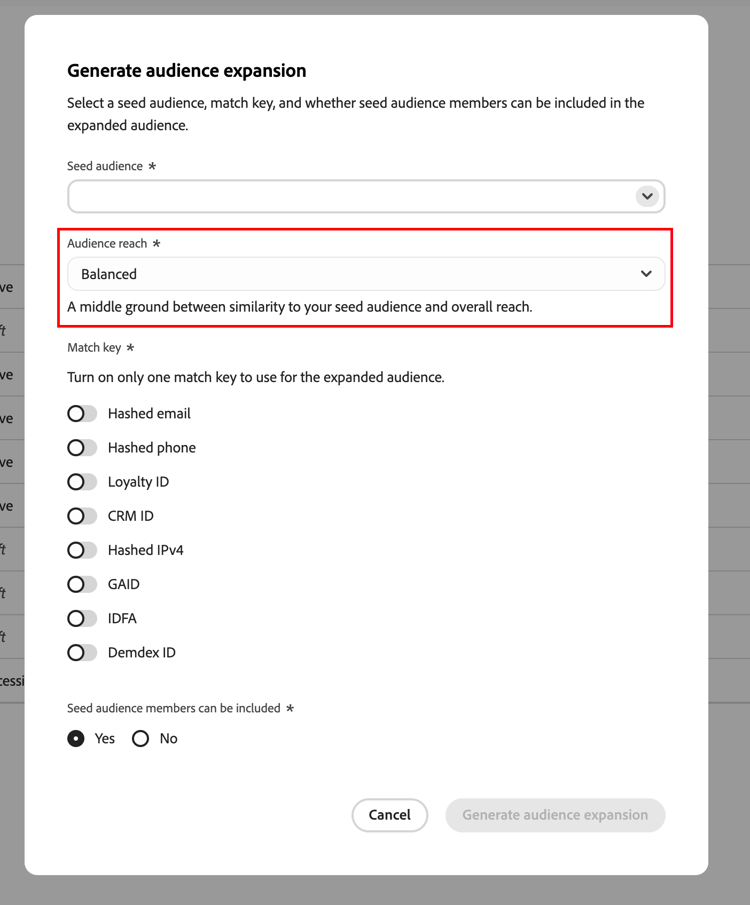
Use the Audience reach dropdown to balance similarity to your seed audience with overall reach. Select Balanced for a middle ground between similarity to your seed audience and overall reach.
Include or exclude your seed audience include-exclude-seed-audience
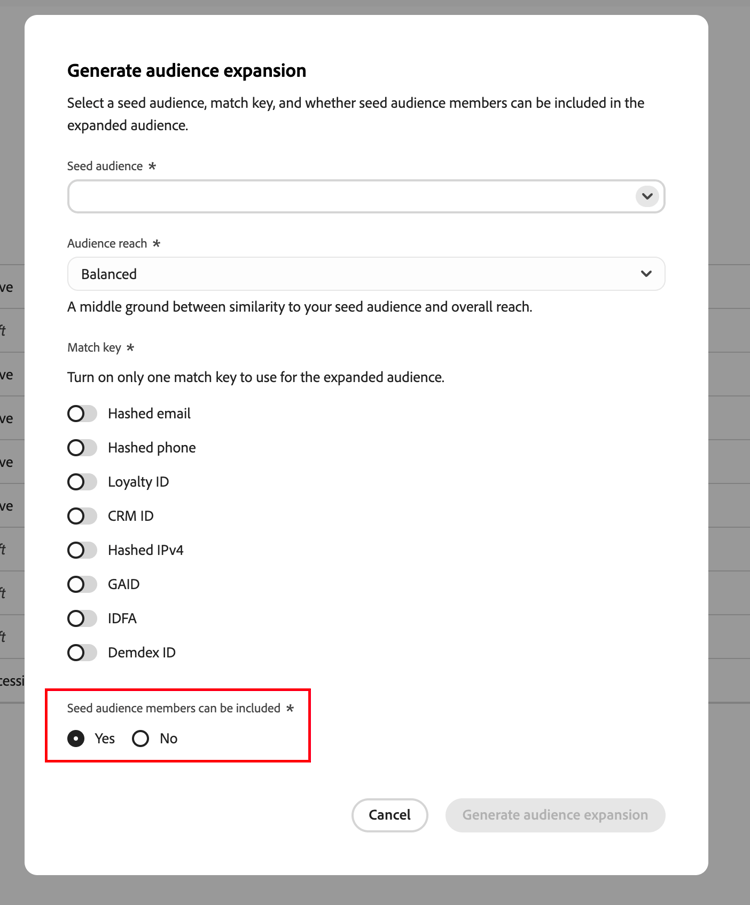
Use the Seed audience radio buttons to choose whether your original seed audience is included in or excluded from the final expansion audience.
Generate the expansion audience generate-expansion-audience
Once all fields are complete, select Generate expansion audience. A confirmation message confirms that Collaboration is creating the expansion audience, and that you can track its progress on the Expand page.
Review and send an expansion audience review-send-expansion-audience
Once an expansion audience’s status updates to Draft, select its name from the Expansion audiences table to open it.

From this view, you can:
- Edit the expansion audience name
- View the creation date and time
- Compare the seed audience size against the generated expansion audience size
- Review the match key used to generate the audience
When you’re ready, select Send to partner to send the expansion audience to your collaborator. The audience remains in Draft status until you send it, then updates to Active.
Receive and activate an expansion audience receive-activate-expansion-audience
When you send an expansion audience, Collaboration delivers it to your collaborator according to the activation setting configured for the connection:
- If automatic activation is enabled, Collaboration activates the expansion audience automatically to your collaborator’s configured destination, and it appears in their Activate tab.
Next steps
Once you send your expansion audience, use the Discover tab to compare it against other audiences, or the Activate tab to track its activation.