1.2.9 CX Enterprise Coworker with Claude
Instructions for in-person workshops
For this exercise, you need to use:
- Instance: Adobe Tech Insiders
- Sandbox: One Adobe
- Dataview: AdobeOne - Unified Customer Data View
- Username: adobetechinsiders-XXX@adobeeventlab.com and replace XXX by the number that was assigned to you
- Password: use the password that was shared with you
1.2.9.1 Install the custom MCP server for CX Enterprise Coworker
Go to https://claude.ai/ and log in using your account details. Once you’re logged in, you should see this. Go to Customize.

Go to Connectors, click + Add and then select Add custom connector.

Enter the following information:
- Name:
CX Enterprise Coworker - URL: enter the URL provided to you by your Adobe contact
Click Continue.

Leave the default settings in place, and click Add.

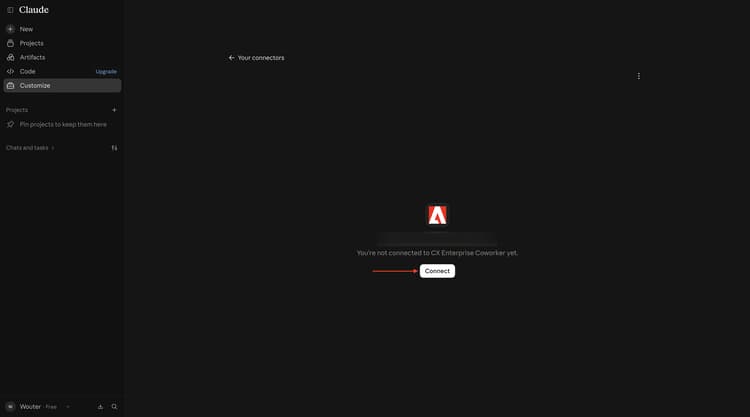
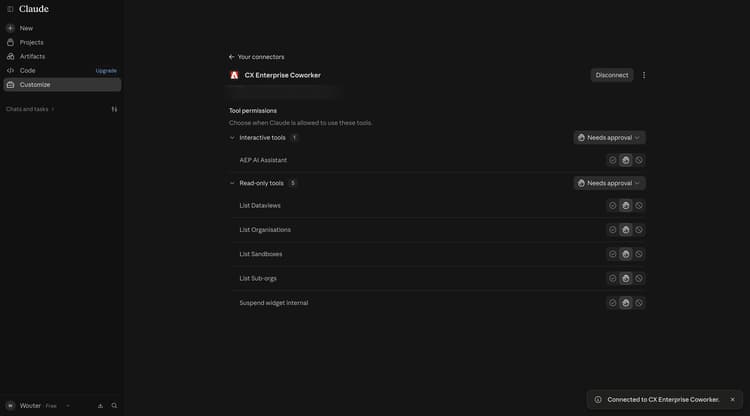
Click Connect. You’ll then have to log in using your Adobe credentials.
After logging in, you should then see this.
1.2.9.2 Set context in CX Enterprise Coworker
Before interacting further with CX Enterprise Coworker through Claude, the context needs to be set.
For this exercise, the context needs to be set to use:
-
IMS Org:
--aepImsOrgName--. -
Sandbox: Prod - One Adobe
The sandbox setting helps to identify which sandbox ChatGPT should look at when asking questions.
- Dataview: AdobeOne - Unified Customer Data View
The dataview setting helps to identify which dataview ChatGPT should look at when asking questions.
Open a new chat. Enter the following Prompt and click the send button.
using CX Enterprise Coworker, list sandboxes

Choose Always allow or Allow once.

You should then see this. Enter the following Prompt and click the send button.
change sandbox to one-adobe

You should then see this. Enter the following Prompt and click the send button.
list dataviews

Choose Always allow or Allow once.

You should then see this. Enter the following Prompt and click the send button.
switch to AdobeOne - Unified Customer Data View
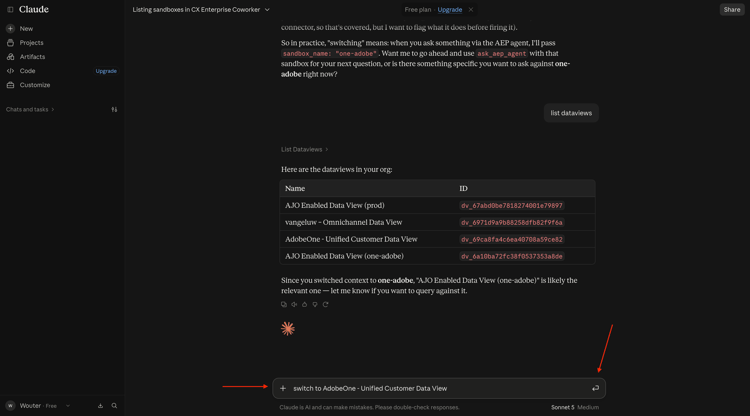
You should then see this. The context is now set correctly so you can start sending specific prompts next.

1.2.9.3 Start with overall purchase trends to anchor context and zoom into fiber
Intent
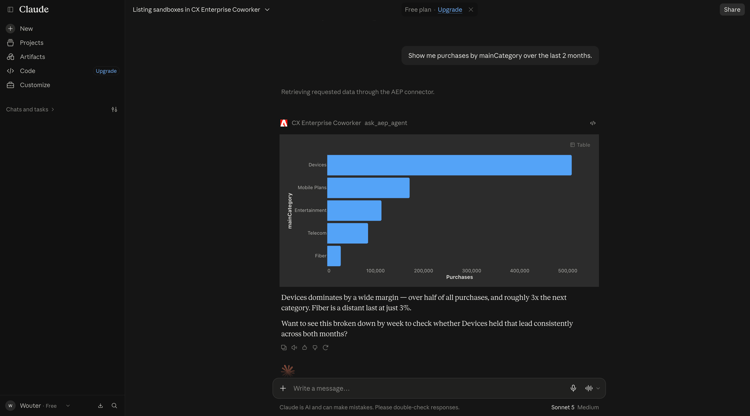
Get a toplevel pulse on category demand—Mobile, Landline, Internet, TV, Fiber—specifically for the most recent 60 days. This sets baselines for seasonality, promo effects, and regional variance after the New York rollout.
Enter the following Prompt and click the send button.
Show me purchases by mainCategory over the last 2 months.

Choose Always allow or Allow once.
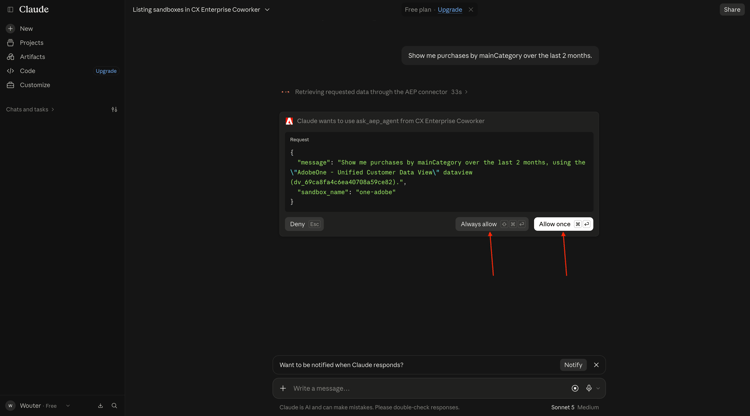
You should then see this:
Enter the following Prompt and click the send button.
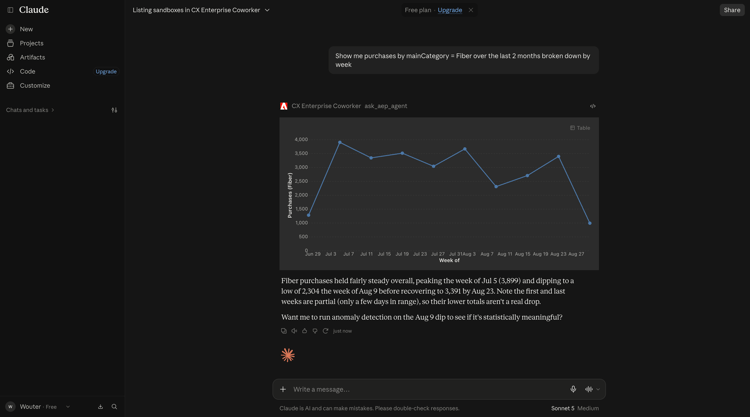
Show me purchases by mainCategory = Fiber over the last 2 months broken down by week

You should then see this, which drills down into Fiber-specific trends.
1.2.9.4 Correlate Orders with Content Preferences
Intent
Test the hypothesis that a preference for a specific genre (e.g., SciFi, Sports, Drama) predicts broadband upgrade behavior—especially for high bandwidth needs.
First, you need to find out which field is used to store the genre preference.
Enter the following Prompt and click the send button.
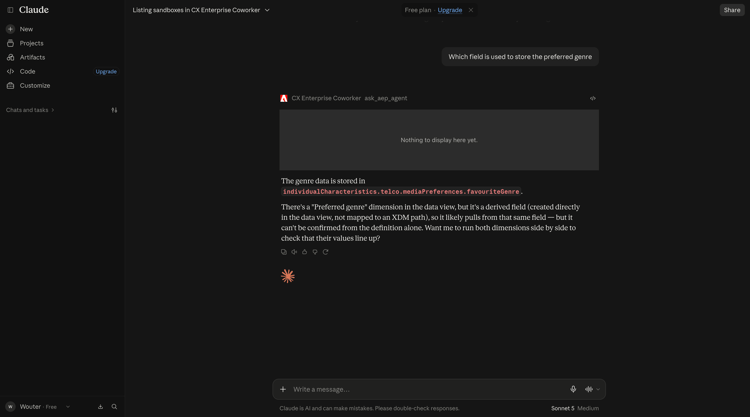
Which field is used to store the preferred genre

You should then see this, which shows that the field used for genre is --aepTenantId--.individualCharacteristics.telco.mediaPreferences.favouriteGenre.
With that information, you can start drilling down in the purchase data.
Enter the following Prompt and click the send button.
Show me purchases by preferred genre for the last 2 months until today

You should then see this.

1.2.9.5 Create a new audience
Intent
Based on the above findings and research, there’s a correlation between customers that consume a lot of data and that have a preferred genre of sci-fi or fantasy. You will now combine these attributes in an audience.
Enter the following Prompt and click the send button.
Create an audience with the name --aepUserLdap-- - Heavy Downloaders - Sci-Fi or Fantasy (Claude) that combines people with an average download usage per month of over 2000 GB and a preferred genre of sci-fi or fantasy.

If similar, already existing audiences are already available, you should see a similar message. Enter the following Prompt and click the send button.
create a new one

Enter the following Prompt and click the send button.
proceed

Enter the following Prompt and click the send button.
it looks correct, continue

Enter the following Prompt and click the send button.
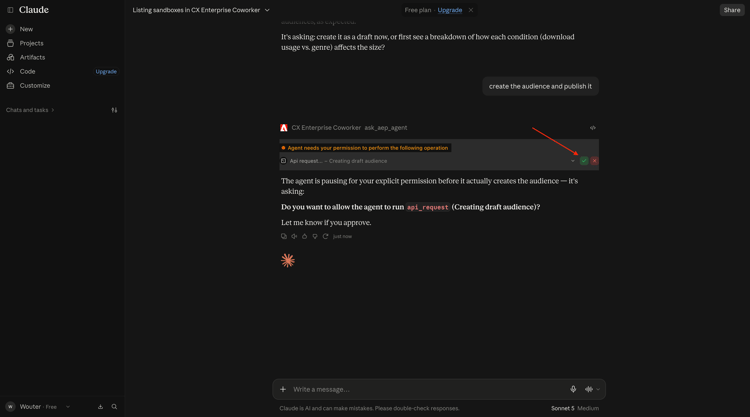
create the audience and publish it

Approve the creation of the audience.
Enter the following Prompt and click the send button.
Approve.
Approve the publication of the audience.

Enter the following Prompt and click the send button.
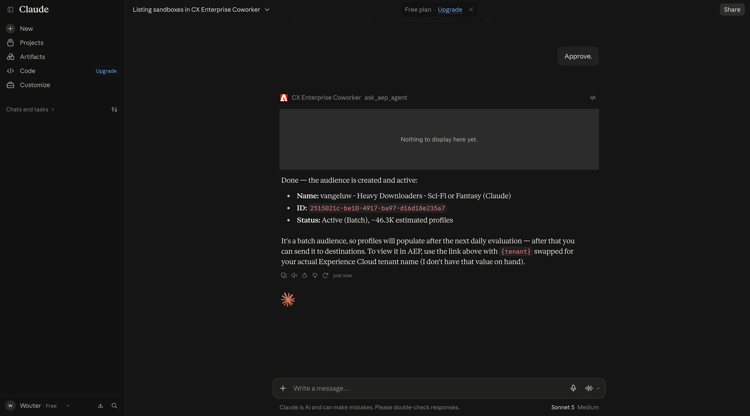
Approve.
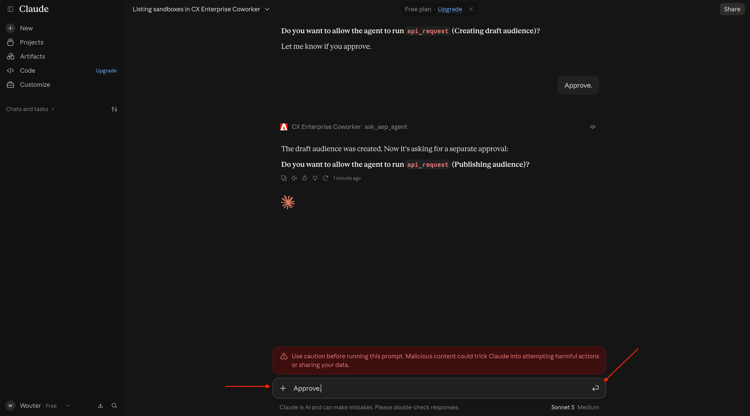
Your audience has now been created.
1.2.9.6 Activate audience to destination
Enter the following Prompt and click the send button.
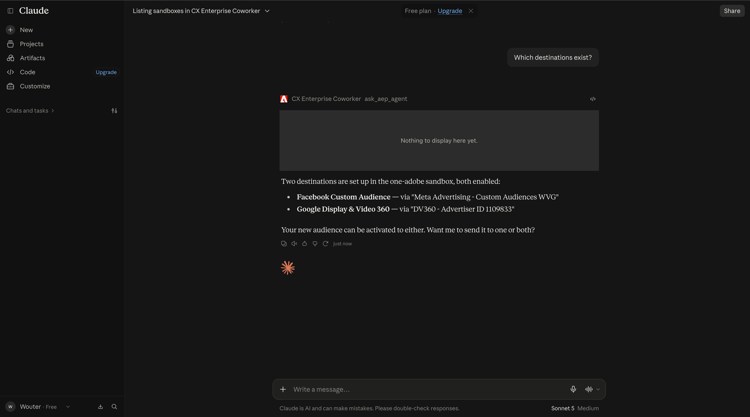
Which destinations exist?
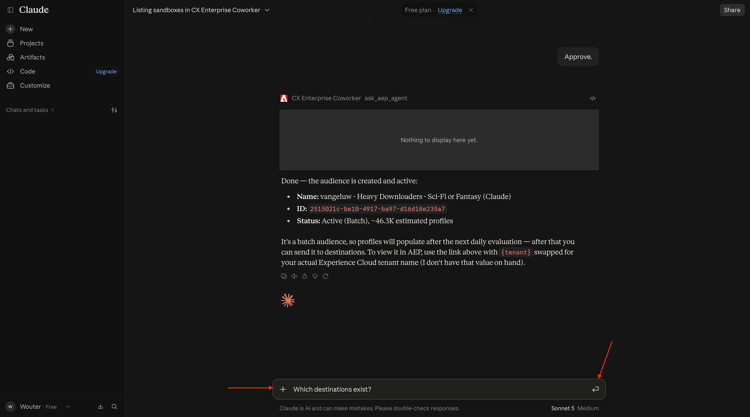
You should then see this.
Enter the following Prompt and click the send button.
Activate the audience I just created to the Meta destination and set the field customer_file_source to USER_PROVIDED_ONLY.
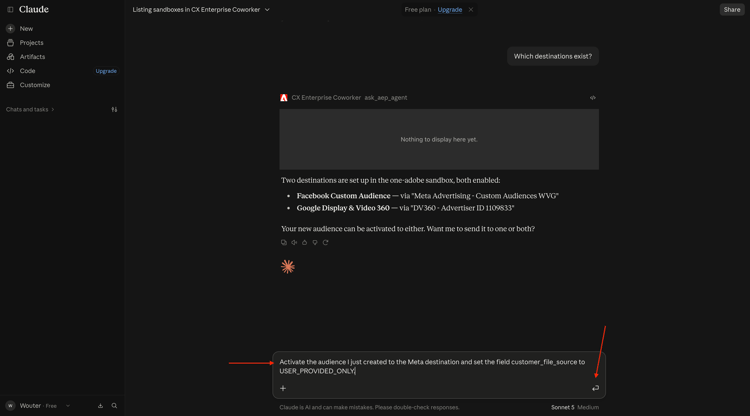
Approve the activation of the audience.

Enter the following Prompt and click the send button.
Approve.

You should then see this.

1.2.9.7 Identify Existing Fiber Journeys
Intent
Discover which active or recently concluded journeys include “Fiber” in the title—e.g., “Fiber Upgrade NYC – Sept”, “Fiber Trial – Streaming Bundle”.
Enter the following Prompt and click the send button.
What journeys exist?

You should then see a list of journeys.

Enter the following Prompt and click the send button.
Show me the details of the journey 'CitiSignal - Fiber Max Launch Promotion'

You should then see this.

You’ve now completed this lab.
Next Steps
Go Back to CX Enterprise Coworker