[AEM Forms]{class="badge positive" title="Applies to AEM Forms)."}
Submit Action for Adaptive Forms based on Foundation Components
The Adaptive Forms based on Foundation Component supports various out-of-the-box submit actions. A Submit action is triggered when a user clicks the Submit button on an Adaptive Form.
Submit Actions for Forms based on Foundation Components
The following Submit Actions are supported by Adaptive Forms based on Foundation Components:
You can also submit an Adaptive Form based on Foundation Components to other storage configurations:
Additionally, you can customize the default Submit Actions to align with specific organizational requirements.
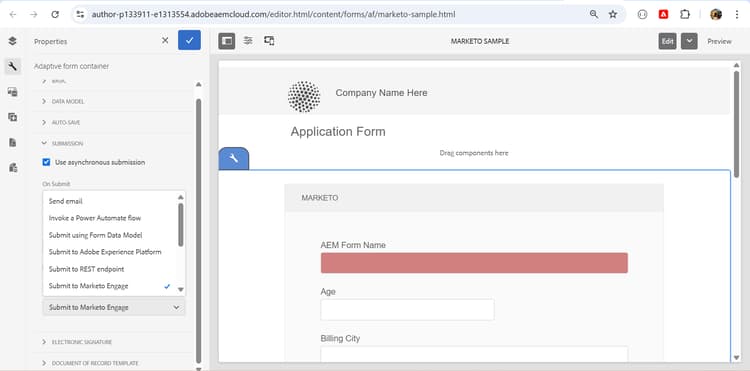
Configure a Submit Action for Form based on Foundation Components
You can configure a Submit Action in the Submission section of the Adaptive Form Container properties, in the sidebar.
See Also see-also
- Send email
- Submit to SharePoint Document Library
- Submit to SharePoint List
- Submit using Form Data Model
- Submit to Azure Blob Storage
- Submit to REST endpoint
- Submit to OneDrive
- Invoke an AEM Workflow
- Submit to Power Automate
- Submit to Workfront Fusion
- Connect Adaptive Form to Salesforce application
- Connect an Adaptive Form to Microsoft® Dynamics
- Connect an Adaptive Form to Adobe Marketo Engage
- Create custom submit action