Configure locations
The highlighted information on this page refers to functionality not yet generally available. It is available only in the Preview environment for all customers. After the release to Preview, the same features are also available monthly in the Production environment for customers who enabled fast releases.
For information about fast releases, see Enable or disable fast releases for your organization.
You can configure the default locations available to assign as attributes to job roles in rate cards. This ensures that the rate cards accurately reflect the market rates in each location.
Rate cards allow your organization to easily manage billing rates for projects. For more information, see Manage rate cards and Define rate attributes.
Access requirements
| table 0-row-2 1-row-2 2-row-2 layout-auto html-authored no-header | |
|---|---|
| Adobe Workfront package | Workflow Ultimate |
| Adobe Workfront license | Standard |
| Access level configurations | System Administrator |
For information, see Access requirements in Workfront documentation.
Add a location
-
Click the Main Menu icon


-
In the left panel, click Locations.
-
In the Production environment, click Add more Locations at the bottom of the list. In the Preview environment, click New row at the bottom of the list.
-
Enter the location name and description.
-
Click outside of the row to save the location.
-
To delete a location in the Production environment, select it in the list and click the Delete icon

Add a sub-location
You can add a sub-location to an existing location. For example, if you already have a location of United Kingdom, then London could be a sub-location.
Three levels of sub-locations are permitted. Country, state or province, and city are common uses of sub-locations.
Each sub-location can be added as an attribute on a rate card in the same way as a top level location, to define the rate for a specific job role at that location.
-
Click the Main Menu icon
-
In the left panel, click Locations.
-
In the Production environment, select an existing location in the list and click Add sub location. In the Preview environment, select an existing location in the list and click Add sub location in the action bar at the bottom of the screen.
-
Enter the location name and description.
-
Click outside of the entry area to save the location.
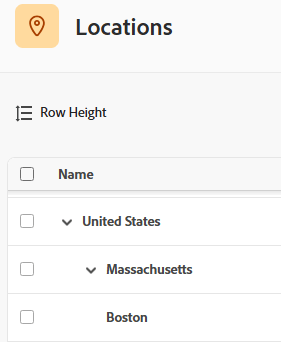
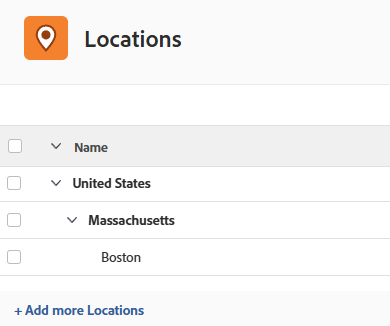
The sub-location is indented under the top level location.
Sample image in the Production environment:
Sample image in the Preview environment: