Create Channels (Beta)
Organizations often store knowledge-sharing sessions, training recordings, and other video content across informal learning content curated web and Confluence Cloud pages. Channels connect Adobe Learning Manager to these content sources, making videos easier to discover and consume without requiring learners to navigate multiple systems. Channels help you organize and share video-based learning content from enterprise web pages and Confluence Cloud pages in a single, searchable location. Instead of searching across multiple internal sites, learners can discover and access relevant recordings directly from Adobe Learning Manager. View Discover and engage with Channels for more information.
As an Administrator, you can create and manage channels, configure visibility settings, synchronize content with its source, and verify that videos are available before making the channel accessible to Learners. The supported video formats are MP4 and WebM.
This article explains how to perform these channel management tasks.
Key benefits
- Consolidate video-based learning content from multiple internal sources in one location.
- Curate video content from multiple intranet locations into web pages, which are then displayed as Channels in ALM.
- Enable learners to find, play, and engage with content without navigating to multiple sites.
- Keep content synchronized with its original source.
Enable Channels
Channels is a feature that Administrators turn on for the account. Once enabled, you can create channels that connect to enterprise web pages and to Cloud Confluence pages containing video content.
The channel crawler reliably extracts videos from source pages that present their content in the following formats:
- Tables
- Bulleted lists
- Articles
To enable the Channels feature:
-
Log in to Adobe Learning Manager as an Administrator.
-
Select Channels from the left navigation.
The Channels page opens. -
Select the Settings tab.
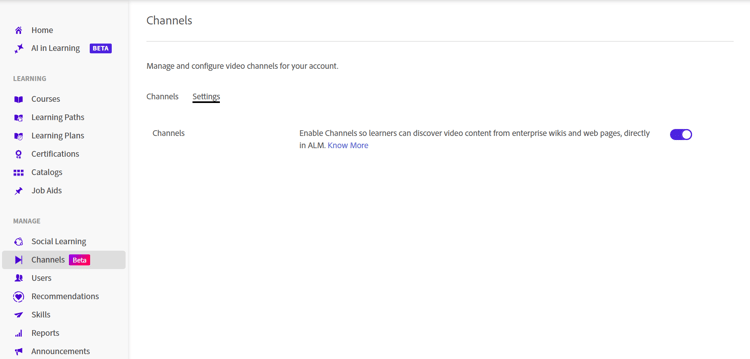
Enable the Channel feature in the Settings tab to let Administrators create channels for the account.
-
Enable Channel feature.
The channels are enabled for the account.
Create a Channel
Create a channel to define the content source that Adobe Learning Manager scans for videos, and customize the channel and video page appearance.
-
Navigate to the Channels tab and select Add channel.
The Create channel page opens.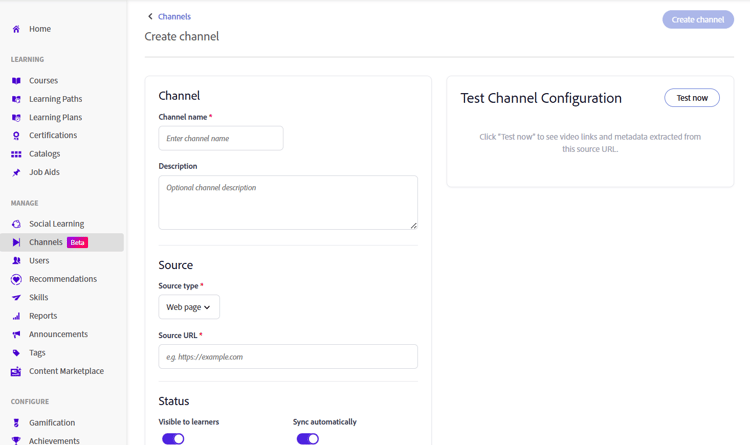
Define the content source and configure visibility and sync options when creating a channel.
-
In the Channel section, enter the Channel name and Description.
-
Select a Source type from the drop-down menu. The following options are available:
-
Web page: Select this option to crawl a web page and import video links along with their associated metadata.
-
Confluence page: Select this option to retrieve video links and metadata from a Confluence Cloud page. To connect to Confluence Cloud, provide the following details:
- Atlassian email address: Enter the email address associated with your Atlassian account.
- Atlassian API token: Enter the API token generated from your Atlassian account. Select How to create an API token for instructions on generating one. This token is used for authentication when crawling the source and is stored encrypted.
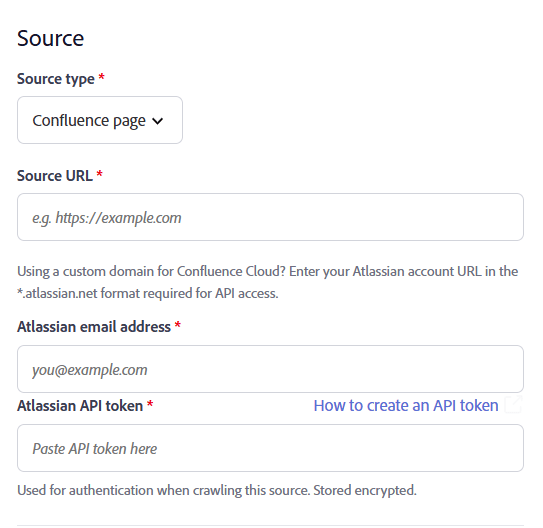
Enter the Atlassian email address and API token used to authenticate with Confluence Cloud.
-
-
Enter the Source URL of the selected source type content.
-
In the Status section, configure the following options:
-
Visible to Learners: Enable this option to make the channel available to learners. Disable it to hide the channel while you continue configuring or testing it.
note NOTE The Channels tab is visible to learners only when this setting is enabled and contains at least one video. -
Sync automatically: Enable this option to automatically update the channel when new videos are added to the source. Disable it if you want to manually sync the channel.
-
-
(Optional) Select Show advanced settings, and then configure the following options as required:
-
Channel theme color: Select a color from the drop-down list to customize the visual appearance of the channel.
-
Crawl depth: Enter the crawl depth for linked pages to scan for video content. It supports a maximum crawl depth of 2.
-
Crawl frequency (in hours): Enter how often Adobe Learning Manager should check the source for new or updated content.
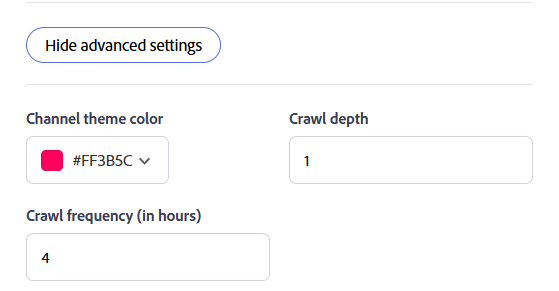
Select Show advanced settings to configure the channel theme color, crawl depth, and crawl frequency.
-
-
Select Test now to validate the source. The sample videos are retrieved and displayed from the configured source.
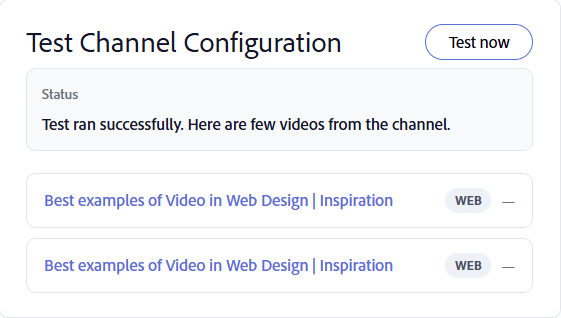
Use Test now to confirm videos are retrieved from the source before you create the channel.
-
Select Create channel. The channel is created and added to the Channels list.
Search for a Channel
Use the search box to quickly locate a channel by name.
-
Select Channels tab.
-
Select Search channels box.
-
Enter the channel name or a part of it in the Search channels box.
The list filters to display only the channels that match your search.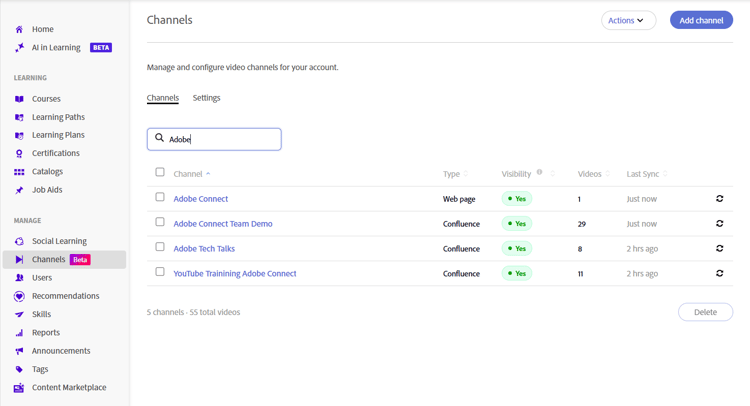
Enter a channel name in the search box to filter the Channels list.
Manage Channels visibility
Use the Actions menu to disable or hide one or more channels at the same time.
Disable channels
Disable one or more channels to prevent learners from accessing their content while retaining the channel configuration.
To disable channels:
-
Navigate to Channels.
-
Select the checkbox next to one or more channels and then select Actions.
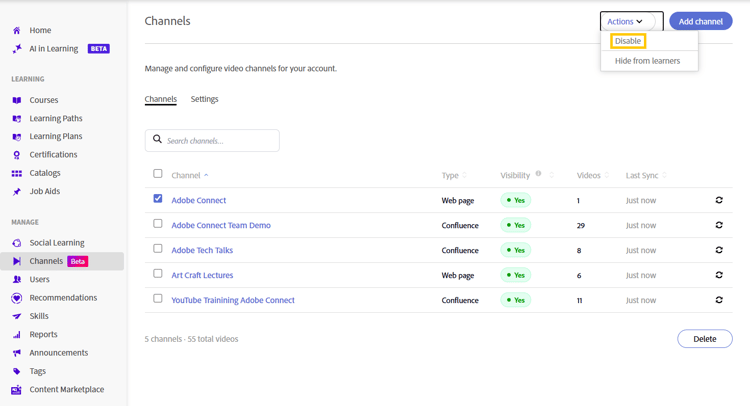
Select Disable from the Actions menu to disable one or more selected channels. -
Select Disable.
The Disable channels pop-up window appears. -
Select Disable.
The selected channels are disabled.
Hide channels from learners
Hide one or more channels to make them unavailable to learners without deleting them.
To hide channels from learners:
-
Navigate to Channels.
-
Select the checkbox next to one or more channels and then select Actions.
-
Select Hide from learners.
The Hide from learners pop-up window appears.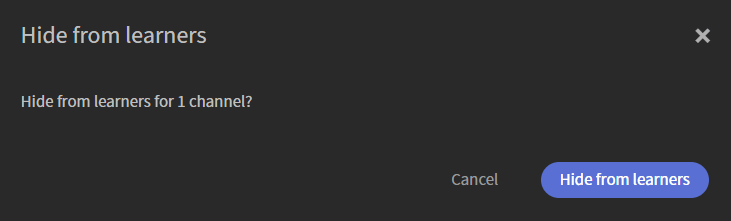
Hide channels from learners without deleting the channel configuration. -
Select Hide from learners.
The selected channels are hidden from learners.
Edit a Channel
You can edit an existing channel to update its configuration and settings.
To edit a channel:
-
Select the required channel from the Channels list.
The Edit channel page opens and displays the current channel configuration. -
Update the channel settings as needed.
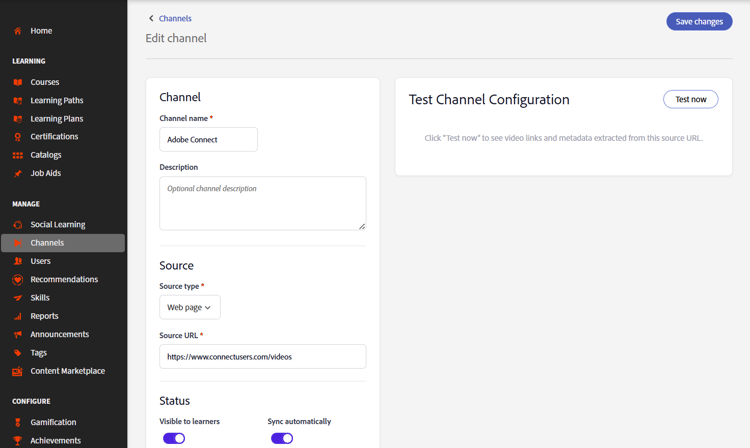
Update a channel’s name, description, source, and settings from the Edit channel page.
-
(Optional) Select Test now.
-
Select Save changes.
The updated channel settings are saved.
Delete a Channel
You can delete one or more channels that are no longer needed.
-
Navigate to the Channels tab.
-
Select the checkbox next to each channel you want to delete.
-
Select Delete from the right bottom of the channels list.
The Delete channels pop-up window appears.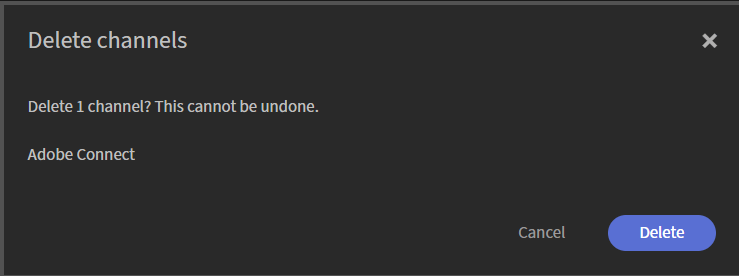
A confirmation dialog lists the channels you selected.
-
Select Delete.
The selected channels are permanently deleted. This action cannot be undone.