On this page: Learn how to add and configure third-party translation providers and their supported locales so they can be used for your multilingual content.
Adobe Journey Optimizer integrates with third-party Translation Providers that offer both machine and human translation services, independent of Adobe Journey Optimizer.
Before adding your chosen Translation Provider, ensure you have created an account with the respective provider.
Add a translation provider providers
Connect a translation provider and select the locales it supports to make it available for multilingual content.
-
In the Content Management menu, navigate to Translation.
-
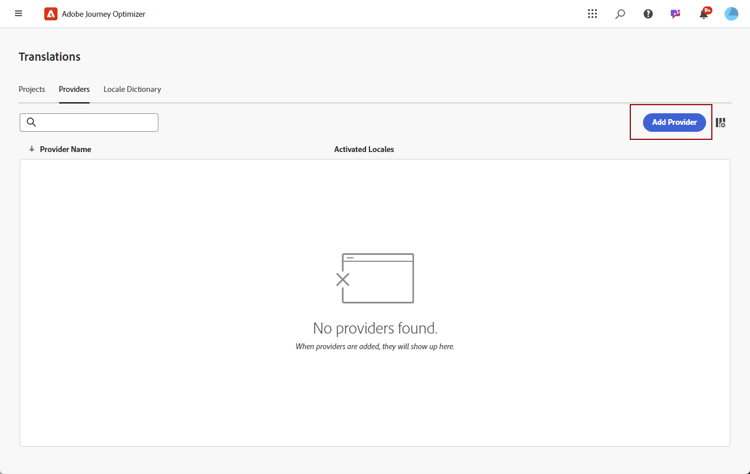
Access the Providers tab and click Add Provider.
-
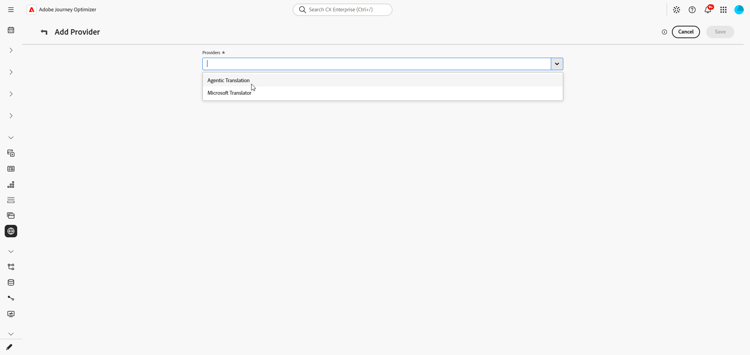
From the Providers drop-down list, choose the desired provider.
note NOTE To add a new Provider to the list, you can ask your Provider to follow the instructions detailed in this document to complete the onboarding process. 
-
If using Microsoft Translator as the provider, input your Subscription Key and Endpoint URL.
Click Validate Credentials to test your connection.

-
Select the applicable Supported Locales.

-
After completing the configuration, click Save to finalize the setup.
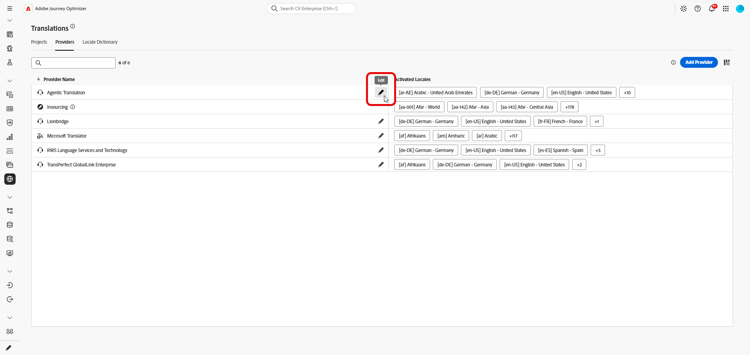
Your Provider is now configured. To edit it, open the Providers menu and click

Add an Agentic provider
Follow these steps to configure an Agentic Translation provider with an LLM and locale-specific translation guidelines.
-
In the Content Management menu, navigate to Translation.
-
Access the Providers tab and click Add Provider.
-
From the Providers drop-down list, choose Agentic Translation.
-
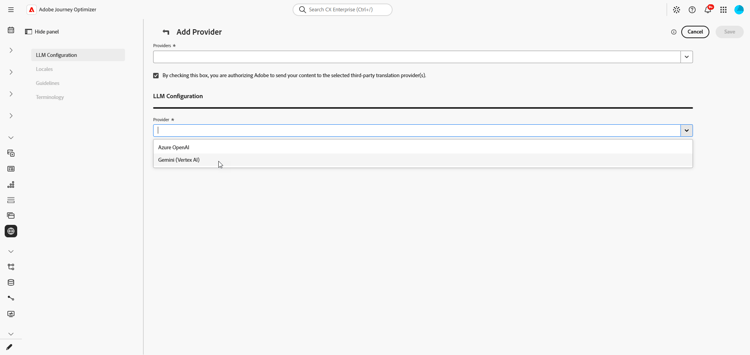
In the LLM configuration menu, select a provider.
-
Enter the details for the selected provider:
accordion Azure OpenAI - API Key: Provide the authentication key for your Azure OpenAI resource.
- API Version: Specify the Azure OpenAI API version to use.
- Model Name: Select or specify the name of the Azure OpenAI model.
- Base Path: Provide the endpoint URL for your Azure OpenAI resource.
- Deployment Name: Specify the deployment associated with the model.
accordion Gemini (Vertex AI) - Model Name: Specify the Gemini model to use.
- Service Account Credentials: Upload or provide the credentials for your Google Cloud service account.
- Location: Select the Google Cloud region where the model is hosted.
-
Click Save and access the Locales tab.
-
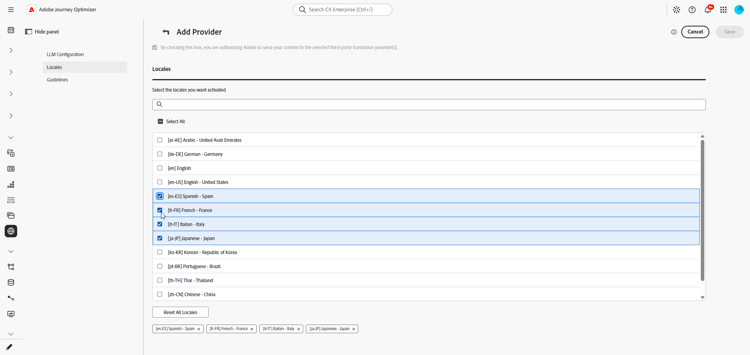
Select the applicable Supported Locales.
-
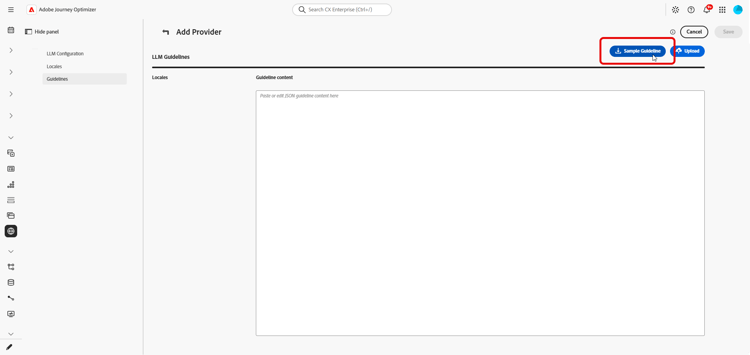
To configure guidelines for a locale, open the Guidelines tab.
You can click Sample guideline to download the sample file.
-
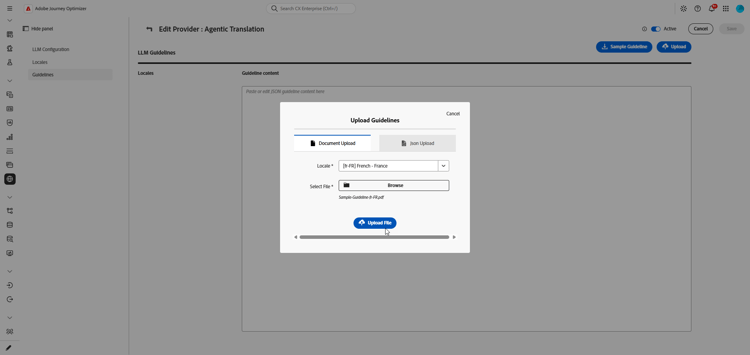
Click Upload, then select one of the following options:
- Document upload to upload a PDF guideline.
- JSON upload to upload a guideline in the extracted JSON format.
-
Select the locale that the guideline applies to, and then upload the PDF or JSON file.
Click Upload file.
-
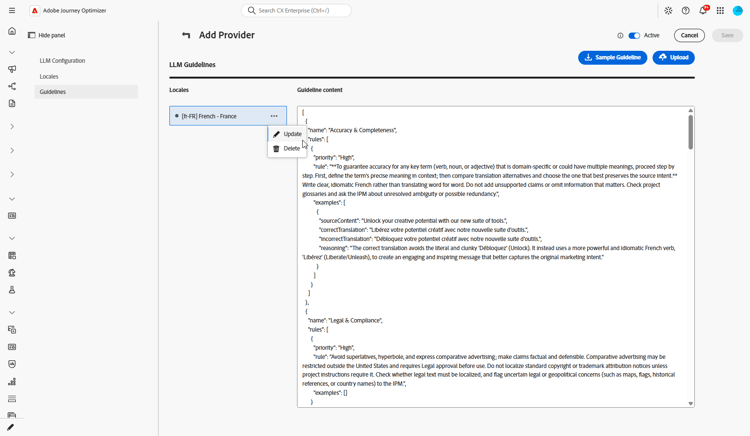
To update or delete an uploaded guideline, open

-
After completing the configuration, click Save to finalize the setup.
Your Agentic provider is now configured. To edit it, open the Providers menu and click