Use account lists in journeys
There are multiple ways that you can incorporate Live (published) account lists into your account journeys.
Account audience node
All account journeys start with an Account audience node. When you set this node to use an account list, the member accounts move through the journey when it goes live (published).
-
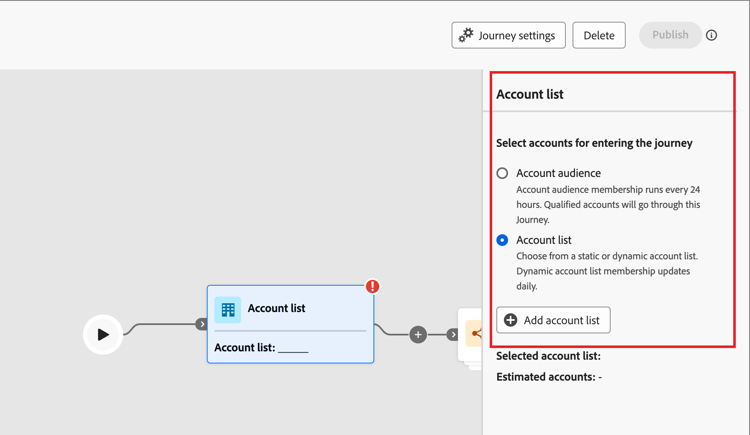
Select the Account list option for the starting Account audience node.
-
Click Add accounts list.
-
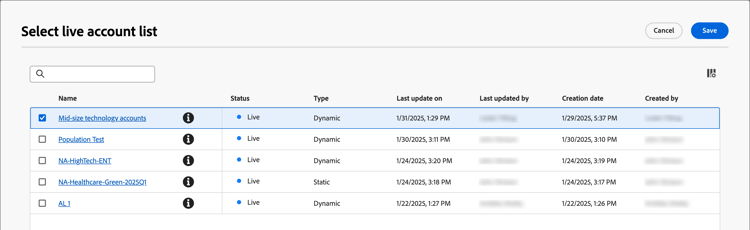
Select the checkbox for the account list and click Save.
Take an action node - Add to account
Static account lists only
Within an account journey, add accounts to a static account list using a Take an Action node.
For example, you have a journey path where you send an email and some accounts take various actions as a response. You consider this activity to be a qualification point in the journey. With the qualification, you want to add them to an account list that is used as the audience for another journey with a different flow for qualified accounts.
-
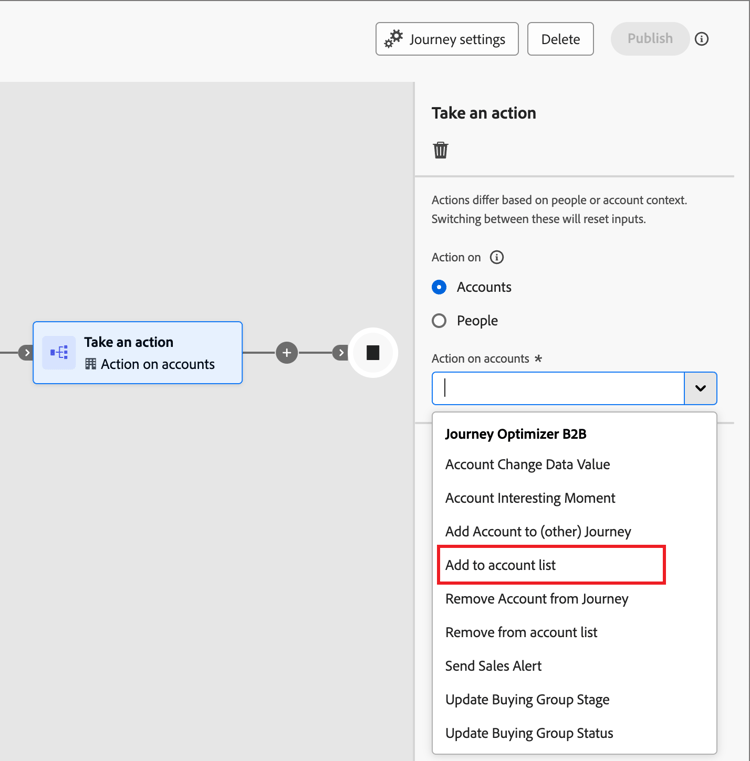
Select the Action on Accounts option.
-
For Action on accounts, choose Add to account list.
-
For Select live static account list, choose the account list where you want to add accounts.

Take an action node - Remove from account
Static account lists only
Within an account journey, remove accounts from a static account list using a Take an Action node.
For example, you have a journey path where you send an email and some accounts take various actions as a response. You consider this activity to be a qualification point in the journey. With this qualification, you want to remove them from an account list. This list is used as the audience for another journey that sends additional emails so that you don’t duplicate your qualification communications.
-
Select the Action on Accounts option.
-
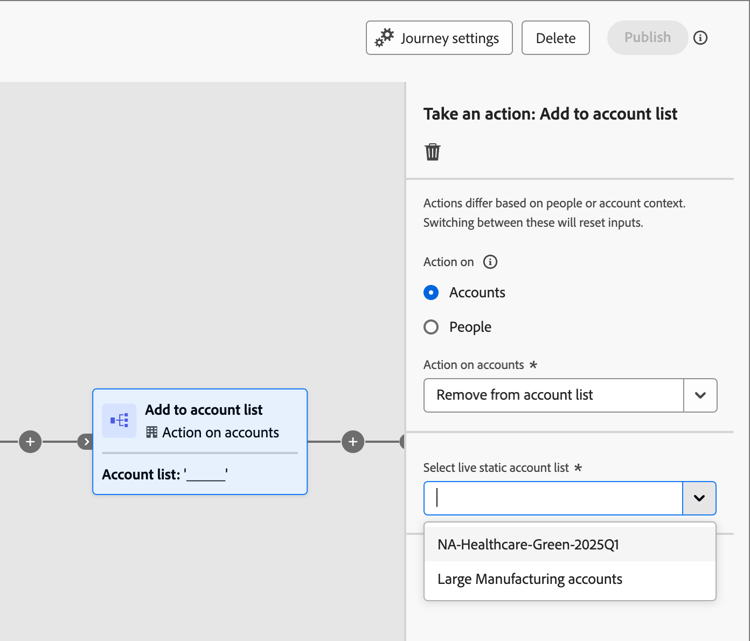
For Action on accounts, choose Remove from account list.

-
For Select live static account list, choose the account list where you want to remove accounts.