Assets
In Adobe Marketo Optimizer, assets are typically the images used when designing content to support journeys. You can use these images within your emails, email templates, and visual fragments from the asset selector or a simple drag-and-drop interface within the visual design space.
Supported file formats: JPG, JPEG, GIF, PNG, EPS, SVG, and RGB
The Assets library provides access to the centralized repository for storing and managing images and other creative assets. It includes AI-powered capabilities that automatically generate metadata and enable natural-language search.
In the left navigation, expand Content Management and select Assets.

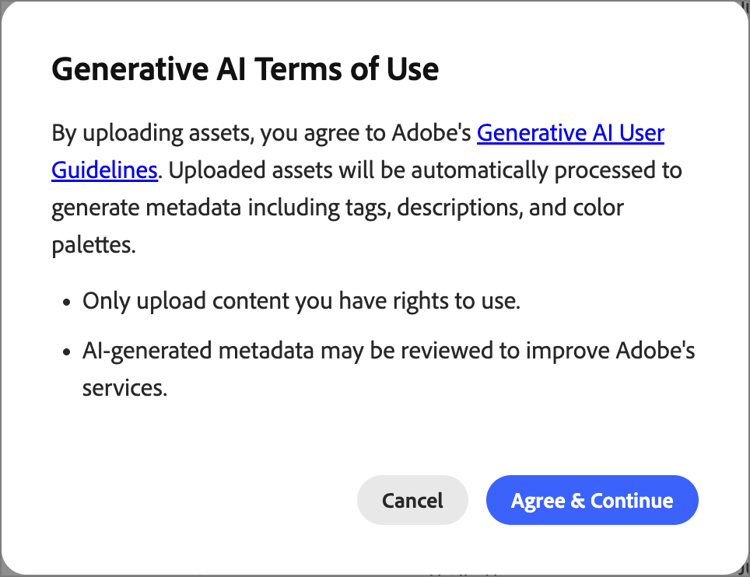
The first time you access the Assets library, review the Generative AI Terms of Use and confirm your agreement.
The library supports two layout options:
- List — Click the List view (

- Gallery — Click the Gallery view (

Search for assets find-assets
Use the Search field to find assets by describing what you need in natural language. Search results are based on AI-generated metadata, so you are not limited to searching by file name.
Examples:
team membersnatureexercise

View asset details view-details
Select any asset in list or gallery view to open its detail view on the right, which displays an AI-generated description, tags, keywords, and additional metadata fields. This information is generated automatically when the asset is uploaded. Select the AI metadata tab to review the generated description, tags, and metadata.

Upload an asset upload
-
Click Upload at the top right.
-
In the dialog, drag and drop a file from your local system.

Alternatively, you can click Select file from your computer to use your local file system to locate and select the file.
-
Click Upload file to confirm and upload the file to the repository.
After the upload completes, the system automatically generates a description, assigns tags and keywords, and extracts visual attributes such as subject and setting. No manual tagging is required. The new image is displayed with a PROCESSING status until this process is complete.

Use assets for content authoring assets-authoring
Use assets as you author your emails, email templates, and visual fragments. The visual content editor provides access to the images in the Assets library. You can also upload an image asset, which places it in the internal assets repository.
You can choose the image asset when you edit the settings for an image component or directly on the canvas:
-
Empty component - When you add an image component to the canvas, it is empty and provides easy access to choose select or import an image file.

-
Image component toolbar - When you have an image component selected in the canvas, the toolbar provides easy access to choose a source and select the image file.
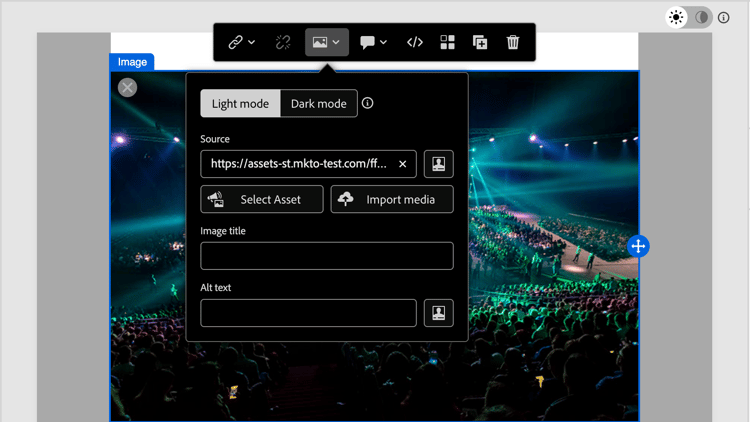
-
Image component settings - When you have an image component selected in the canvas, you can view and edit the settings in the right panel. To add or change the image file displayed in the component, choose the source type and select an image file.
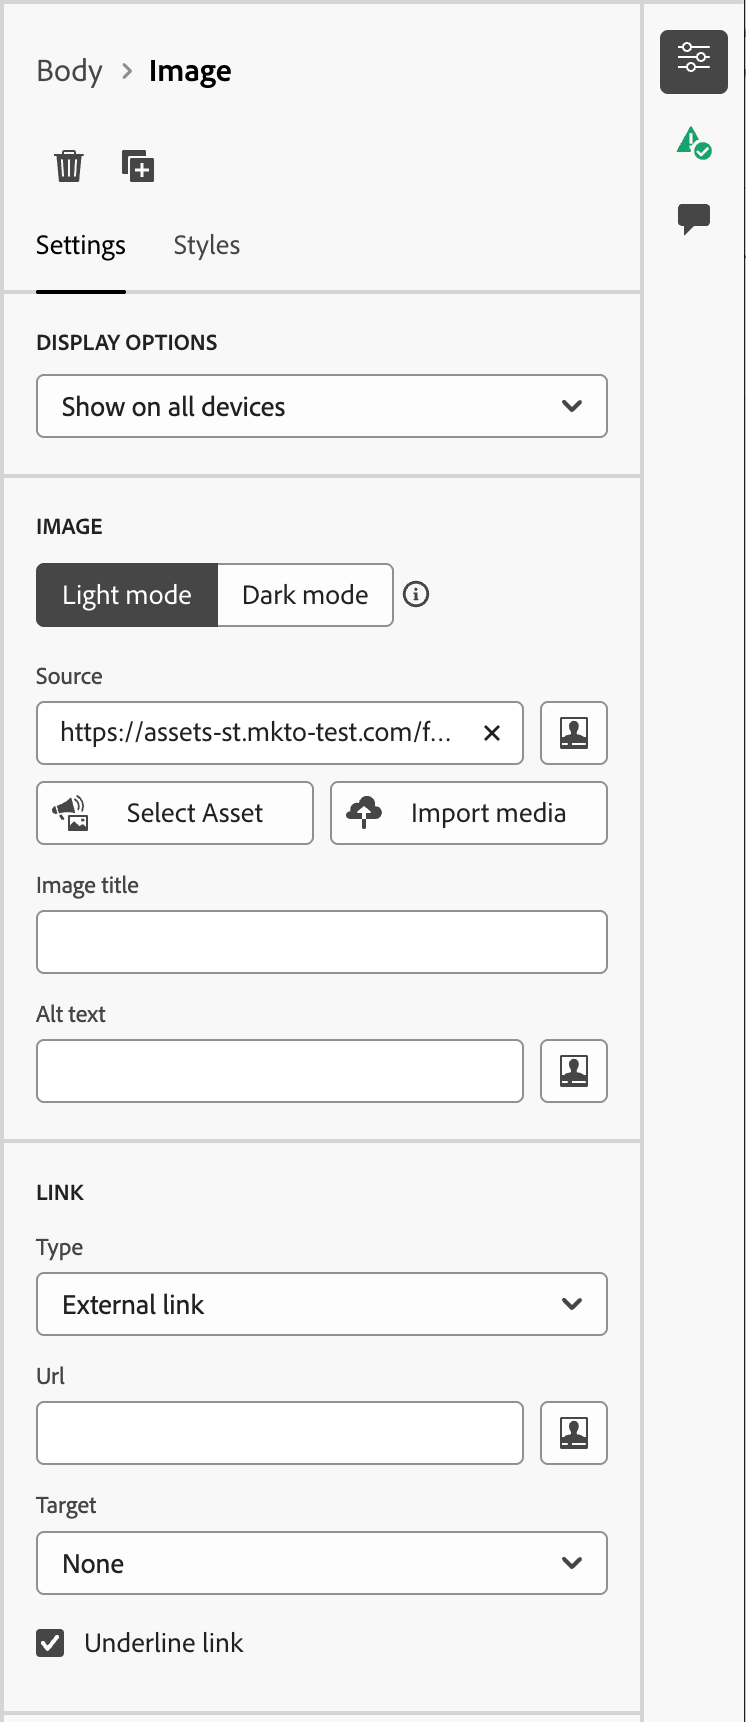
Click Select Asset to open the asset selector, where you can choose an image from the Marketo Optimizer asset repository.

You can use search and filters to locate the desired image asset. Select the asset and click Select to use it for the image component.
You can also choose an image asset in the background settings for a structure component.