Customize Experience Builder
Customize a footer
The footer is displayed at the bottom of the learner interface and usually shows default information configured in the administrator settings. Administrators can replace this with a custom footer to create a branded experience. Using HTML and CSS, they can define the design, layout, and content of the footer to match organizational requirements.
As an administrator of a finance company, you can configure the footer using the custom option. This option allows you to add your own HTML and CSS, giving you complete flexibility to design the footer.
To customize the footer:
-
Log in to Adobe Learning Manager as an administrator.
-
Select Branding and then select General.
-
Select the Edit next to the Footer customization option.
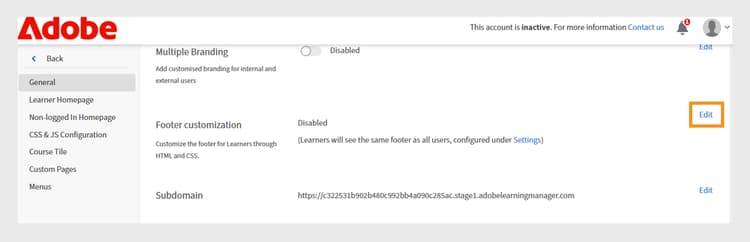
General settings screen in Adobe Learning Manager, showing options to enable customization of the footer -
Select the toggle button to enable the Footer customization.
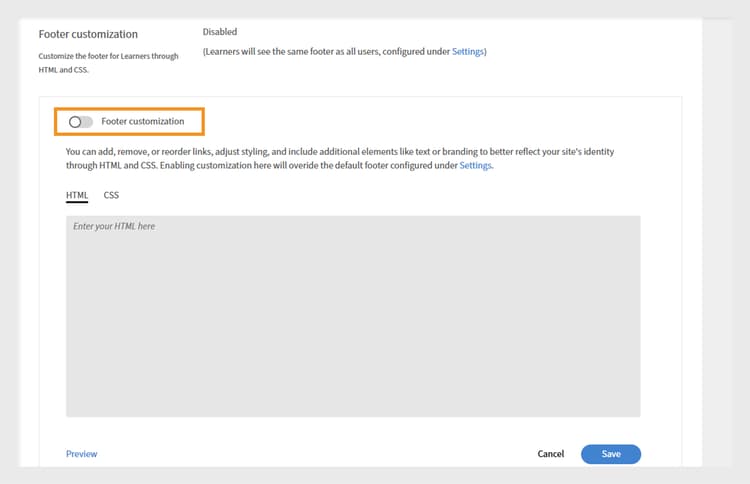
Footer customization settings in Adobe Learning Manager, showing the toggle to enable custom footer and fields to add HTML or CSS for personalized branding -
Type your HTML and CSS in the respective tabs.
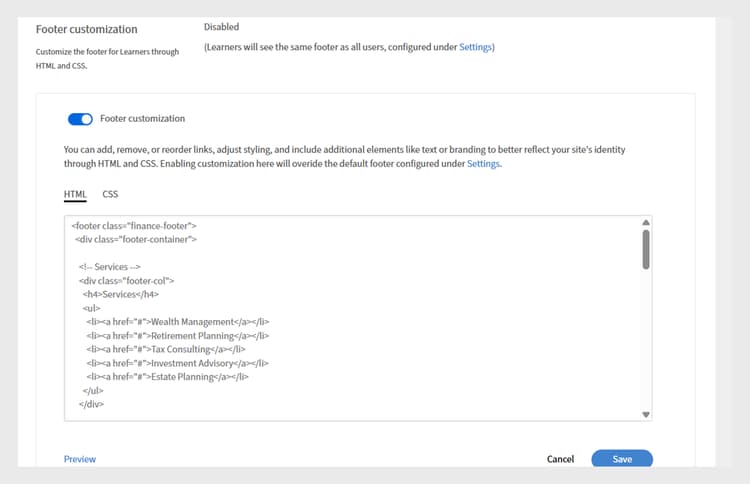
Footer customization screen in Adobe Learning Manager, displaying a custom HTML section for adding, editing, or styling the learner interface footer -
Select Preview to view the customized footer before saving it.
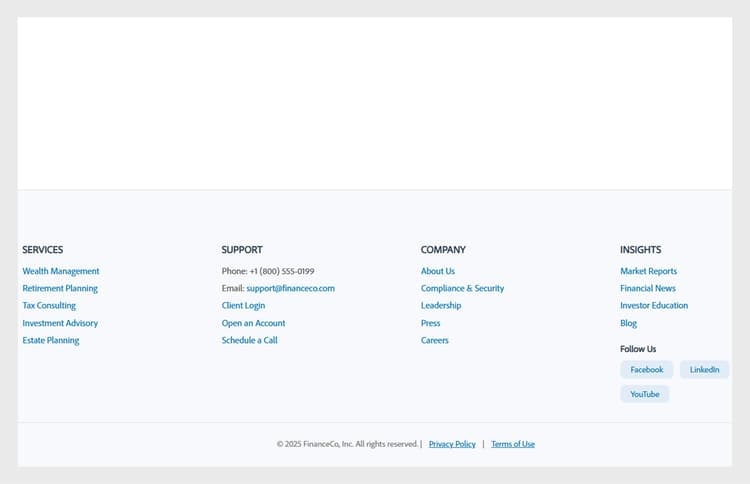
Preview of a customized learner interface footer in Adobe Learning Manager, featuring categorized links -
Select Save.
The customized footer will be displayed to all the learners.
Customize course tiles
In a finance company, administrators can set up course tiles to decide what details learners see. For example, they might show the course description and skill name for compliance training but hide ratings or the author’s name to keep the focus on mandatory requirements.
To customize the course tiles:
-
Log in to Adobe Learning Manager as an administrator.
-
Select Branding and then select Course Tile.
-
Select Edit.
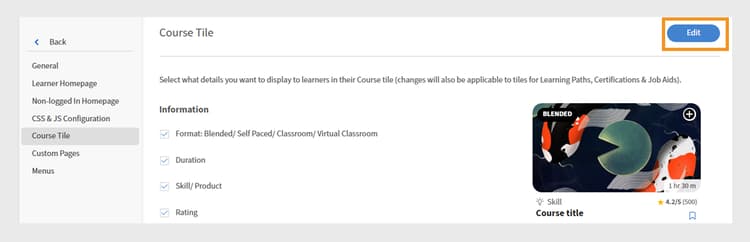
Course Tile settings screen in Adobe Learning Manager, showing Edit option to customize the tile -
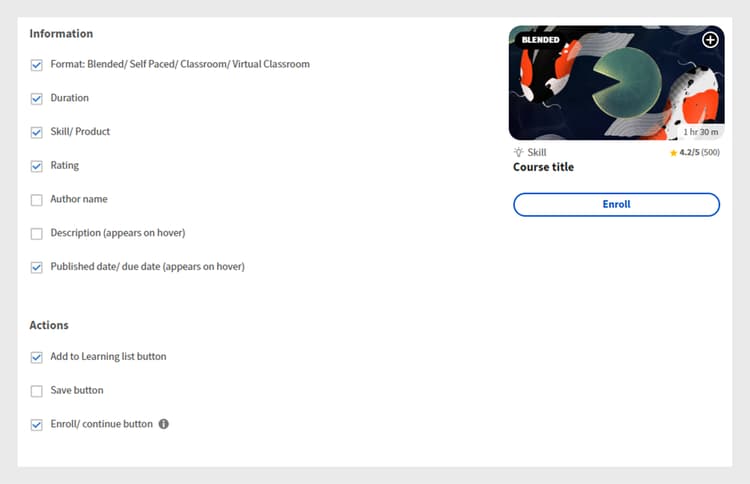
Select the options below to show or hide details related to the course information:
a. Format: Blended/ Self Paced/ Classroom/ Virtual Classroom: Type of the learning object.
b. Duration: Duration of the learning object.
c. Skill/ Product: Display the key skill or product the course covers.
d. Rating: Display the learner rating of the course.
e. Author name: Displays the name of the course author
f. Description (appears on hover): Display a short summary of the course when learners hover over the card.
g. Published date/ due date (appears on hover): Display either when the course was published or the deadline for completion. -
Select the options below to show or hide details related to course actions:
a. Add to Learning List button: Allow learners to save the course to their personal learning list for future reference.
b. Save button: Saves any changes made to the course settings or preferences.
c. Enroll / Continue button: Allows learners to either enroll in a new course or continue a course they have already started. Hiding this option will also remove the Do Not Recommend and Download actions that appear next to it.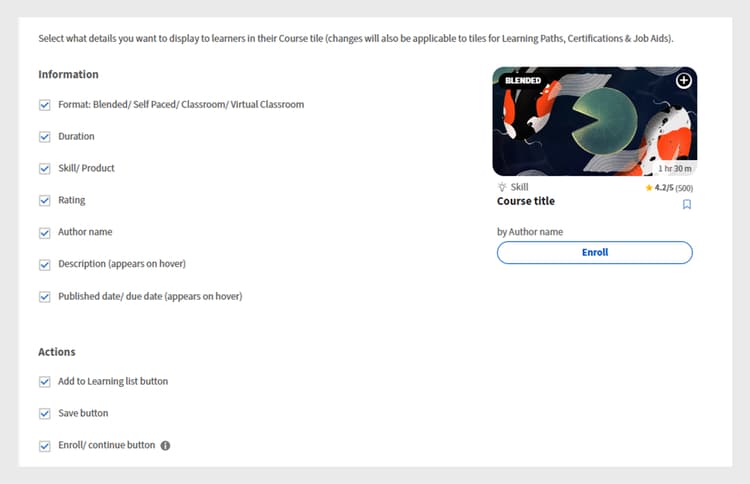
Course tile configuration screen in Adobe Learning Manager, where administrators select the information and actions to display for learners -
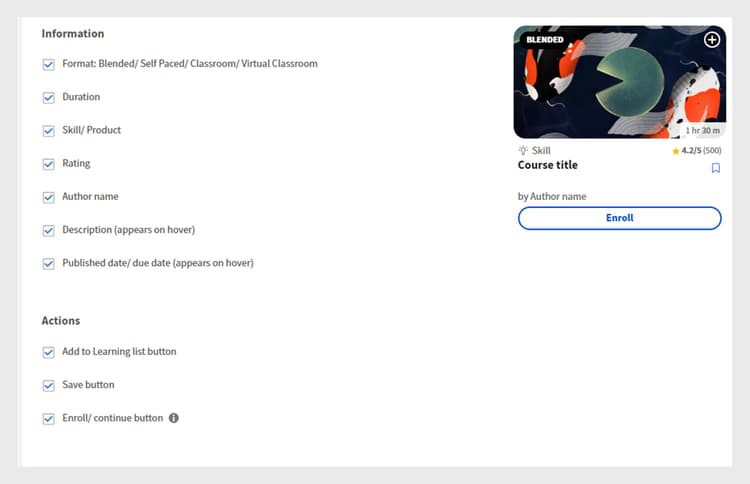
A preview of the course tile is displayed on the right side of the screen.
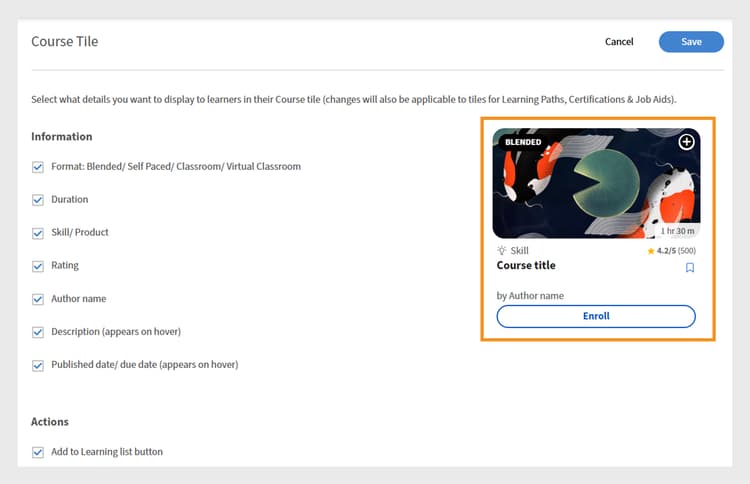
Course tile configuration screen in Adobe Learning Manager, highlighting the preview of the course tile -
Select Save.
The customized course tile will be displayed to all the learners.
Before Customization
Course tile in Adobe Learning Manager before customization
After customization
Course tile in Adobe Learning Manager after customization
Customize using JavaScript and CSS
As a finance company administrator, you can customize the learner app by injecting CSS and JavaScript to match your company’s branding and regulatory requirements, giving you full control over the app’s appearance, layout, and interactive features.
To customize the learner interface using CSS and JS:
-
Log in to Adobe Learning Manager as an administrator.
-
Select Branding and then select CSS & JS Configuration.
-
Select Edit.
-
Type your custom CSS and JS in the respective tabs.
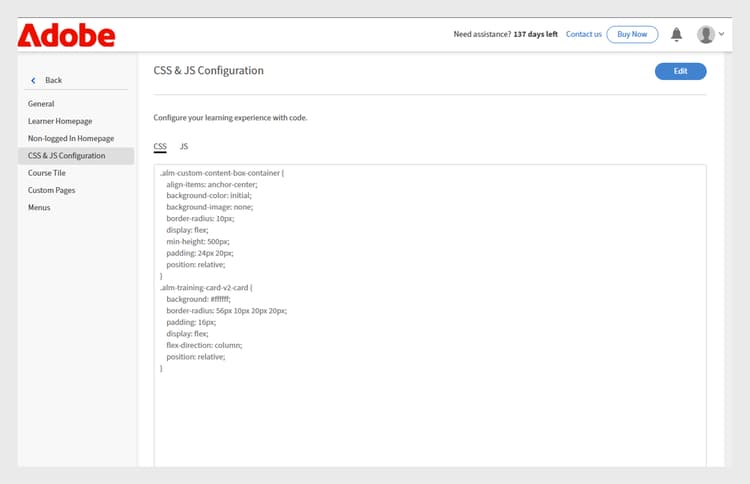
CSS & JS Configuration screen in Adobe Learning Manager, where administrators can add custom CSS and JS -
Select Save.
The customization will be displayed to all the learners.
Before customization
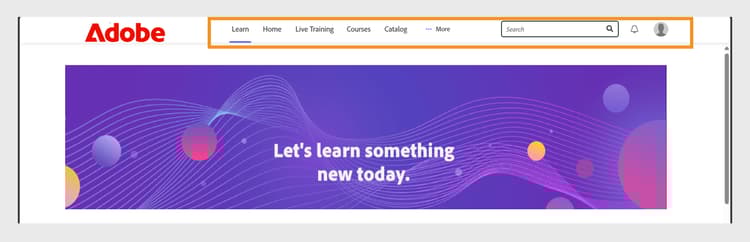
The Learner homepage menu design is based on the Adobe Learning Manager default design.
Adobe Learning Manager Learner home page before customization
After customization
After adding the following CSS and JS, the learner homepage menu has been updated based on the customization.
Sample CSS:
p{
display:block;
}

.withExtraMargin{
margin-right: 100px!important;
}
.alm-footer-extraMargin{
margin-top:0;
}

.alm-layout-almLayoutContainer{
margin: 0;
    margin-bottom: 5rem;
}
#page-756 #category-970151 .alm-category-card-cardLink
{
    height: 400px;

}
#page-756 #category-970151 .alm-category-card-header
{
height: 240px!important;
}
#page-656 .alm-category-card-cardLink{
    height: 380px;
background: white;
}
#page-656 .alm-category-card-header{
height: 200px!important;
}

#page-746 #html-636797 {
    background-color: #f7f9fc;
}

#page-746 .alm-layout-almLayoutContainer{
row-gap:0;
margin-bottom:0;
}

.alm-category-card-cardLink{
transition: border .3s ease;
}
.navText{
       font-size: 16px;
    cursor: pointer;
}
.submenuDownCaret{
display:none;}
.alm-catalog-container-pageContainer{
max-width: 1720px;
    width: 100%;
    padding: 0 40px;
    padding: 0 40px;
}

.pagenavbarcontainer.newNavbarContainer{
width: 1230px;
    margin: 0 auto;
}
div[automationid="learner-menu-inside-header"]{
margin-right:100px!important;
}
#searchScope,.searchSeparator,#searchInDropdown{
display:none!important;
}
#right-navbar{
    margin-right: 0;
}
#companyLogoImg{
cursor:pointer;
max-width:190px;
}
.alm-catalog-container-filtersContainer{
width:340px;
}
.alm-training-card-v2-imageFlipContainer{
border:none;
}
.newSearchBoxContainer{
border-radius: 5px !important;
    border-width: 2px !important;
    border-color: rgb(5, 32, 34) !important;
}
.searchBoxFlex{
width:250px!important;
flex-direction: row-reverse;
    padding-right: 10px;
}
.searchPlaceholderIcon svg{
    height: 16px;
    width: 16px;
}
.searchPlaceholderIcon svg path{
fill: black;
}
#page-656 .alm-layout-almLayoutContainer {
    padding-bottom: 5rem;
margin-bottom:0!important;
}
#page-656 .alm-strip-widget-header-stripHeaderContainer{
display:none;
}
#page-656 .content-wrapper{
padding-bottom:50px;
}
.myspan{
position: absolute;
    bottom: 10px;
    display: block;
    width: 85%;
    margin-left: 20px;
    margin-right: 20px;
    border-top: 1px solid #efefef !important;
    color: #5a697c !important;
    text-align: right;
    padding-top: 5px;
}
.alm-app-wrapperComponent{
padding-bottom:100px;}

@media (max-width: 768px) {
#page-656 .alm-category-widget-cardRow{
   flex-direction: column;
gap: 40px;
 }
#page-656 .alm-category-widget-stripCardContainerRow{
    width: 100%;
    display: flex;
    justify-content: center;
  }
}

@media (max-width: 768px) {
    .container2-right {
        display: none!important;
    }
.container-1 .content-wrapper{
    padding: 0 20px!important;
 }
}
Sample JS:
console.error("Hello Error")

setTimeout(() =>{
// Step 1: Check if #category-284977 is present
const categoryElement = document.querySelector('#category-284977');

if (categoryElement) {
  // Step 2: Find all elements with .alm-category-card-cardLink
  const cardLinks = categoryElement.querySelectorAll('.alm-category-card-cardLink');

  // Step 3: Loop over them and append span with random calculation
  cardLinks.forEach((link, index) => {
    const span = document.createElement('span');

    // Calculate number = (index+1) * 5
    let number = (index + 1) * 5;
if(index === 2){
number = number +2;
}
if(index == 3){
number = number - 7;
}

    span.textContent = `${number} courses`;
    span.classList.add('myspan');
    link.appendChild(span);
  });
}

},2000)
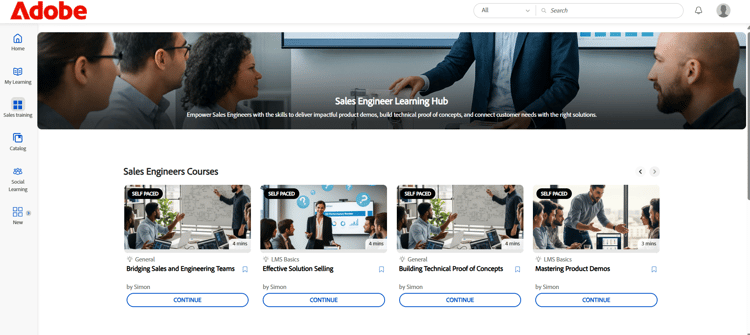
Adobe Learning Manager Learner homepage after customization
Customize a widget
Administrators can customize widgets on custom pages by applying CSS classes. For example, they can align the text in a Content Box widget or adjust the spacing between course tiles in the Course & Paths widget.
Before customization
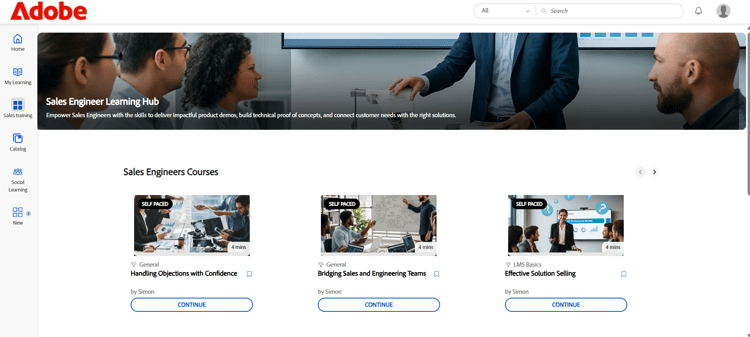
The following screen is the Sales Engineers training page before adding the CSS customization.
Sales Engineer learner page before customization
After customization
After adding the following CSS classes, the learner page is updated according to the styles defined in those classes. Based on the CSS, the text in the Content Box widget has been aligned to the left, and the course tiles now have increased spacing between them.
.alm-custom-content-box-center {
    align-items: baseline;
    text-align: initial;
}
.alm-training-card-v2-imageContainer {
    border: 14px solid var(--prime-color-white);
    border-radius: -1px;
    height: 106%;
    position: relative;
    transition: all .1s ease-in-out;
}
.alm-course-path-widget-cardRow {
    display: flex;
    gap: 135px;
    margin: 0 0 21px;
    padding: 10px;
}
Sales Engineer learner page after customization
Predefined CSS Classes for Widgets
The following are some predefined CSS classes available for widgets.