Exported products .csv file does not appear
This article provides a solution for the issue where exporting the desired entity type to a .csv file in the Commerce Admin results in the file not appearing.
Affected products and versions
- Adobe Commerce on cloud infrastructure, all supported versions.
Issue
Steps to reproduce
Prerequisites: The Add Secret Key to URLs option is set to Yes. The option is configured in the Commerce Admin under Stores > Configuration > Advanced > Admin > Security.
-
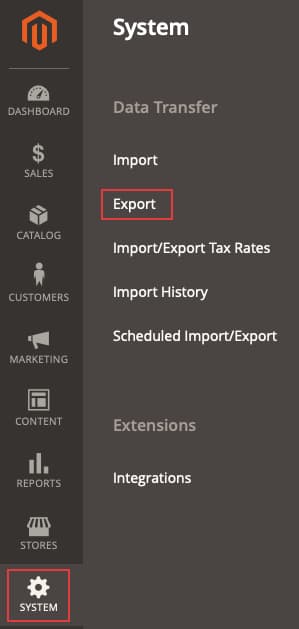
In the Admin, navigate to System > Data Transfer > Export.
-
Select
- Entity Type: The entity you wish to export
- Export File Format: CSV
- Field Enclosure: leave unchecked.
-
Click Continue.
-
The following message is displayed: “Message is added to queue, wait to get your file soon”.
Expected result
The .csv file containing the exported desired entity type is displayed in the grid within a couple of minutes.
Actual result
The .csv file containing the exported desired entity type is not displayed in the grid in 10 minutes or more.
Cause
A known issue with the Export functionality in the Adobe Commerce application part version 2.3.2.
Solution
There are two possible solutions for the issue:
- Disable the Add Secret Key to URL option.
- Run the
bin/magento queue:consumers:start exportProcessorcommand manually, and optionally configure it to be run by cron.
See details for both options in the following paragraphs.
Disable the Add Secret Key to URL option
- In the Admin, navigate to Stores > Configuration > Advanced > Admin > Security.
- Set the Add Secret Key to URLs option to No.
- Click Save Config.
- Clean cache under System > Tools > Cache Management or by running
bin/magento cache:cleanor in the Admin.
Run the export command manually and optionally add it as cron job
To get the export file, run the bin/magento queue:consumers:start exportProcessor command. After running this, the file should be displayed in the grid.
To add the process as a cron job optionally, you must add the CRON_CONSUMERS variable to the .magento.env.yaml file.
Add process as a cron job (optional)
-
Make sure your cron is setup and configured. See Set up cron jobs for details.
-
Run the following command to return a list of message queue consumers:
./bin/magento queue:consumers:list -
Add the following to your
.magento.env.yamlfile in the root application directory and include the consumers you would like to add. For example, here is the consumer required for export processing:code language-yaml stage: deploy: CRON_CONSUMERS_RUNNER: cron_run: true max_messages: 1000 consumers: - exportProcessorThen push this updated file and redeploy your environment. Also reference Add custom cron jobs to your project in our developer documentation.
.magento.env.yaml file for your environment, and you think it was deleted, you need to create a new .magento.env.yaml. It might be empty initially, you can add info there as required. Reference the following articles: Configure environment variables for deployment and Environment variables in our developer documentation..magento.app.yaml. If this feature is not enabled, create a support ticket, to have the job added for you.