Add custom filters custom-filters
The Inventory list configuration > Custom filters section lets you choose which attributes are displayed as quick-access fields in the filters pane of a schema’s list view, above the Advanced filters rule builder.
For more information on the screen definition screen and how to access it, refer to the Access the screen definition section.
Add custom filters add
-
Browse to the Schemas menu, and locate editable schemas using the filters.
-
Select the schema name in the list to open it and click the Screen edition button in the schema details view to access the screen definition.
-
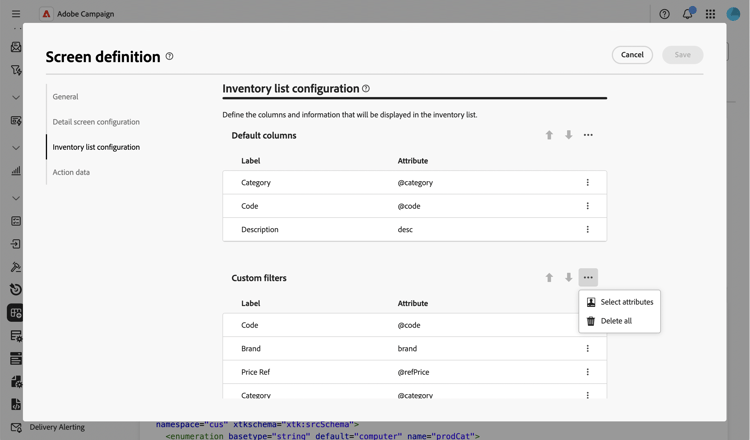
Go to the Inventory list configuration section and click the ellipsis icon above the Custom filters table, then choose Select attributes.
-
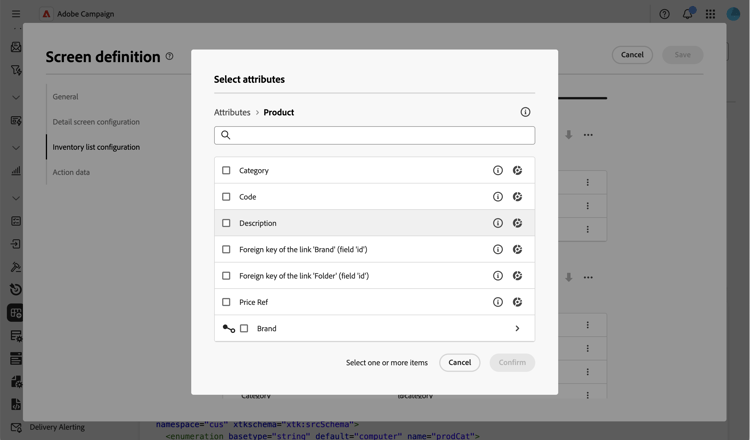
Select one or multiple attributes and confirm.
You can select:
- A direct attribute of the schema, for example a code or a category.
- A link attribute, for example a brand linked to a product. In this case, the filter uses a search picker restricted to the linked schema.
- A sub-attribute of a link, for example the full name of a linked folder, or the email of a linked recipient.
-
Click Save. You can reorder custom filters using the up and down arrows or by dragging them. To remove a filter, click the ellipsis icon on its row and select Delete.
-
Browse to the list of records for this schema and open the filters pane. The attributes you selected are displayed as Custom filters, above the Advanced filters rule builder.
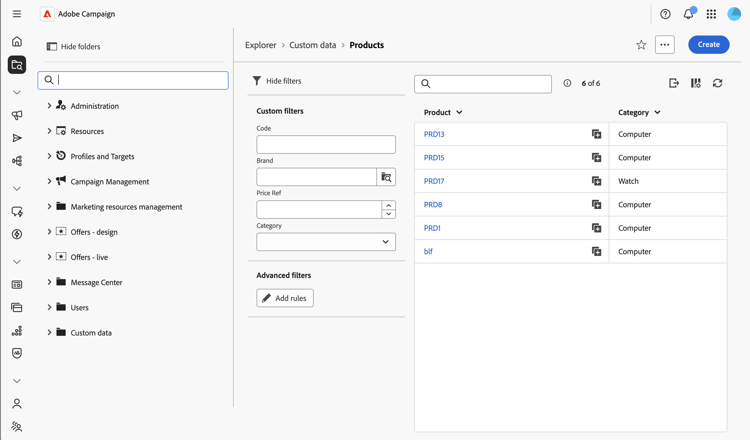
note NOTE A custom filter based on a date or date and time attribute is displayed as a date range picker. -
Enter or select a value in one of the custom filters to refine the list.
Restrict values for a link-type custom filter settings
For a custom filter based on a link attribute, you can restrict which values are available in the picker.
-
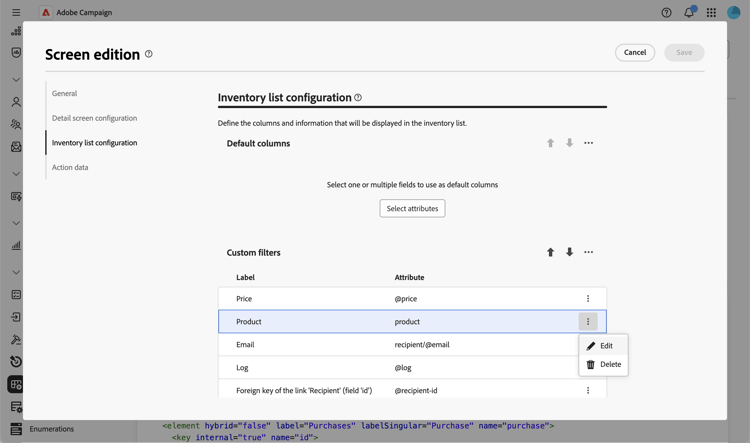
On the row of a link-type custom filter, click the ellipsis icon and select Edit.
-
In the Filter settings tab, click Edit filter and use the query modeler to define a condition that restricts the values available in the picker. For example, restrict a delivery filter to deliveries using the email channel.
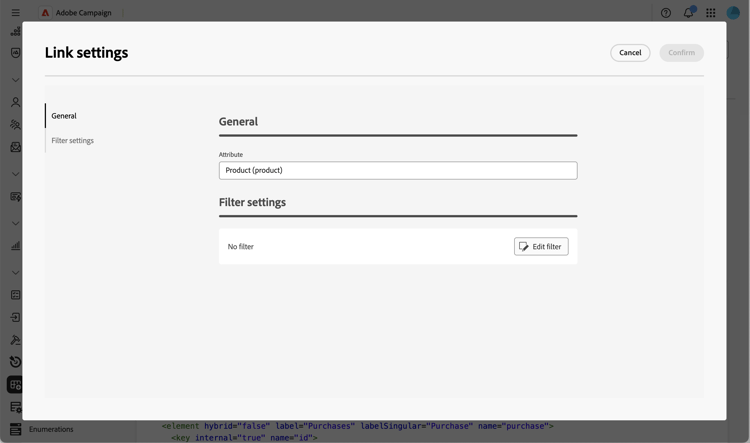
-
Confirm your changes.