Plans and programs plan-and-programs
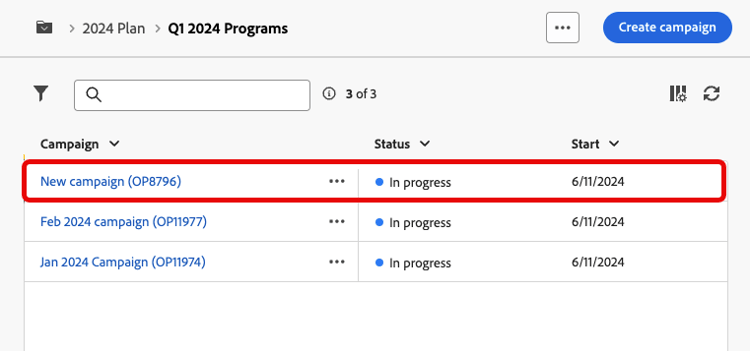
Adobe Campaign allows you to configure your folder hierarchy for marketing plans and programs.
To better organize these components, Adobe recommends the following hierarchy: Plan > Programs > Campaigns.
- A plan may contain multiple programs. It defines strategic objectives for a specific period.
- A program may contain other programs as well as campaigns, workflows, and landing pages.
- A campaign may contain deliveries, workflows, and landing pages.
Create and configure a plan create-plan
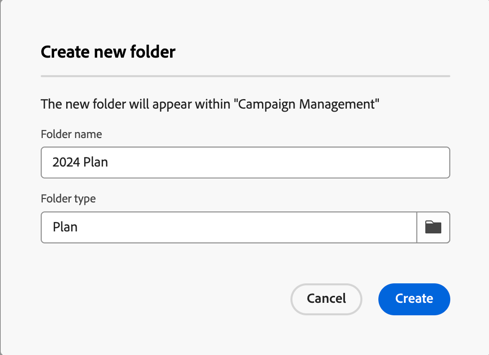
To create a plan, create a folder with the folder type Plan. Learn more about creating a folder
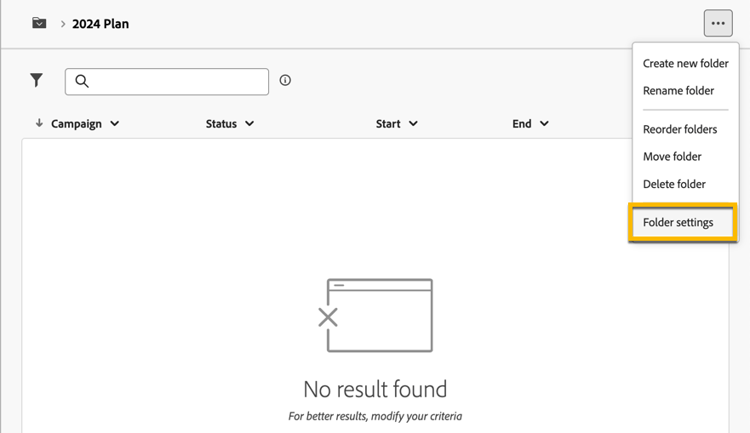
Go to the Folder settings of your plan to manage it.
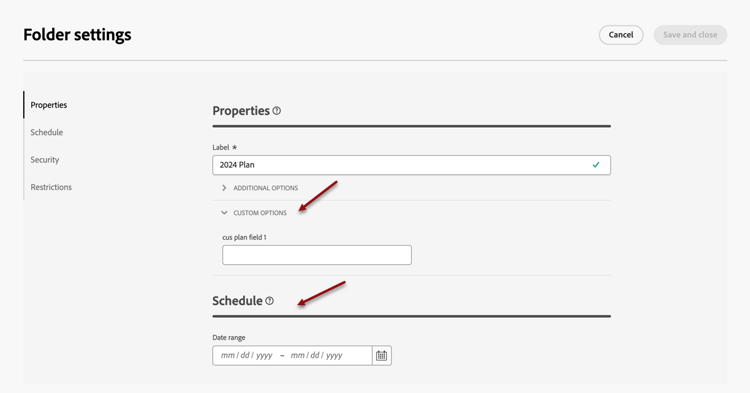
Define Custom options, and set the scheduling date of your plan.
To manage the Custom options:
- Browse to the Schemas.
- Choose the Editable schemas in the filters.
- Click the schema.
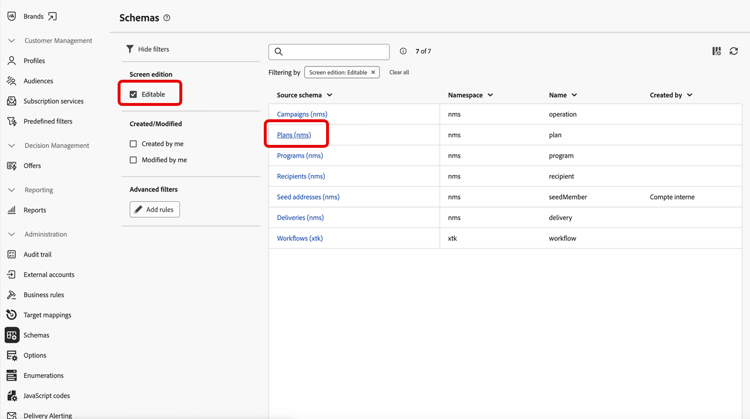
-
Click the Screen edition button.
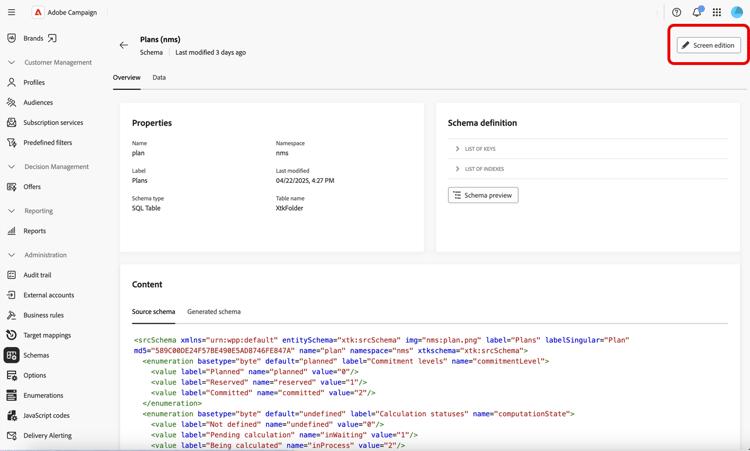
Configure the custom options:
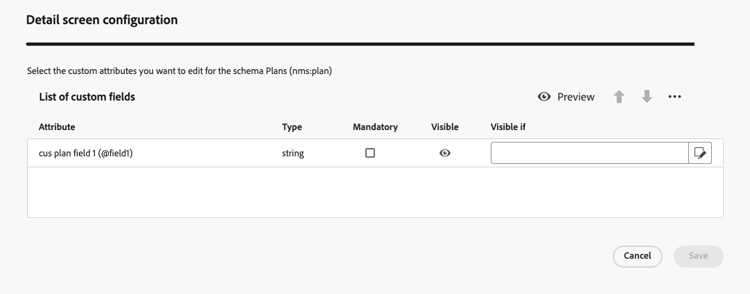
Create and configure a program create-program
Programs are available from the left navigation menu, similar to the list views for campaigns, deliveries, and workflows. The Programs entry lets you create a program within an existing program, not under a plan.
To create your first, top-level program in a plan, navigate to your plan in the Explorer (see this section), and create a folder with the folder type Program. Learn more about creating a folder.
To create a program within an existing program, follow the steps below:
-
Browse to the Programs entry in the left navigation menu. This view lists all your programs and lets you search and filter. Clicking a program opens it in the Explorer view.
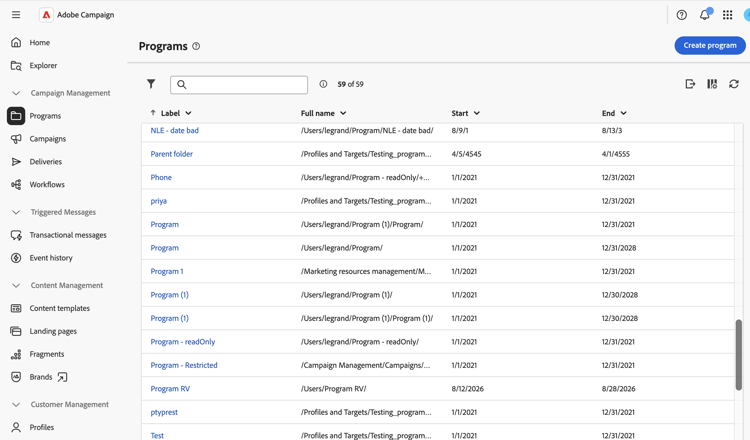
-
Click Create program and configure the following options:
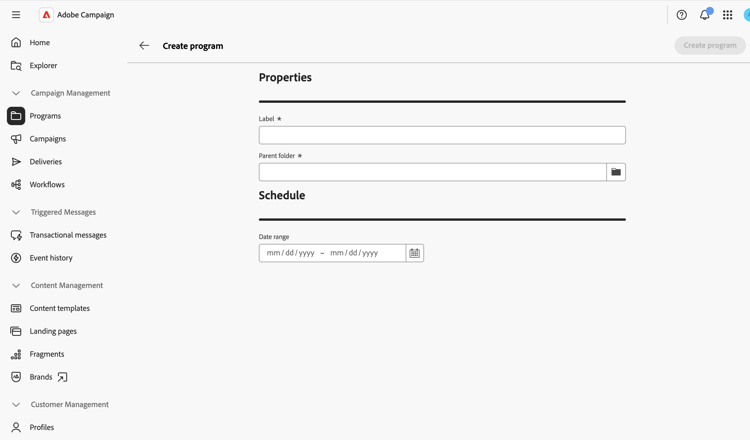
- Enter a Label.
- Select the existing program to use as the Parent folder.
- Optionally, set a Date range in the Schedule section.
note tip TIP If you create a program from the Explorer view, the parent folder is automatically set to the current program. -
Click Create program again to save changes and create the program. The program is then displayed in the Explorer view. You can rename it, delete it, and access its settings, like any other folder. You can also create sub-programs within this program.
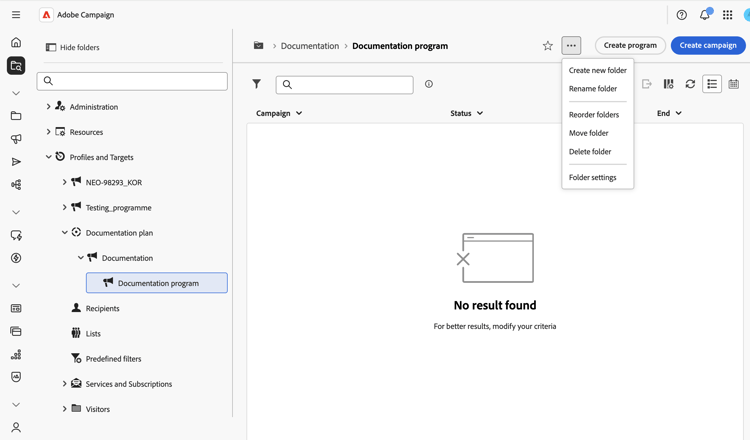
Custom options for a program are configured the same way as for a plan. See Create and configure a plan.
How to link a campaign to a program
You have two ways to link a campaign to a program:
Way #1: You already have a program and want to create a campaign linked to it
To link a new campaign to your program, create the campaign directly within the program.
The Folder settings will automatically populate with the path to your program.
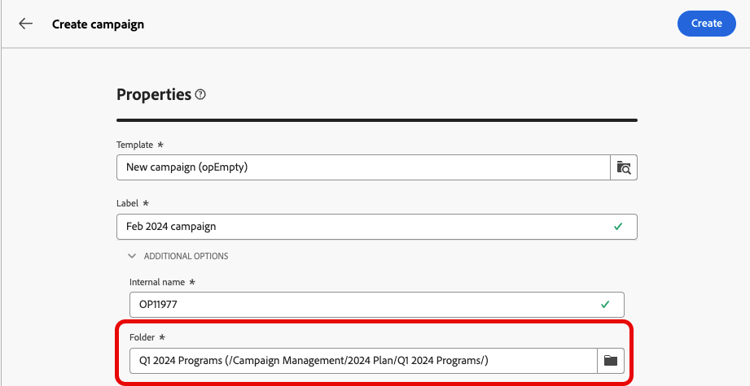
Way #2: You already have an existing campaign and want to link it to an existing program
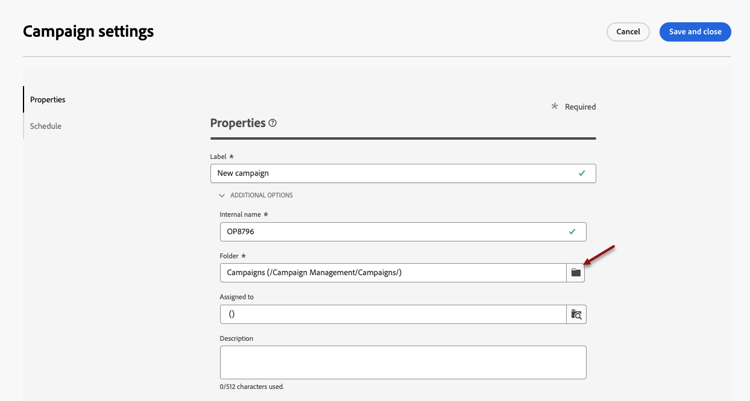
Go to the Settings button of the campaign you want to link to your program.
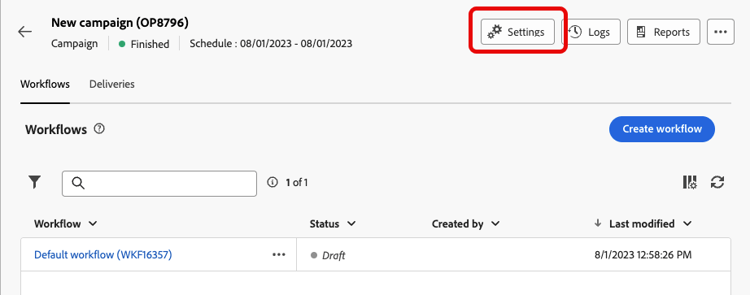
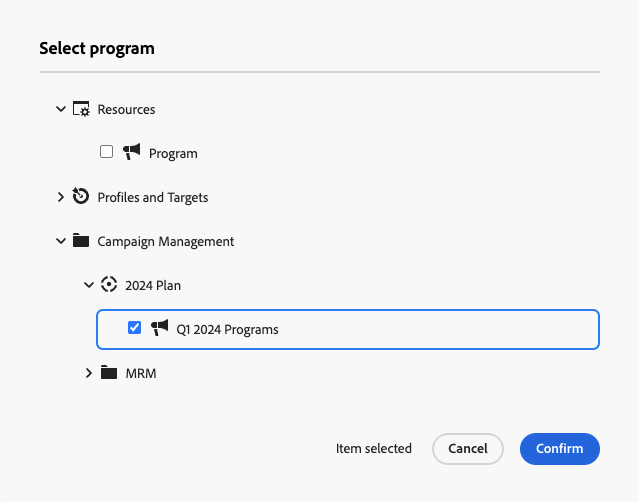
In its Properties, click the Folder icon in the Folder settings to choose your Program folder.
Select your Program folder, click the Confirm button, and then click the Save and Close button.
Your campaign is now listed in your program.