Log Forwarding: Cloudflare log-forwarding-cloudflare
This page details how to forward CDN logs from Cloudflare to Adobe’s S3 bucket for agentic traffic data collection. You will use the Adobe Brand Visibility CDN configuration page to onboard to Adobe Brand Visibility. After the onboarding process is complete, follow the steps provided on this page to configure log forwarding in the Cloudflare dashboard console.
Step 1: Onboard in Adobe Brand Visibility step-1
On the Adobe Brand Visibility page https://abv.adobe.com/:
-
Go to Brands Management.
-
Click the CDN label.

-
Click Get Started.
-
Next to Activate AI Traffic Insights, click Configure.

-
Select Cloudflare (BYOCDN).

-
Click Onboard.
Step 2: Create a Logpush job in Cloudflare step-2
On the Cloudflare dashboard, follow these steps:
-
Go to the Logpush page at the Domain (zone) level.
-
Select Create a Logpush job.
-
In Select a destination, choose Amazon S3.
-
Enter the following destination information:
-
Bucket — the S3 bucket name. Copy the value from the Adobe Brand Visibility CDN Configuration page.

-
Path — the bucket location within the storage container. Copy the value from the Adobe Brand Visibility CDN Configuration page.

-
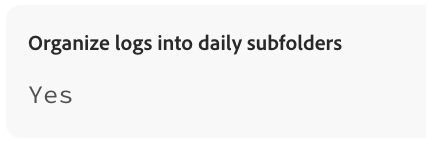
Organize logs into daily subfolders (recommended).
-
Bucket region — copy the value from the Adobe Brand Visibility CDN Configuration page.
-
If server-side encryption is not needed, leave unchecked.
After you complete the steps above, select Continue.
-
-
To prove ownership, Cloudflare will send a file to your designated destination. To find the token, click the Open button in the Overview tab of the ownership challenge file. Copy the ownership token from the Adobe Brand Visibility CDN configuration page then paste it into the Cloudflare dashboard to verify your access to the bucket. Enter the Ownership Token and select Continue.
-
Select the HTTP Requests dataset to push to the storage service.
-
Configure your Logpush job:
-
Enter the Job name.
-
In Send the following fields, see the values in the Adobe Brand Visibility configuration page.

-
Log format: JSON.
-
-
In Advanced Options:
-
Choose the format of timestamp fields in your logs:
RFC3339.
-
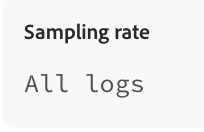
For sampling rates, select All logs.
-
-
Select Submit once you are done configuring the Logpush job.