Creating the email
Content creation with templates
Purpose: Learn how to create reusable templates in Adobe Journey Optimizer, then apply them inside a real email within a campaign.
Learning objectives
By the end of this module, you will be able to:
- Create a new campaign and use your new branded template.
- Update hero images, product images, buttons, and layout styling.
Create and update the email in a campaign
Objective
In this exercise, we will learn how to apply the template you created to an email within a journey. In an ideal scenario, you can use any existing journey or campaign and replace its email content with a standardized template to ensure brand consistency and faster execution.
This step demonstrates how templates can be reused across journeys, allowing teams to update designs without rebuilding emails from scratch.
Create new email campaign
-
Go back to the main screen and click on Journeys Management → Campaigns.
-
Click on Create Campaign

-
Select “Orchestration - Marketing” and click confirm

-
Name your campaign
Flagship Phone Launch Branded. Press Save button.
-
Click on the + sign and select Read Audience activity

-
The next step is to select “Read Audience” box and click on Audience folder icon
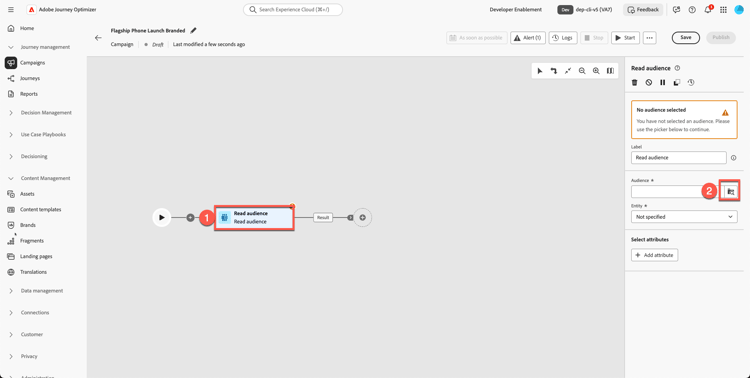
-
Select the dep: Interested in iPhone 17 audience and click “Add Audience” button

-
Select Entity - dep-rel: Customer Account - customer_id (or any as it does not matter for this part)
-
Add the Email activity by clicking + sign and then select Email from Channel activities.

-
Click on Edit email.
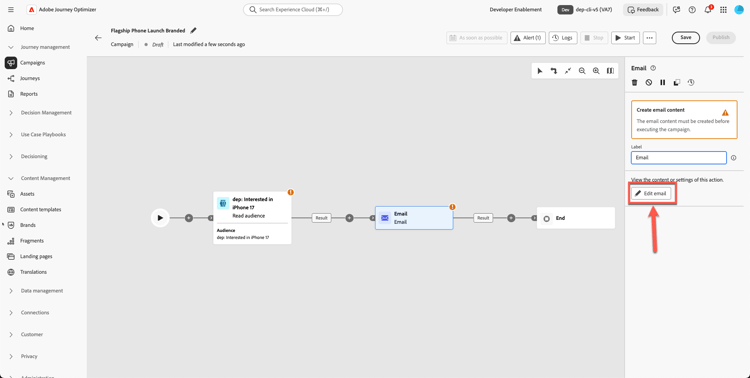
- Click on the Action tab and select your email configuration. Your sandbox may show this as Relational Email. (Select any)
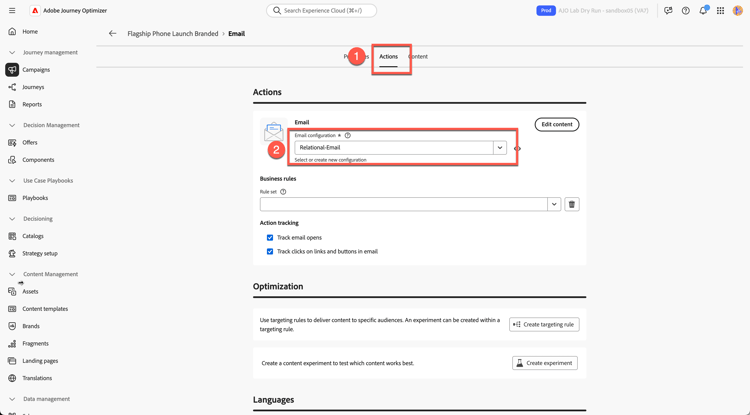
- Click on Content tab
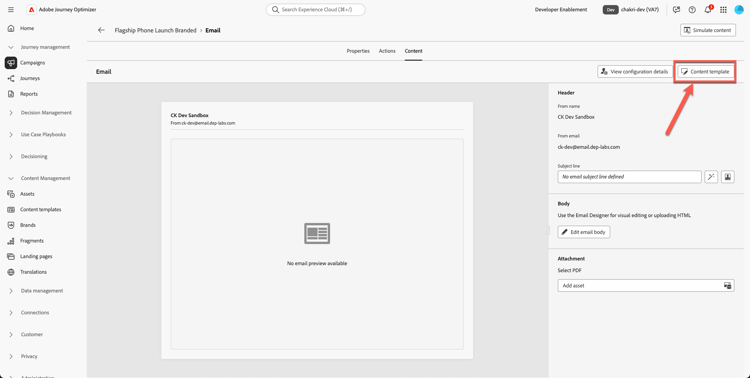
- Click on Apply Content Template

- Select the template “Promotional Template” you created and click Confirm

- Click on Edit email body

- Confirm the new header, hero, footer, and content blocks appear correctly.
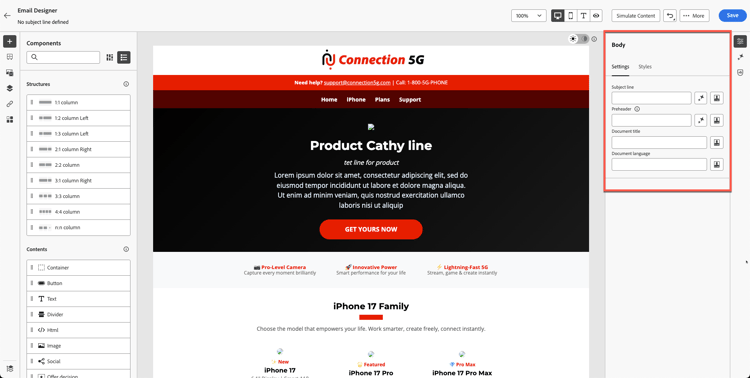
Replace hero image & product images
Change the hero and phone images. You need to upload content to assets from the toolkit folder. Currently your product hero banner image is a placeholder.
-
Click the broken hero banner image.

-
Remove the temporary source URL.

-
Click on Import Media

-
Upload
hero.pngfrom your toolkit. (You can drag the file)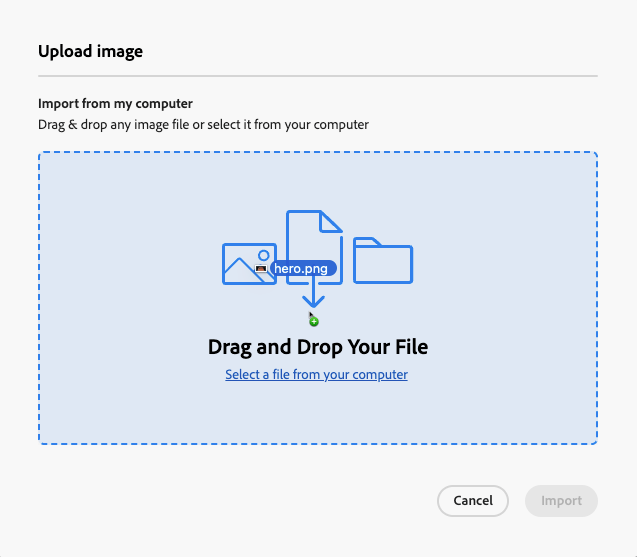
-
Click Next, Select your folder for assets and press import

-
Your email template is coming up nicely. It appears like the following. Click on “Save” to save your work.
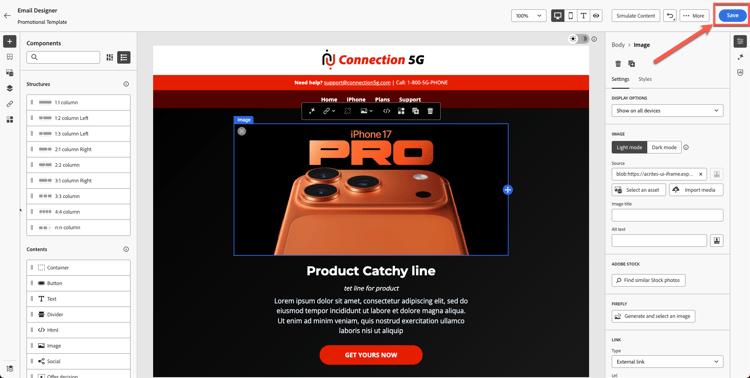
Optional exercise
Replace product images
Go ahead and update all the product images (images provided in the toolkit folder) and also add rounded border to your liking. Your email looks nicer without any broken links, as shown below. Repeat the process for all product cards.

Recap
In this module, you successfully:
- Created a new campaign with email using your branded template
- Updated hero and product images
- Enhanced styling
You are now ready to move on to the next module - AI assistant and content personalization, where you will use AI to refine text and generate images automatically.