Add email activities
Objective
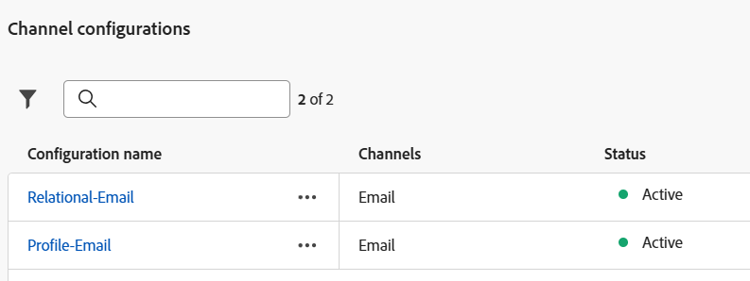
In the next set of steps, you will build on the campaign to add two Email activities to the two Fork activity branches. You will configure the two Email activities to use the Email channels, created previously. Finally you will also add basic Email setup (subject and body) to each of these Email activity.
Add top branch email activity
-
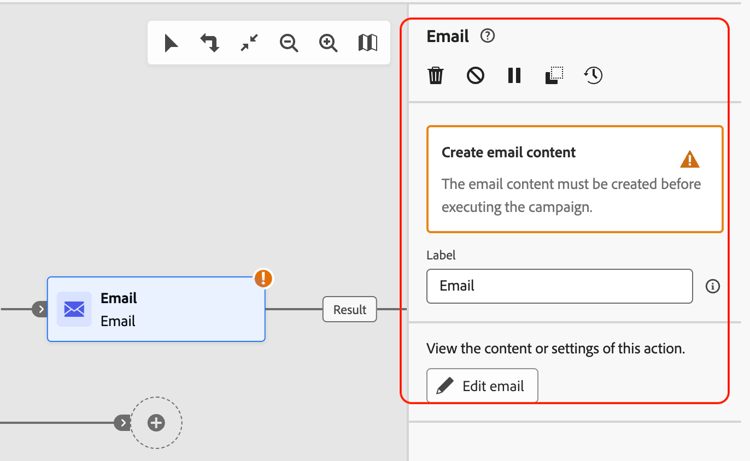
Click on the + of the top flow and select Email from the Channel activities

The Email details pane opens
-
Rename the label to Email using Profile attribute for the Email activity and click on Edit email. Note that the email body creation is only for testing purposes

-
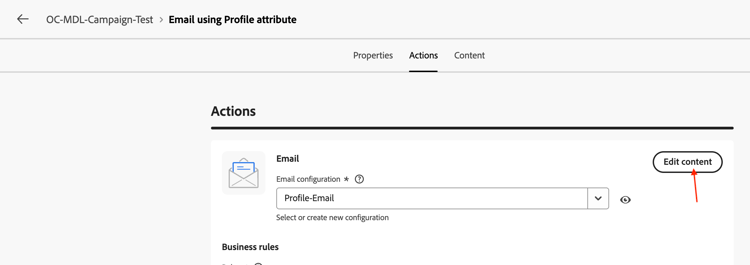
Select the Actions tab and from the drop down select Profile-Email channel config

-
Next, click on Edit content to add some test content
-
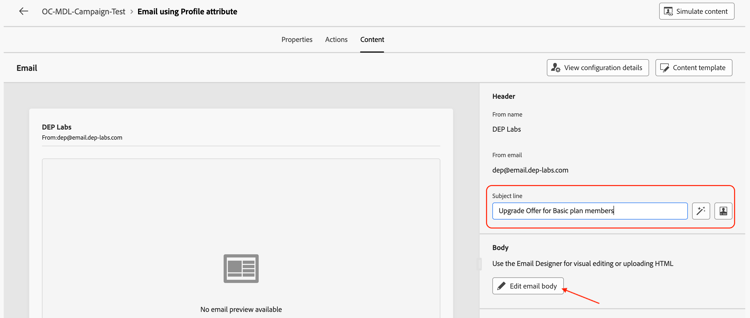
Provide a Subject Line (“Upgrade Offer for Basic plan members”) and click on the Edit email body button
-
There are many options, for this test, choose Code your own HTML option

-
In the Email Designer, insert a test line “Upgrade Offer Available!” just before the
</body></html>tags as shown and click on Save
-
Wait for the confirmation message to appear at the bottom-right corner

-
Click on the left arrow next to the Email Designer to exit

-
A confirmation dialog pops up, click on the Save & close button

- Review the Email properties and actions including the text added to the Email body. Click on the left arrow to navigate back to the campaign canvas

Add bottom branch email activity
Back in the campaign canvas, click on the + of the bottom flow and select Email from the Channel activities. Follow the same steps as above (Steps 2 to 11) except for the following:
- Rename the label to Email using Target Dimension for the Email activity
- In the Email settings, choose the Relational-Email Email channel config

Recap
You have now seen how to configure the Email activities with the Email channels. Each activity was then configured with a very basic Email subject and body. The entire campaign will be tested next.