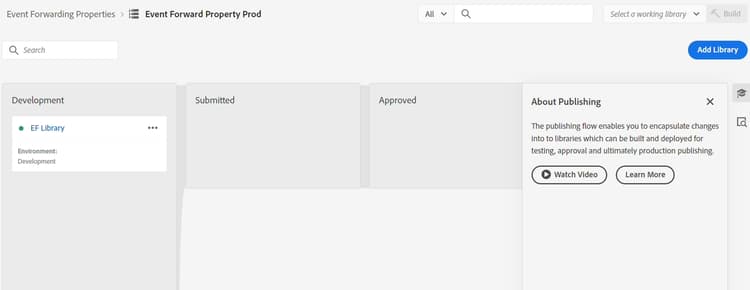
Create Property
We usually want to forward an Experience Event out to a third party (though it doesn’t have to be). This is usually used when a copy of an Event is needed in real time to notify a third party under specific circumstances (e.g. notifying Google, Meta or TikTok about a purchase).
-
In the left rail click on Event Forwarding
-
Then click on New Property

-
Update the property name using the following formula:
Event Forward Property SB + [sandbox number]. Your final name would look something like this: Event Forward Property SB01 -
Click Save when done

Install extension
-
Click on the Event Forwarding Property you just created

-
You should see a screen like below. Click on Extensions.

-
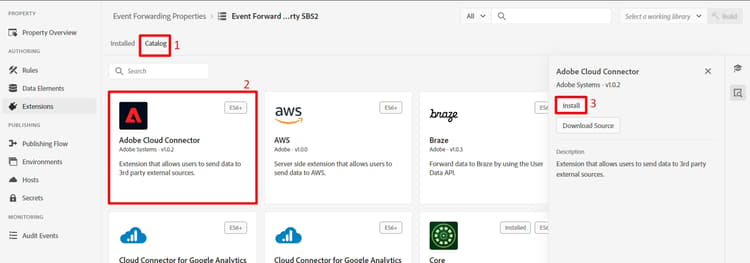
Install the extension Adobe Cloud Connector by doing the following:
-
Click on Catalog in the top nav
-
Click on the Adobe Cloud Connector card
-
In the right rail click on the Install button
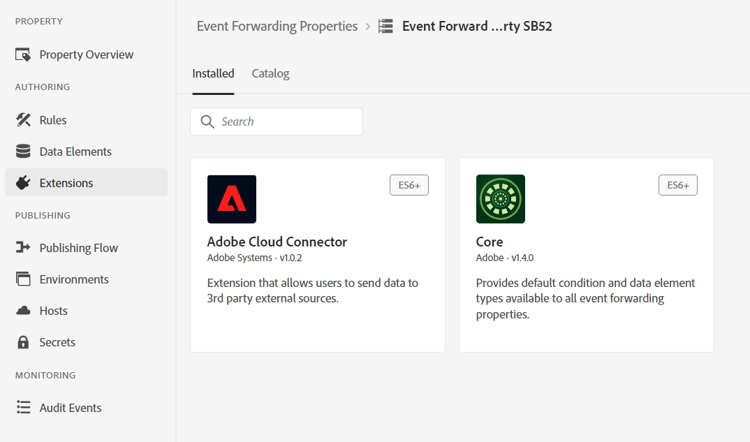
After clicking install you should see the extension show under the Installed extensions for your property as shown below
Create data element
-
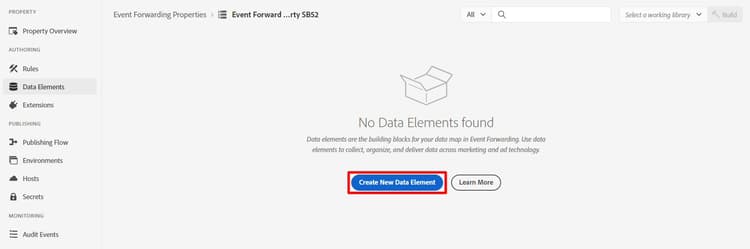
In the left rail click on Data Elements

-
Click on the Create New Data Element button
-
Configure the new data element with the following information:
table 0-row-2 1-row-2 2-row-2 3-row-2 Element Type Value to Configure Name Data Object Extension Core Data Element Type Custom Code 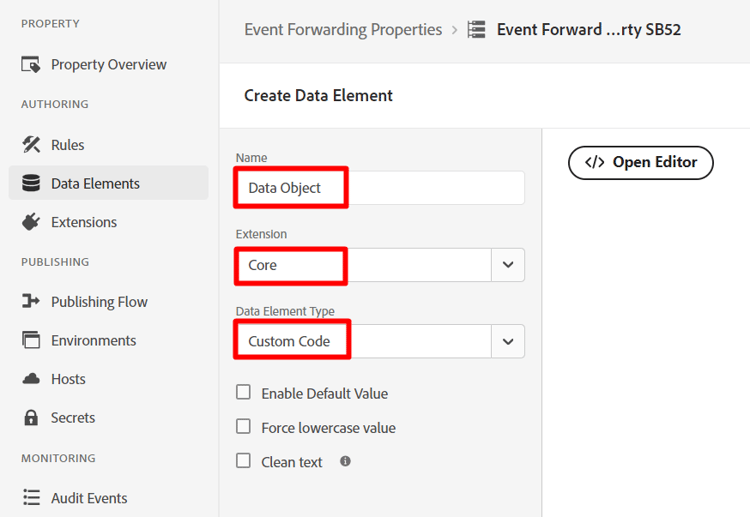
-
Click on the button Open Editor to add the following custom code:
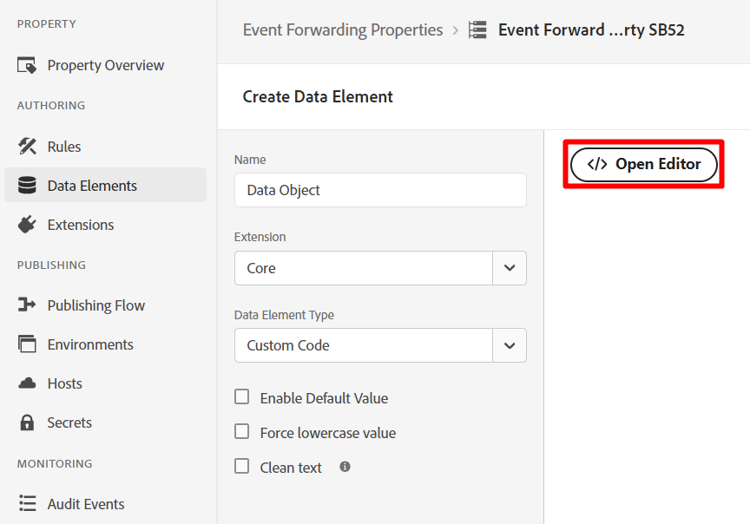
-
Add custom code to the editor like so and save it
code language-none var xdm = arc?.event || ''; return xdm;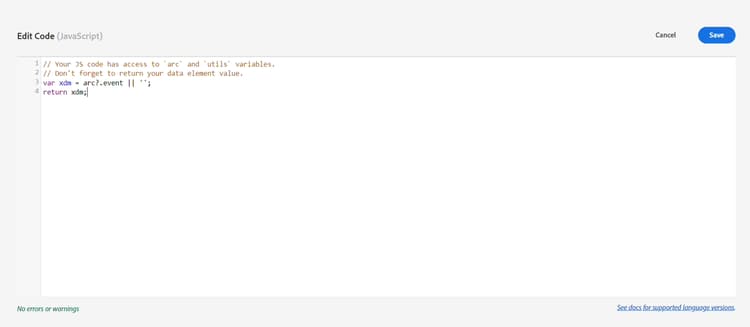
note NOTE This is grabbing the whole xdm object without doing any translations to the payload. If needed we could parse out each individual pieces within the XDM object (e.g. page name, purchase amount), into one data element per field. The reason for doing this might be if there is transformation of the structure to a different structure -
Click the Save button to save your data element.
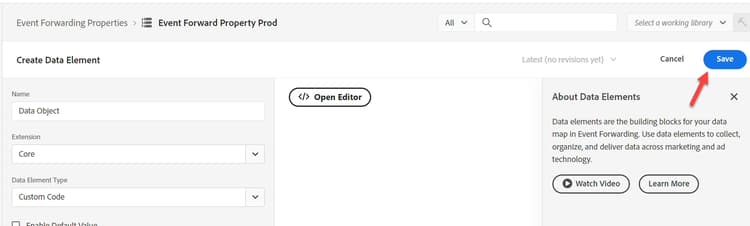
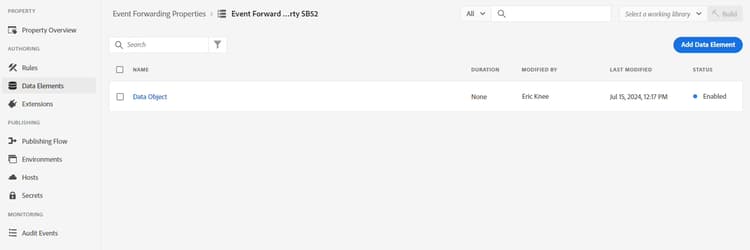
When done you should see the following screen confirming your data element has been added:
Create rules
- Conditions on what to forward
- Actions that can transform the payload and define where to send it
-
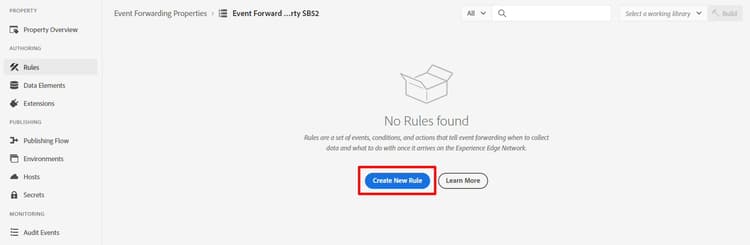
In the left rail click on Rules

-
Then click on Create New Rule
-
Update the rule name using the following formula:
"EF Rule SB" + [your sandbox number](i.e. EF Rule SB01). You can find your sandbox number in the top right of your browser window as shown below…
-
Click Save when done
note NOTE Make sure your rule name follows the formula pattern of "EF Rule SB" + [sandbox number]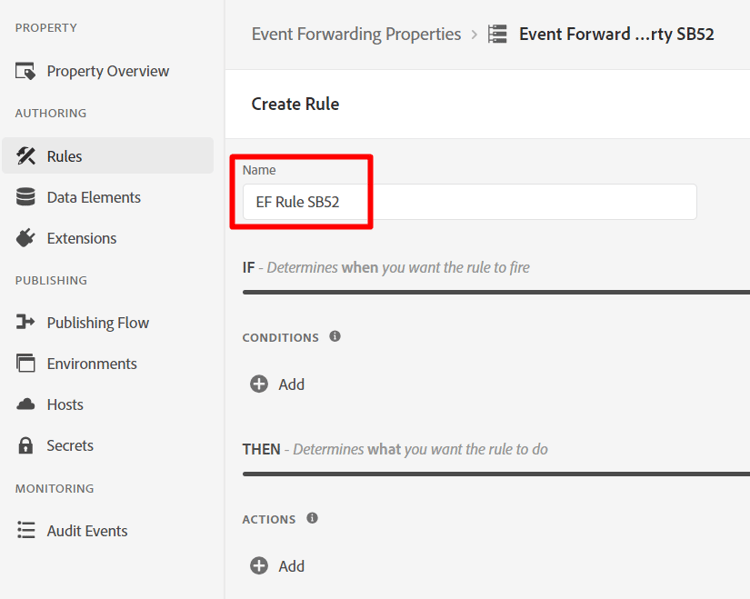
-
Add an Action to your rule by clicking on the (+) sign to add a new action

Get webhook URL (to use in action)
-
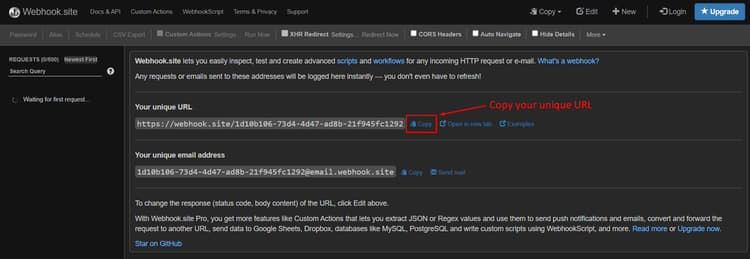
Open the following link in a new tab in your browser -> https://webhook.site
-
Copy the unique URL you see and save it somewhere safe
-
Configure your action with the following information:
When you are done validate your screen looks similar to below and then click on Keep Changes

- When done you should see your action added to your rule. Click Save to continue.

Publish the changes
-
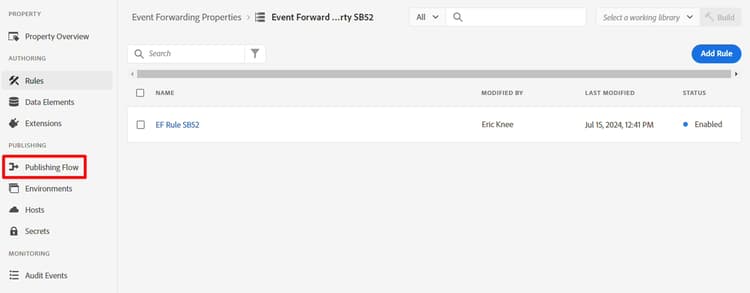
In the left rail click on Publishing Flow
-
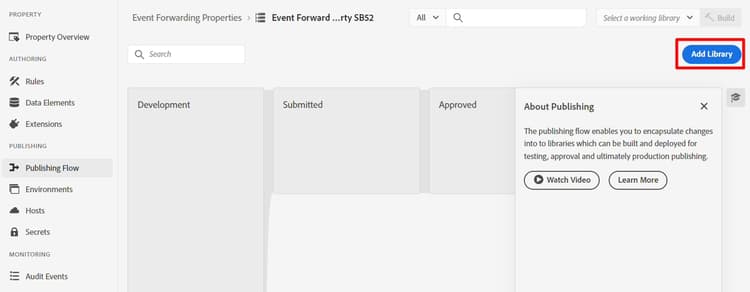
Click on the button Add Library
-
Configure the library with the following information:
- Name -> EF Library
- Environment -> Development
- Click on Add All Changed Resources
When done your screen should look similar to the below screenshot. If everything looks good click on the Save & Build to Development button

-
You should then see the development build go green stating it’s ready to use