Verification and validation
Preview the dataset
-
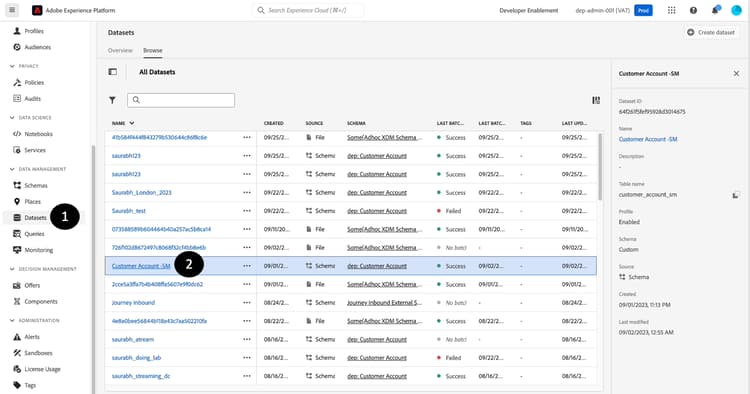
Click on Datasets
-
Locate and click the dataset name that you created.
-
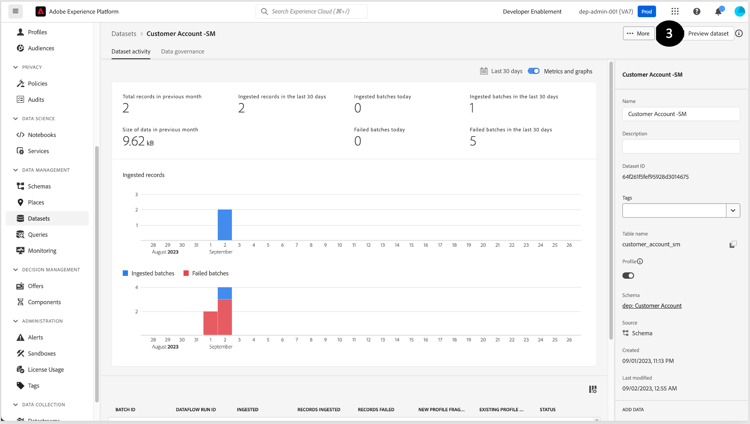
Click on Preview dataset in the top right corner
-
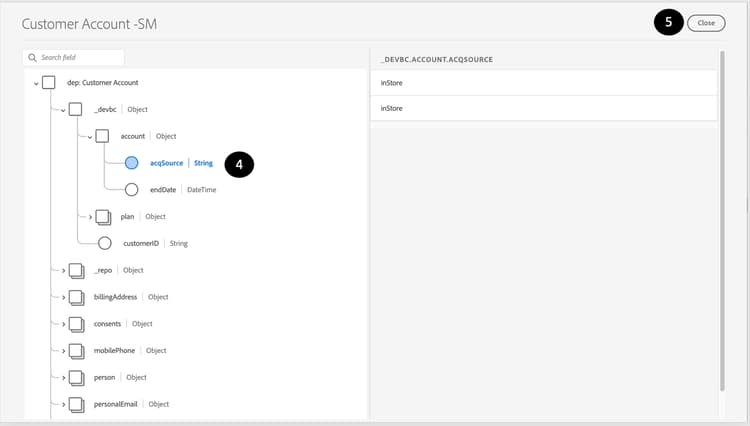
Verify and validate the same records that you ingested by clicking on the left pane showing the schema hierarchy.
Query dataset
-
Close the Preview
-
In the Dataset screen, click the copy icon on Table name. In the example screen below, the table name is
customer_account_sm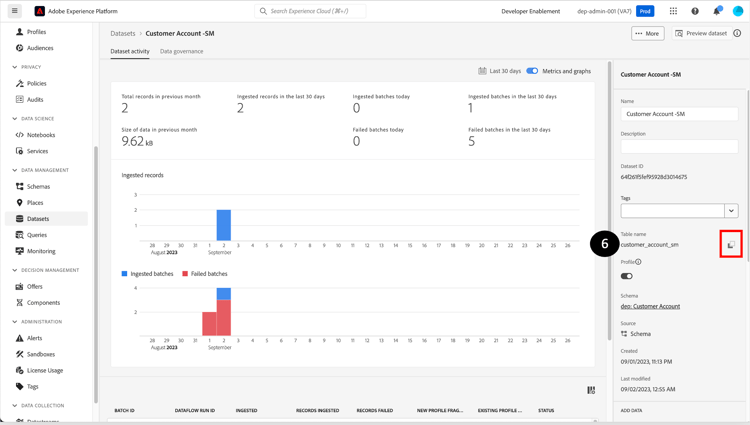
-
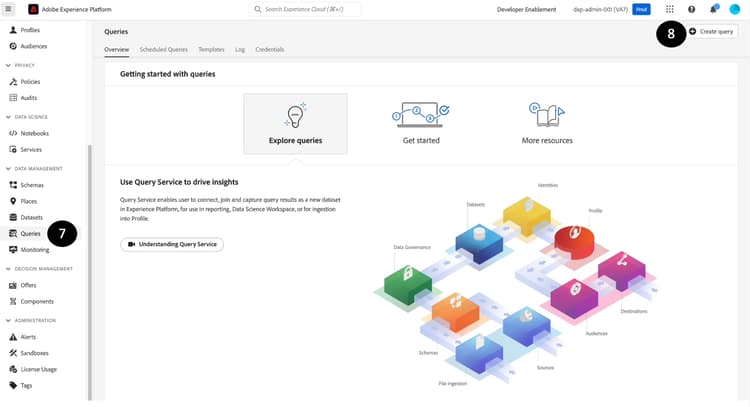
Navigate to Queries section
-
Click on Create query
-
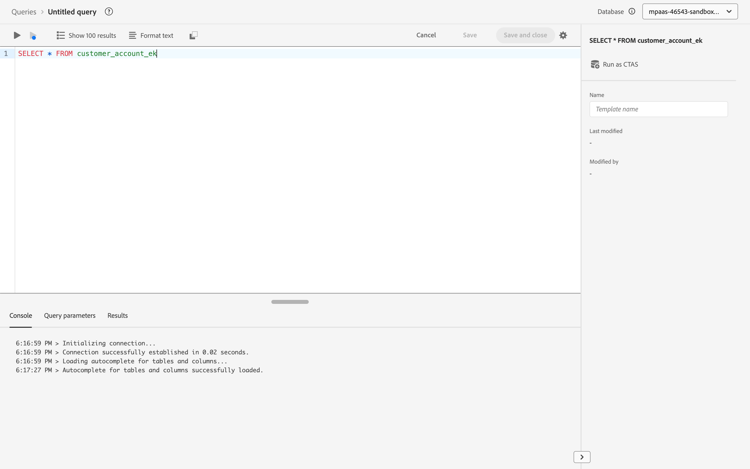
Turn the toggle for Enhanced Query Editor
-
Copy paste the following SQL query in the Editor. Remember to replace
<table_name>with the value you obtained in step 2.code language-sql SELECT * FROM <table_name> -
Press the Play button.
-
Preview the results.
-
Also, execute the following SQL query to retrieve the XDM schema along with the data:
code language-sql SELECT to_json(shippingAddress) FROM <table_name> -
To access the data in the
postalCodenode, you can type:
SELECT shippingAddress.postalCode FROM <table_name>